TaskForce workflow
Atola TaskForce provides a complete feature set for a forensically sound evidence acquisition process. Based on our own decade-long experience of working with data storage devices as well as the experience of our clients in digital forensics market we strongly recommend this workflow:
1. Diagnose the drive
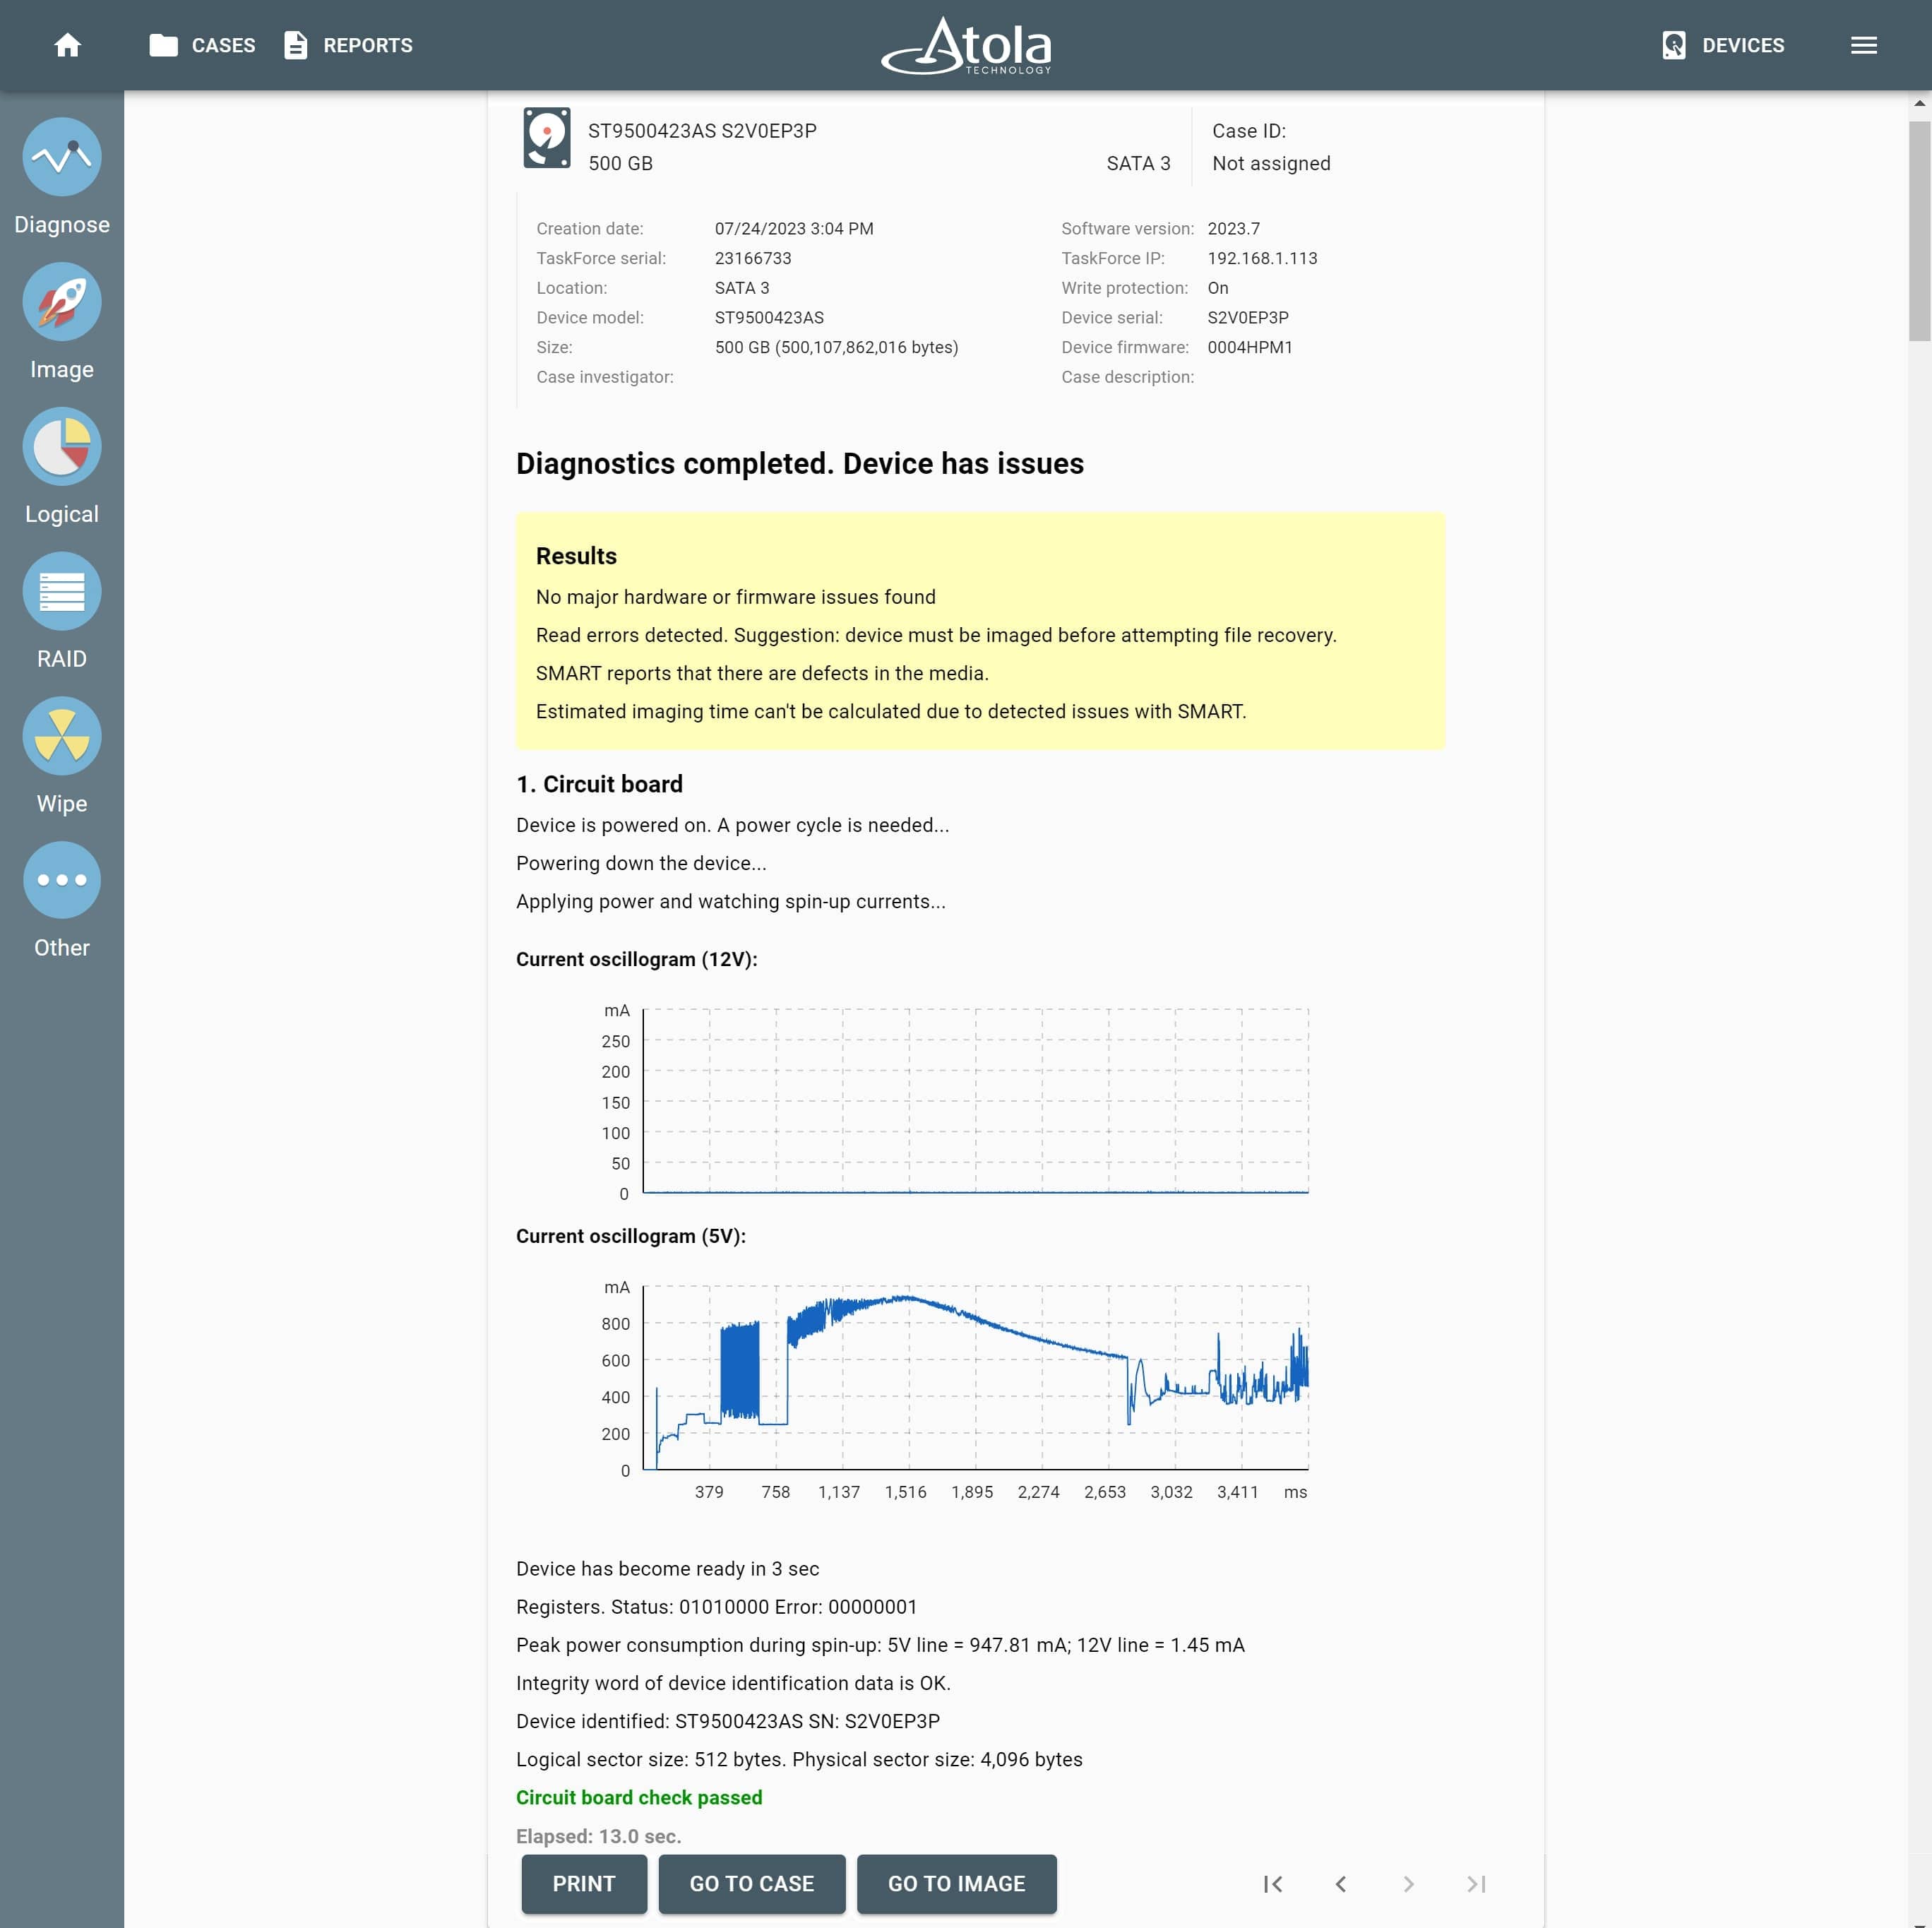
TaskForce is equipped with a fully-automated diagnostics module, which diagnoses all drive systems: printed circuit board (PCB), spindle motor, head stack, firmware, and file systems. Diagnostics will work properly even if the drive has burnt parts or damaged head stack – the routine makes use of the current monitor that is embedded into TaskForce unit.
After diagnostics finishes, the tool prepares a report and lets you know the exact issue with the drive; it also suggests the next step to be able to retrieve the data.
2. Get access to the hidden drive areas
Unclip or change HPA, DCO, AMA limitationsTaskForce detects hidden areas on the drive Host Protected Area (HPA), Device Overlay Configuration (DCO), or Accessible Max Address (AMA) and can automatically recover/remove them. To avoid change the state of the drive, HPA reset until power cycle option is available.
3. Image the evidence
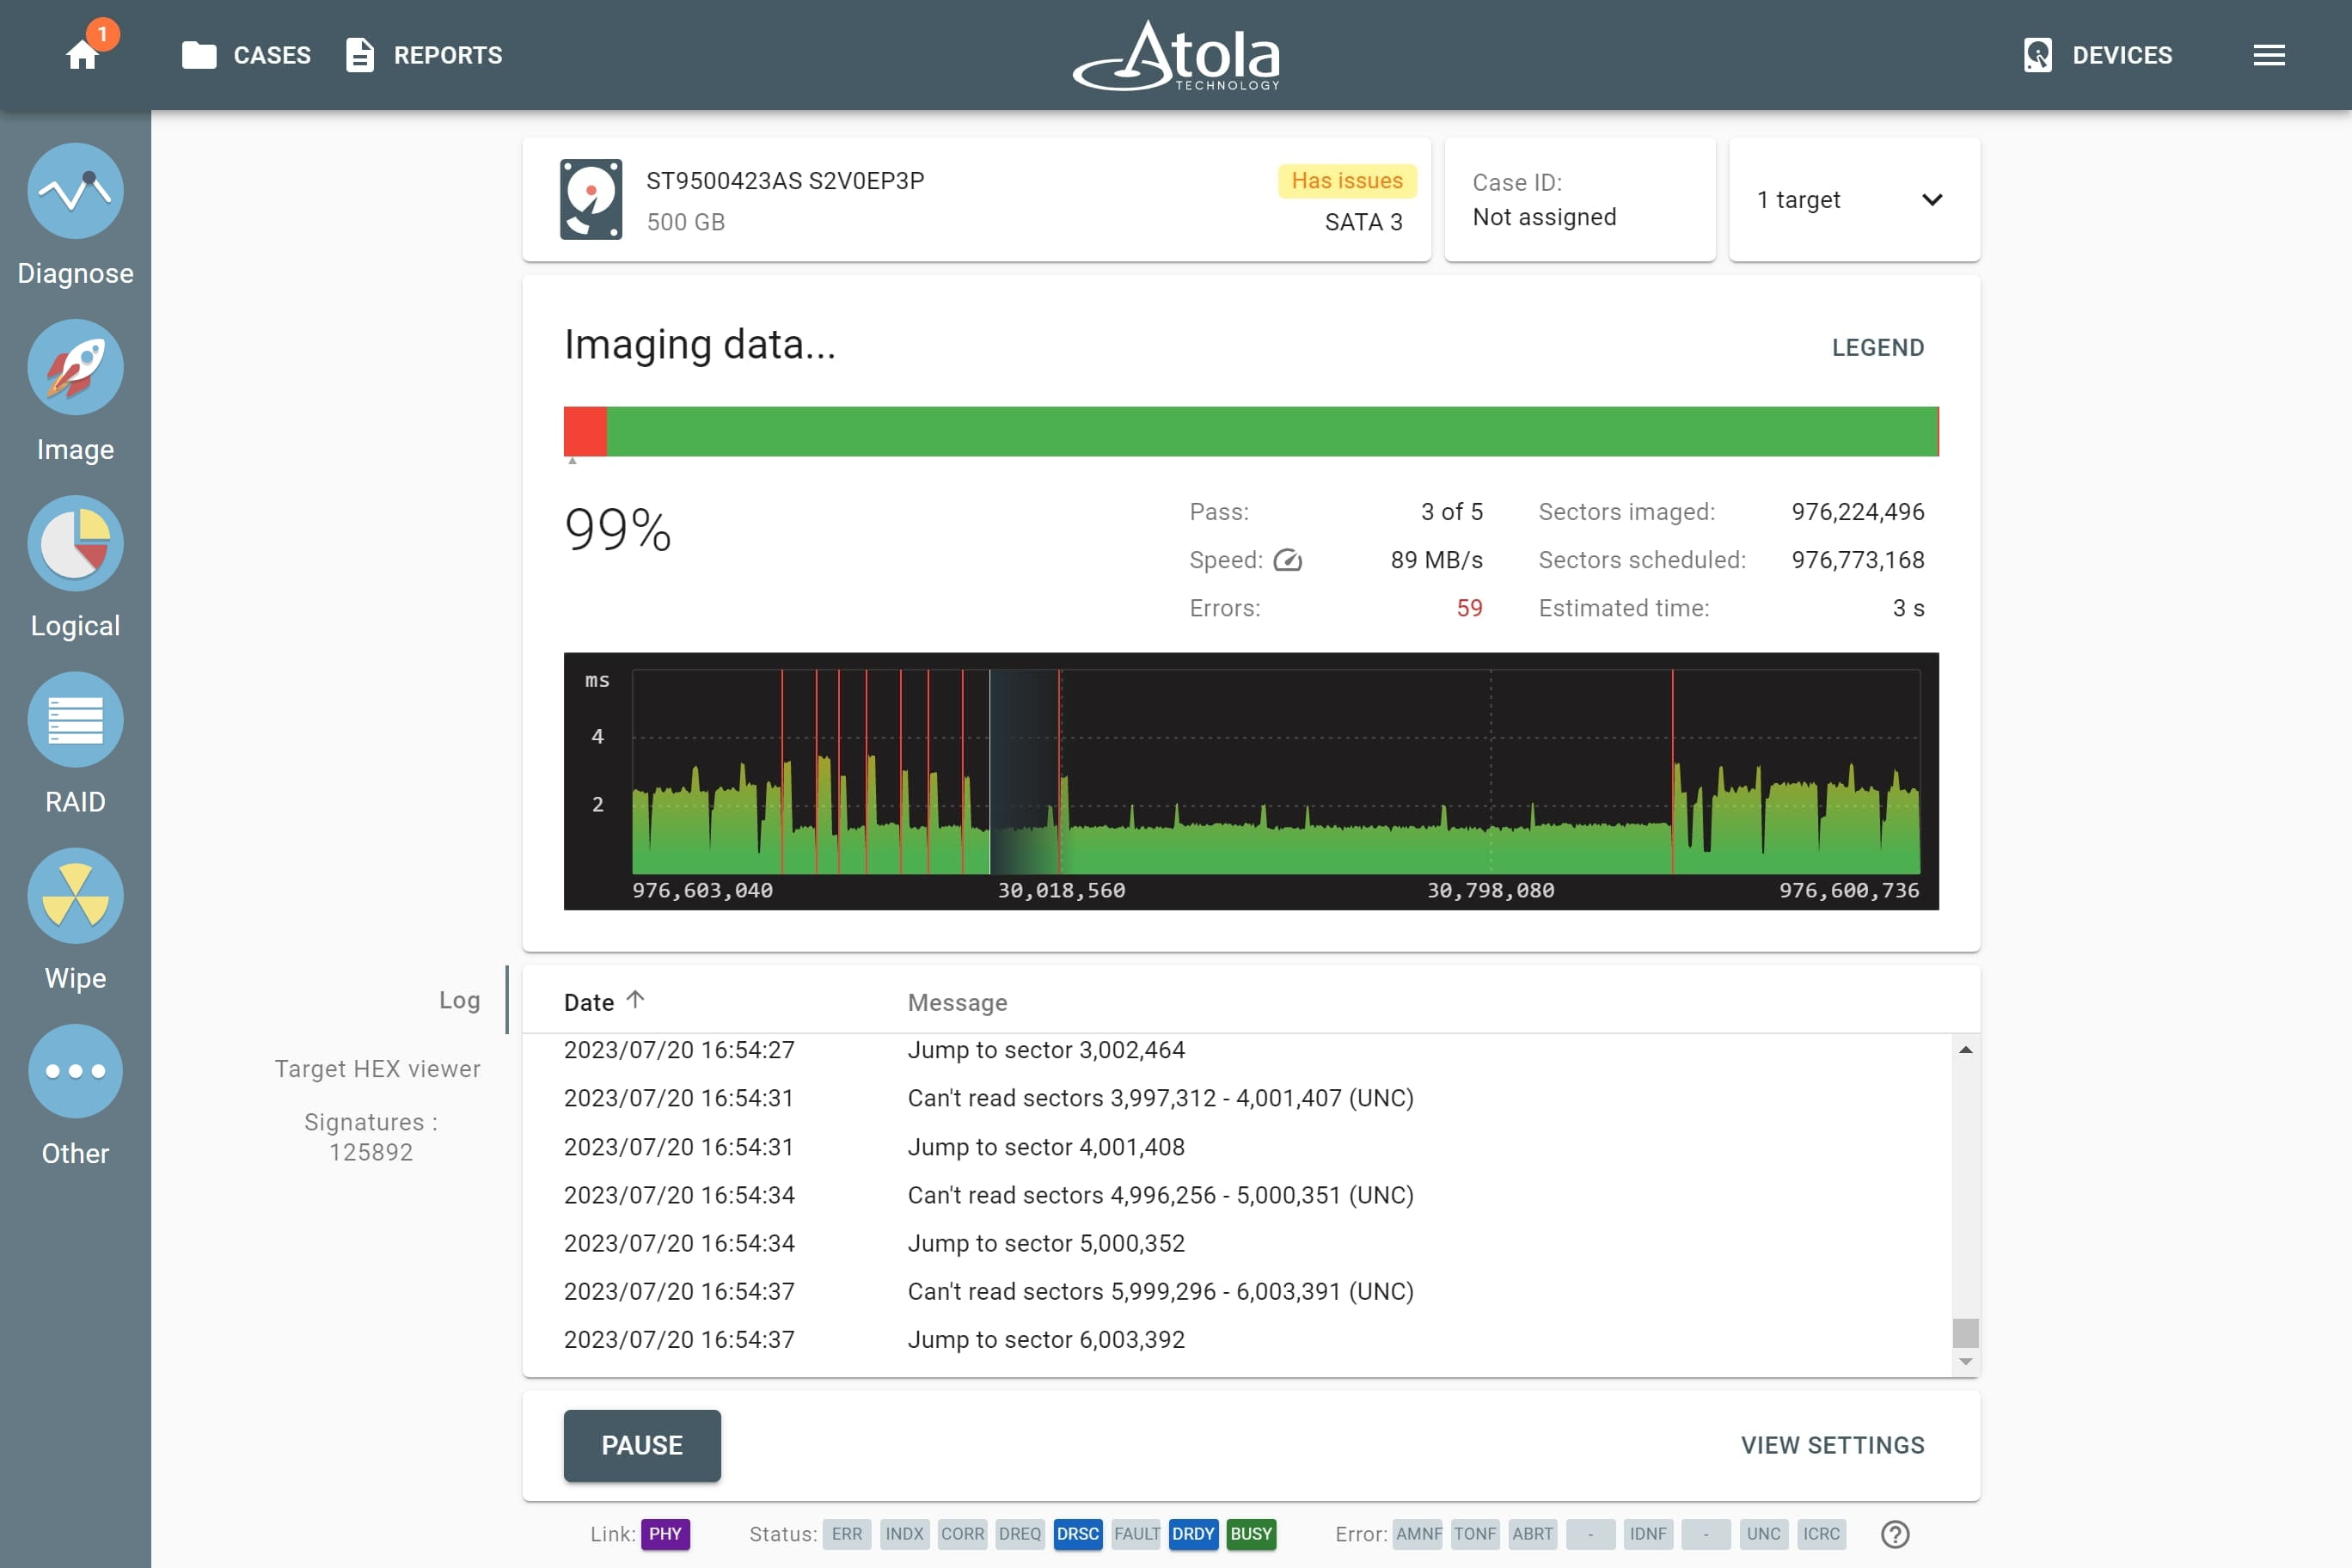
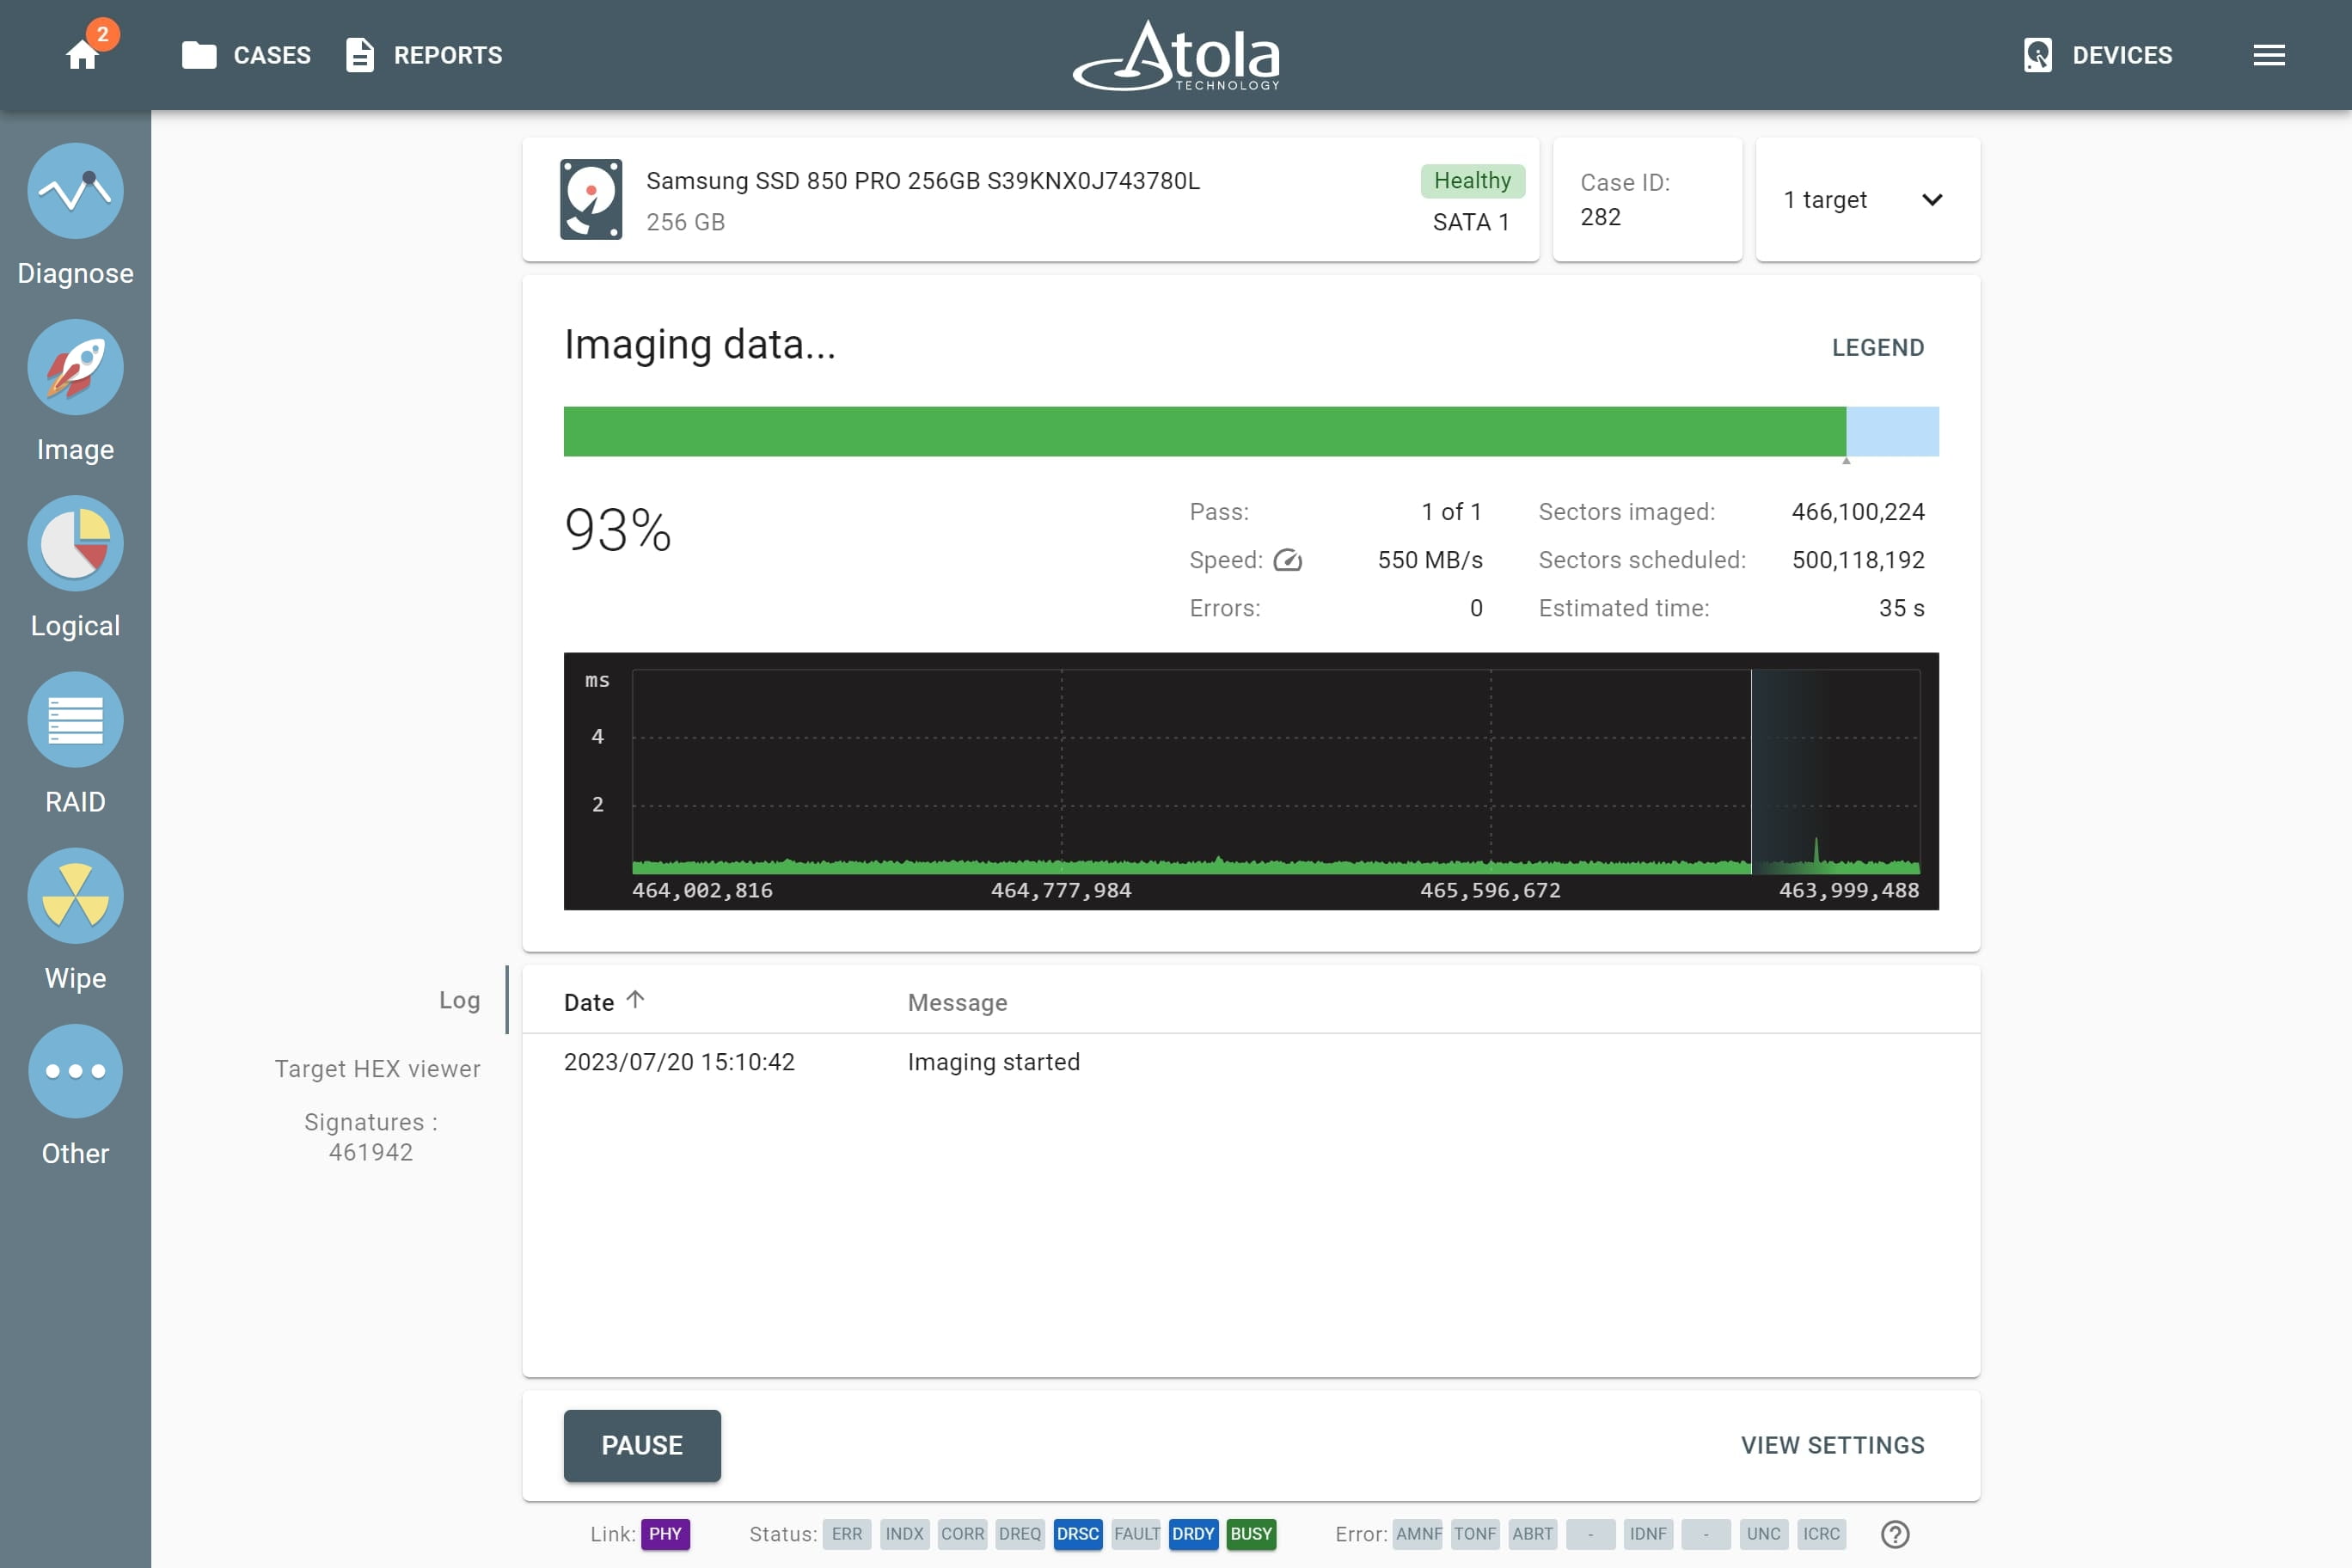
To ensure efficient imaging of both good and damaged drives, TaskForce is equipped with a sophisticated and powerful imaging module that creates a bit-to-bit copy of the evidence. Based on the diagnostics report, image drives with default settings or adjust them, should the media be damaged and require special treatment.
4. Calculate hash
To ensure forensically sound evidence acquisition process, remember to calculate hash of the evidence and the image. It is essential way to prove image integrity.
With damaged devices, it is best to calculate hash during imaging (using segmented hashing). This way data on a fragile device is only read once, and less potential damage to the media is caused.


