Templates for target image files
If you image evidence devices to target files on a network server or storage drive, you can benefit from highly customizable and flexible target file templates.
Thanks to configurable variables, such as the current date, case ID, device serial number, and more, a template lets you create complex subfolder paths and file names with a couple of clicks, according to your internal naming conventions.
Additionally, you can set up other target parameters, such as file type, compression, hashing method, and autofill repeating case details, such as case number, investigator name, or location.
Once created, a template for a target image file can be applied with a single click.
You can use templates when performing physical or logical imaging, as well as in Express mode.
Create template
To configure a template for target image files, do the following:
- On the Taskbar, click Image and select your Source device.
-
On the Select target devices panel, switch to the Files tab and in the Templates section click Add Template.

Adding a template from the 'Select target device' panel.
-
The Add template dialog opens.
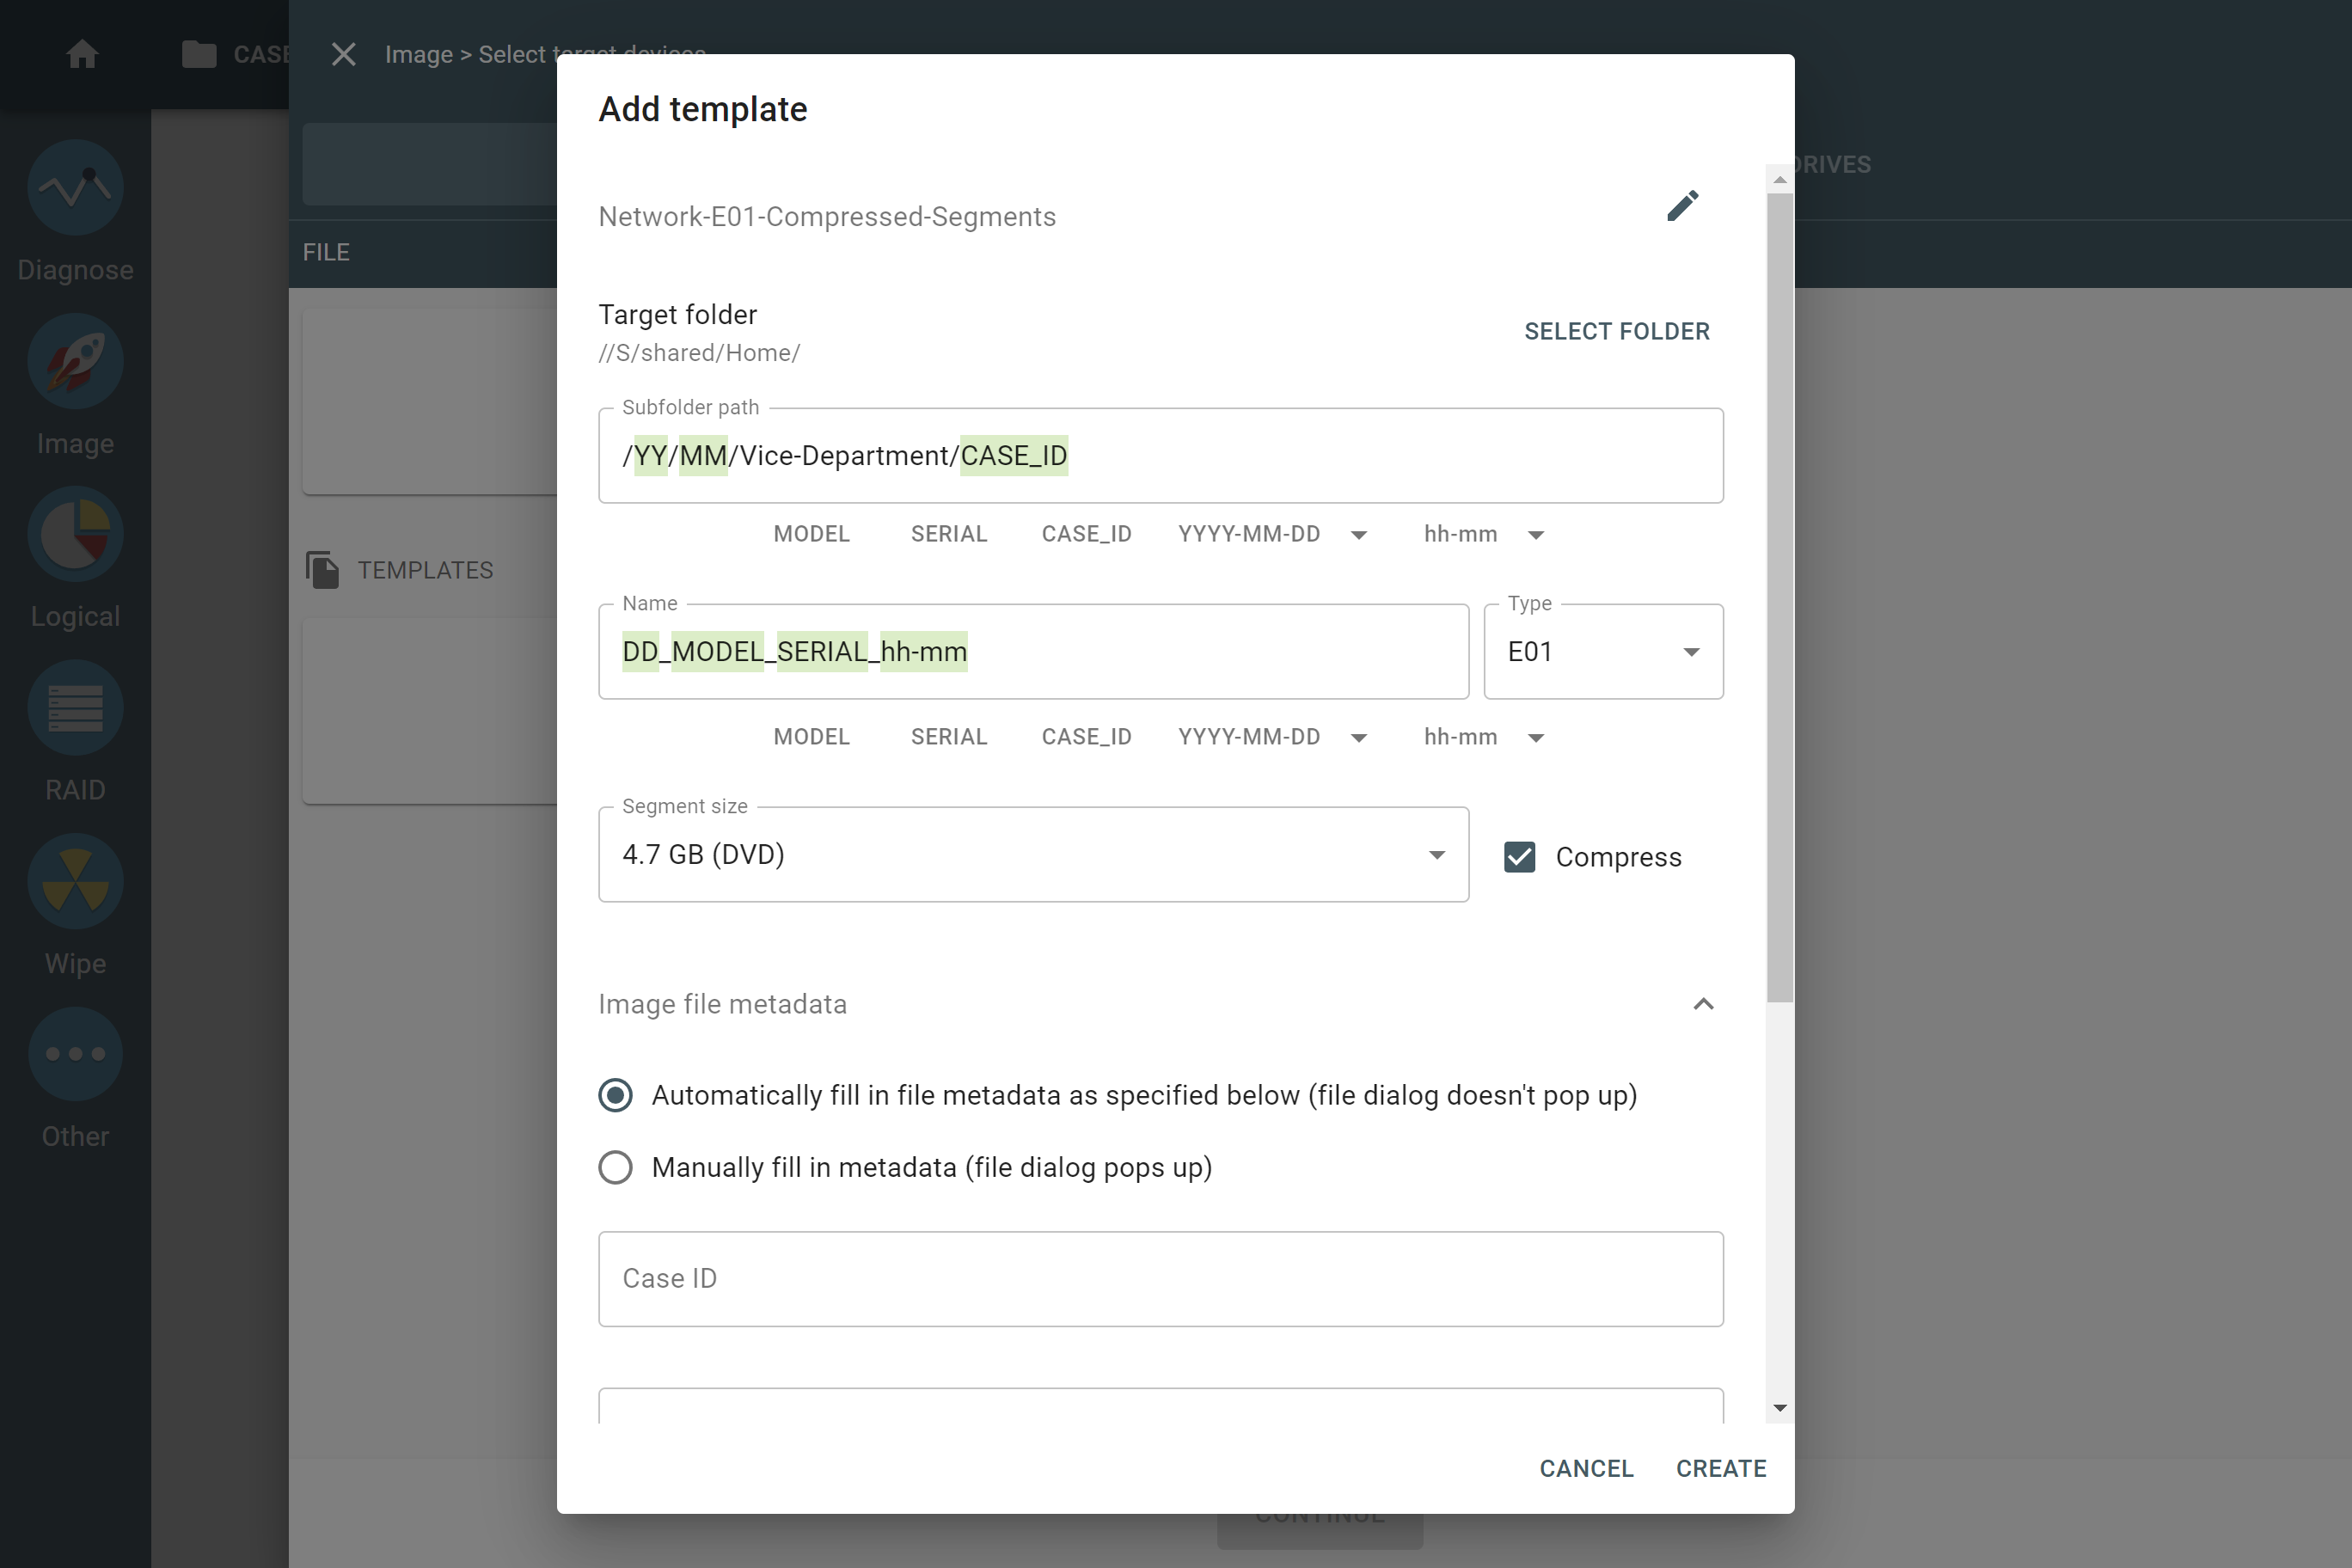
The 'Add template' dialog.
- To edit the template's name, click the Pencil icon next to it.
- Specify a Target folder by clicking Select folder and choosing the desired location.
-
Set up a Subfolder path and Name template for your target files using constants (such as department name) and available variables:
- Year: YY (two-digit format) or YYYY (four-digit format).
- Month: MM (two-digit format).
- Day: DD (two-digit format).
- Current time: hh-mm (24-hour format).
- Case ID: CASE_ID (as specified in the TaskForce case system).
- Evidence ID: EVIDENCE_ID.
- Drive model: MODEL (acquired automatically by TaskForce during identification).
- Drive serial number: SERIAL (acquired automatically by TaskForce during identification).
- Ordinal number variable: {NUM+} (increments from the number you specify in curly brackets if the file or folder with the same name already exists).
Variables are highlighted with pale green for better visibility.
To create nested folders in the specified Target folder, use the forward slash symbol (/) in the Subfolder path field.
-
Select the target file Type: E01, AFF4, IMG, DD, or RAW.
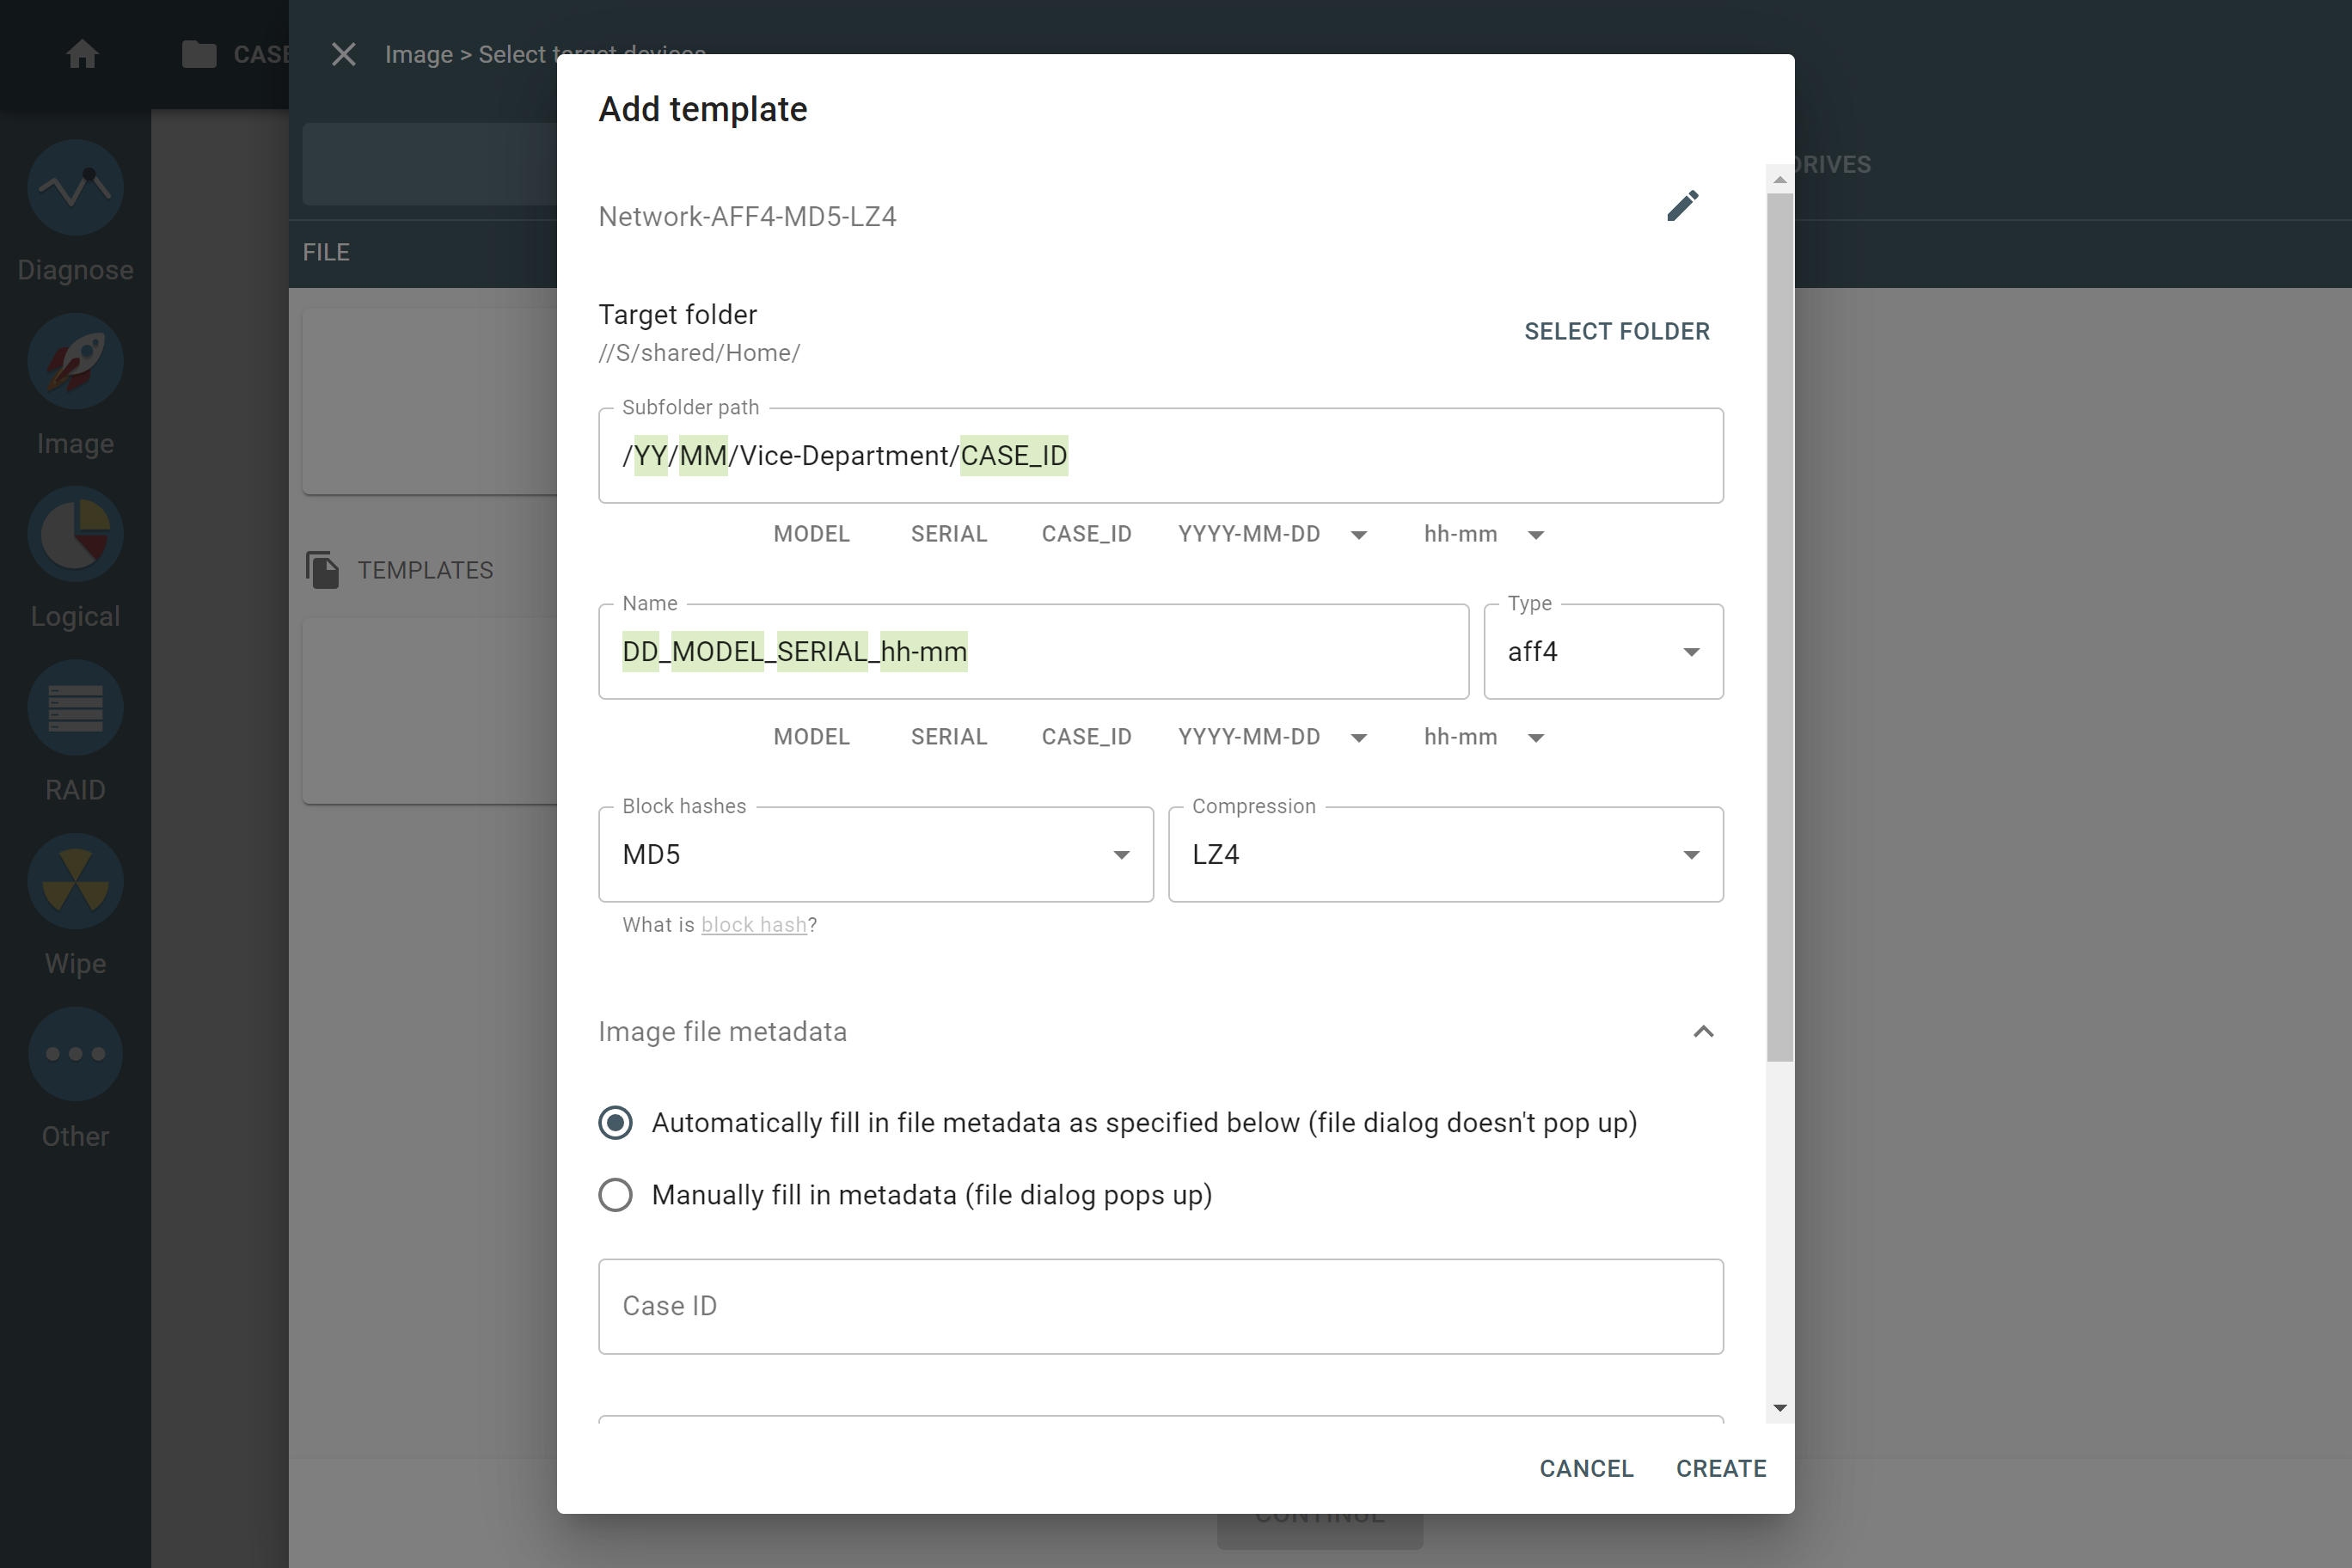
Selecting target file type for a template.
-
Optional: Configure additional parameters of a target file:
- For E01 files: Segment size and Compression.
- For AFF4 files: method for Block hashes (MD5, SHA1, MD5 + SHA1, SHA256, SHA512) and Compression algorithm (LZ4 or Snappy).
-
Choose how to fill in file metadata: automatically (default) or manually.
If you choose Automatically, specify the values for Case ID, Investigator’s name, Evidence number, Description, or Notes.
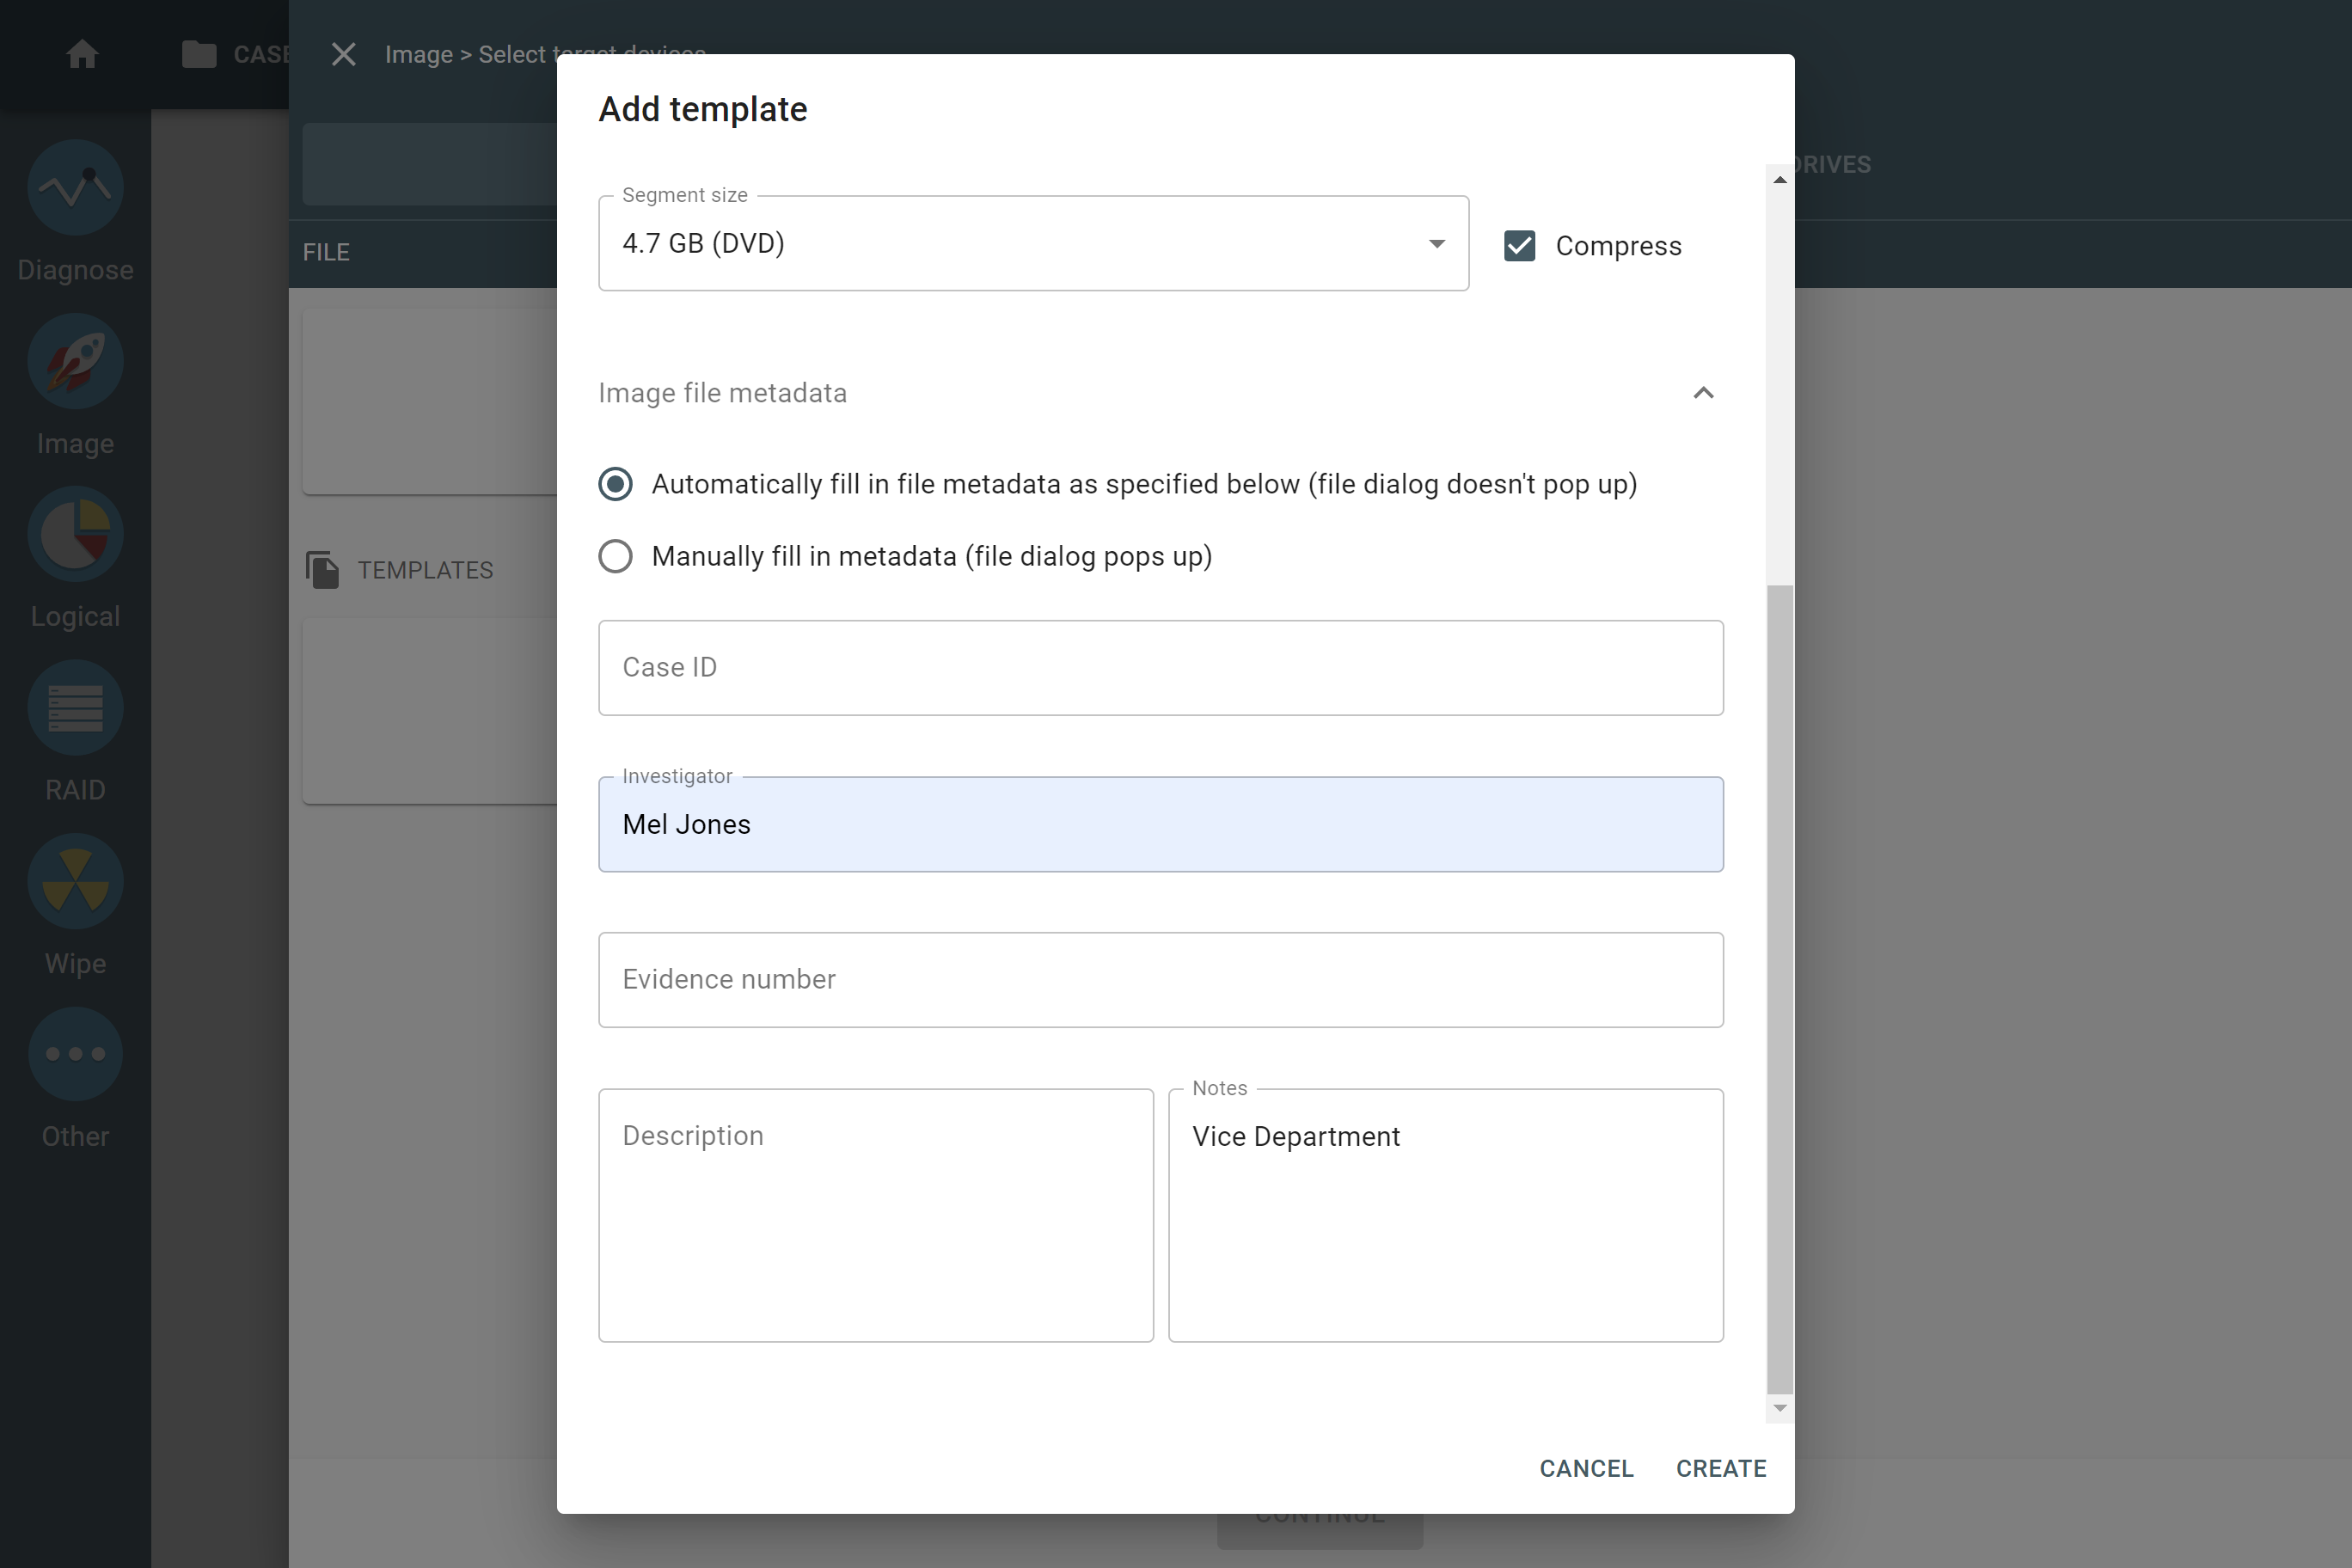
Option to fill in file metadata automatically.
If you choose Manually, TaskForce will ask you to enter file metadata whenever you create a target file using the template.
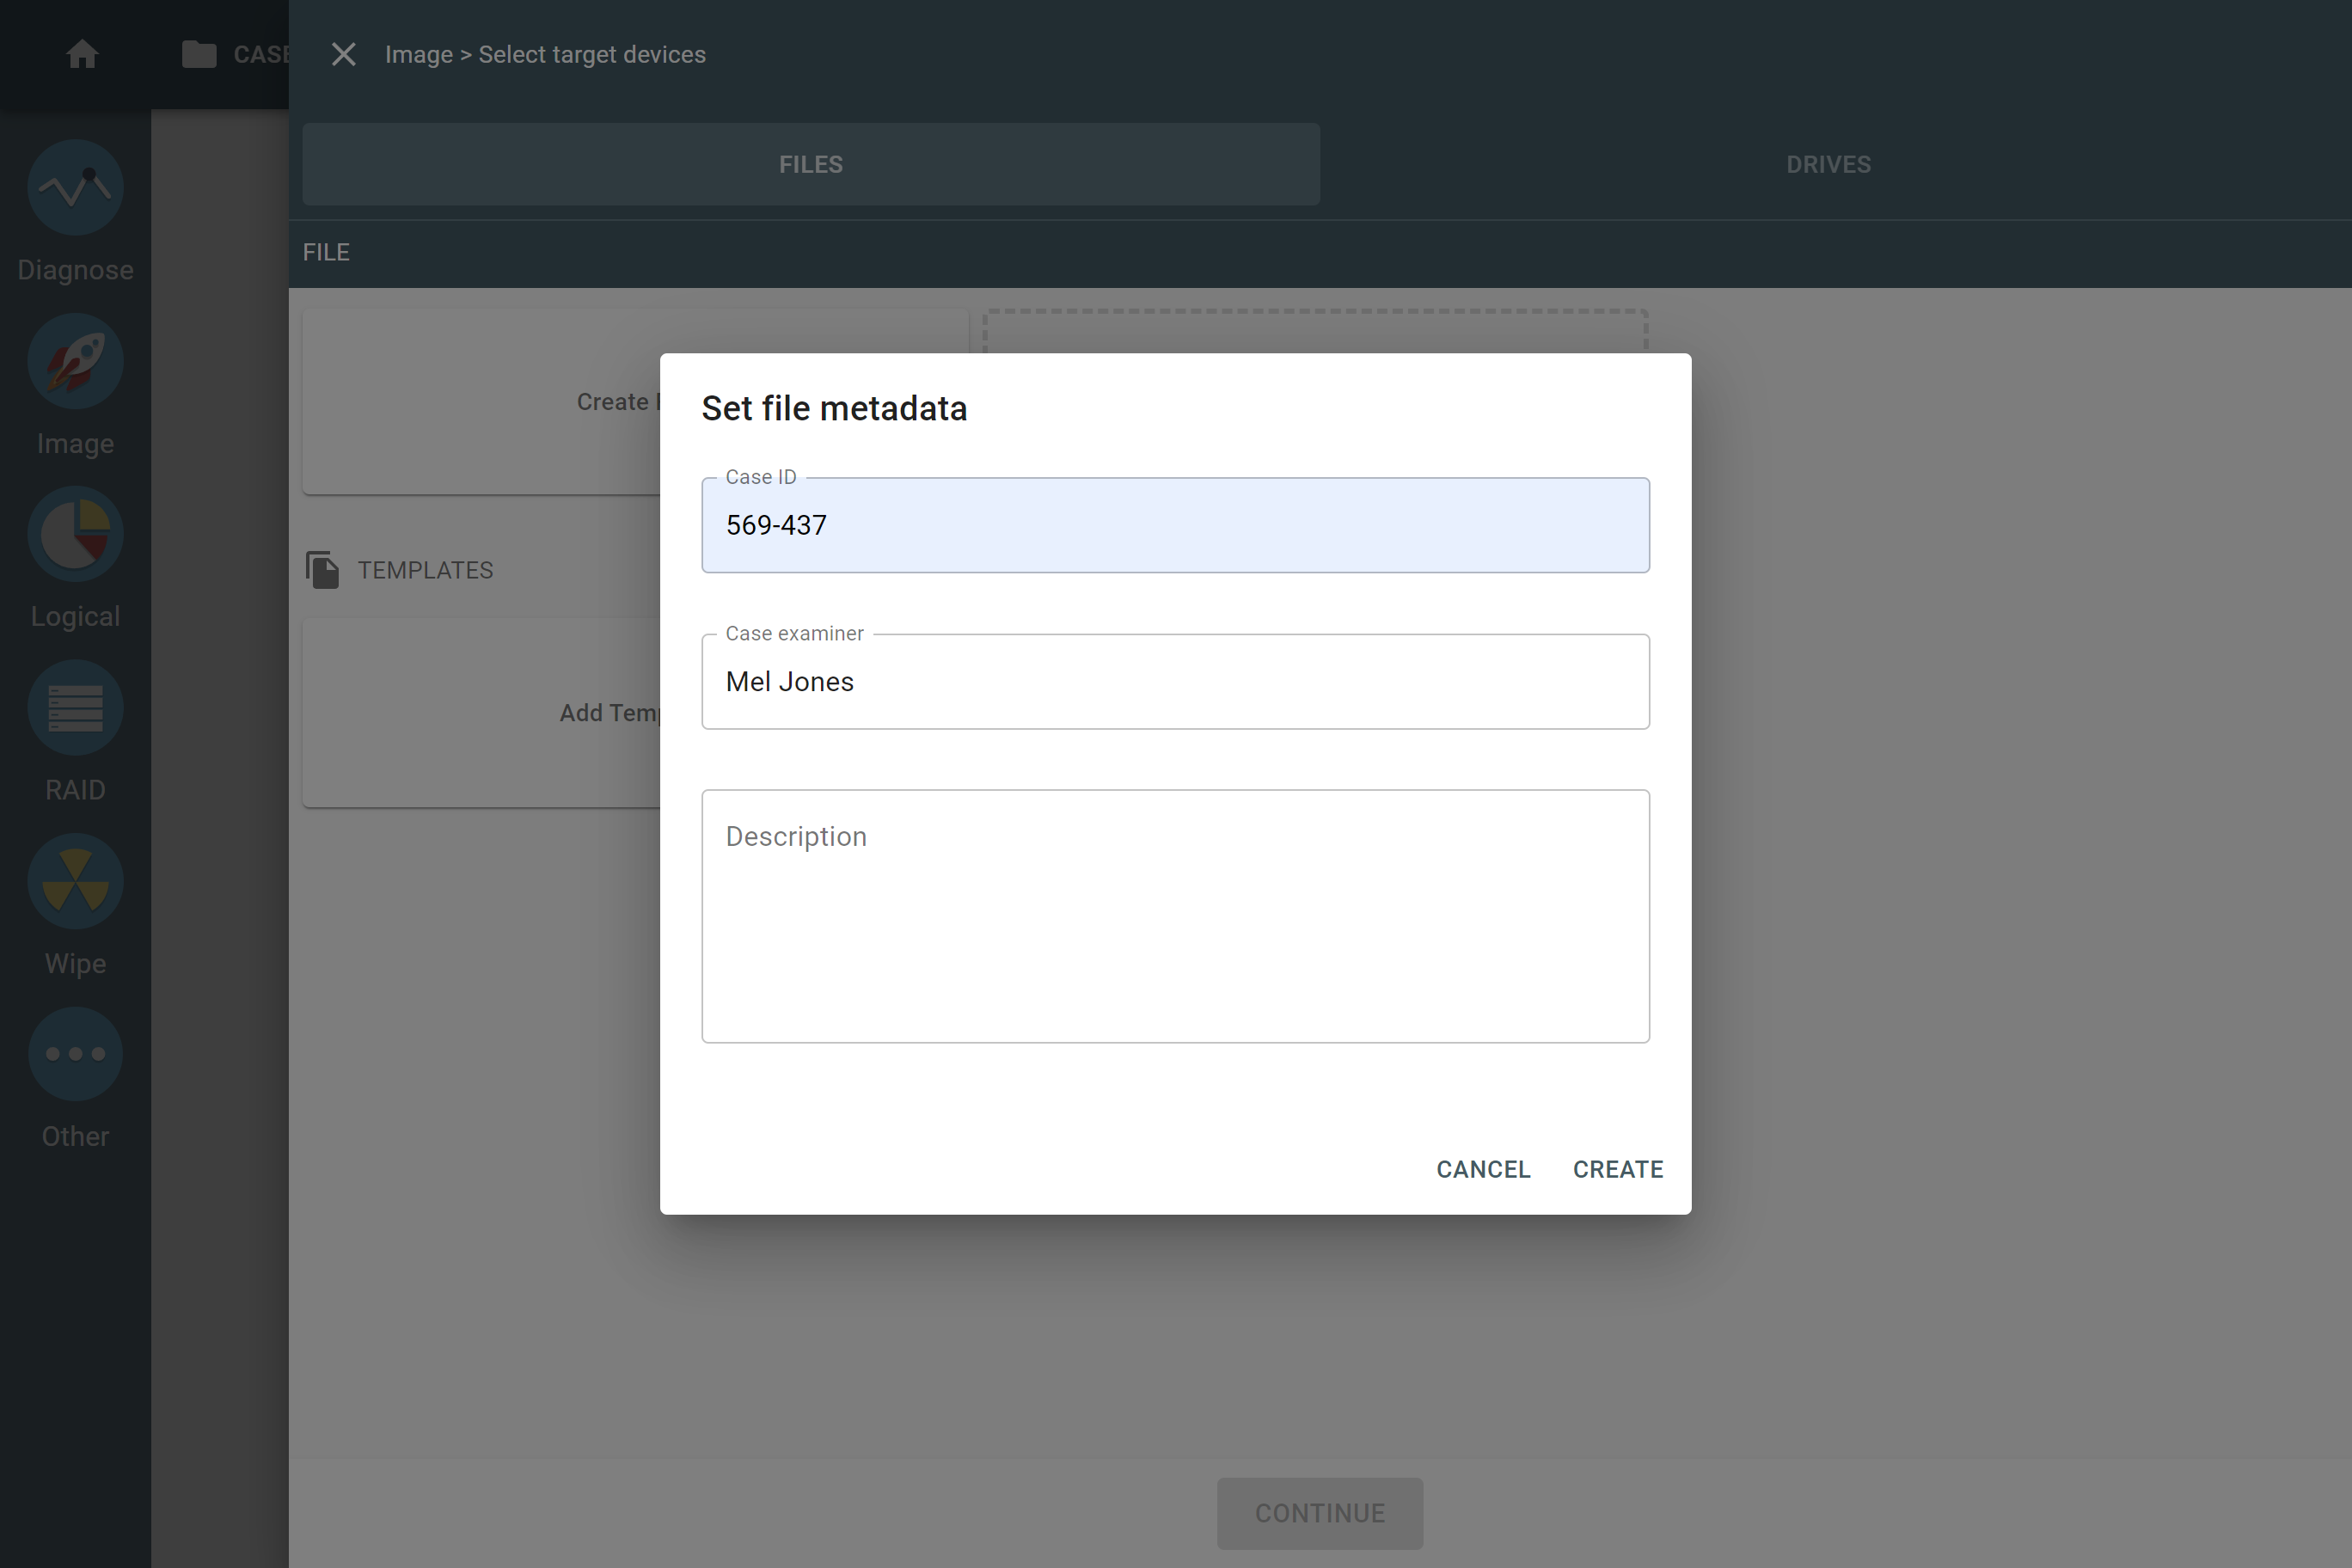
The 'Set file metadata' dialog.
- When all the parameters of the template are set, click Create.
Use template
To create a target image file using an existing template, after selecting a Source device, simply click your template on the Select target devices panel.
After that, TaskForce creates the required subfolder(s) and adds a file with the specified parameters as an imaging target.
The target file appears on the Files tab of the Select target devices panel.
Then you can proceed to the Imaging settings screen by clicking Continue.
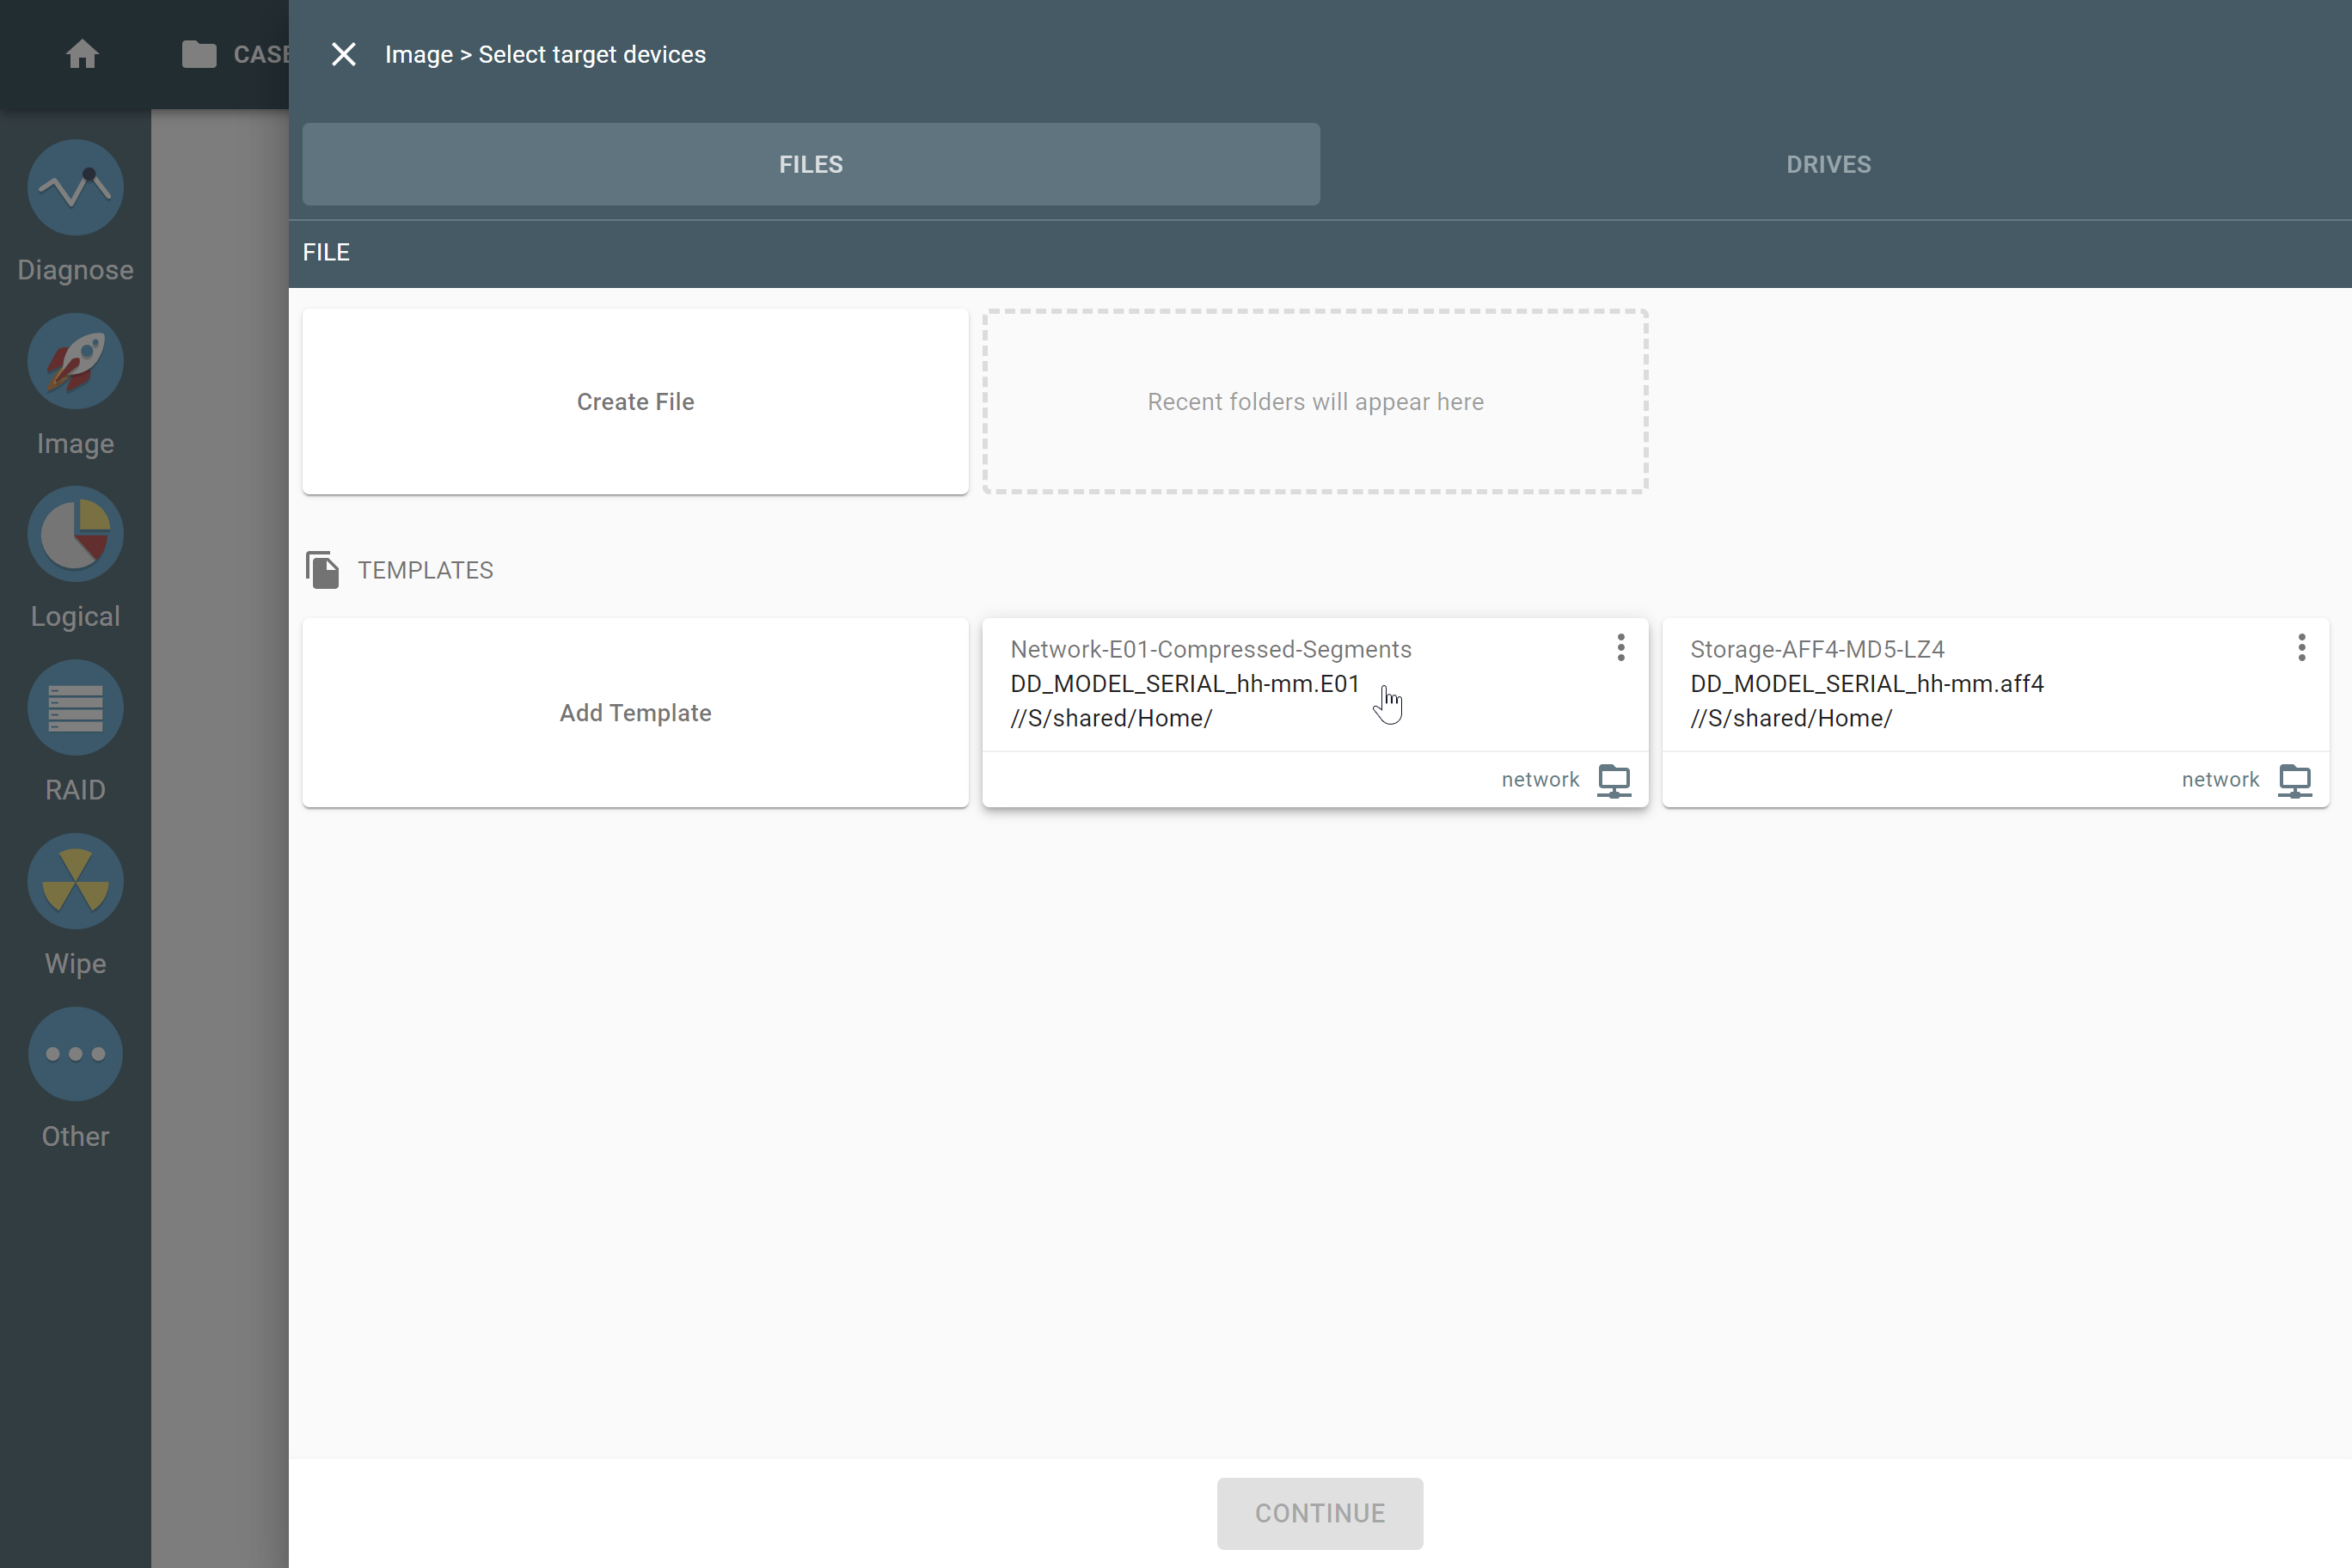
A template for target image files on the 'Select target device' panel.
Edit or delete template
To edit or delete a template for target image files, use the three-dots icon next to the template’s name on the Select target devices panel.
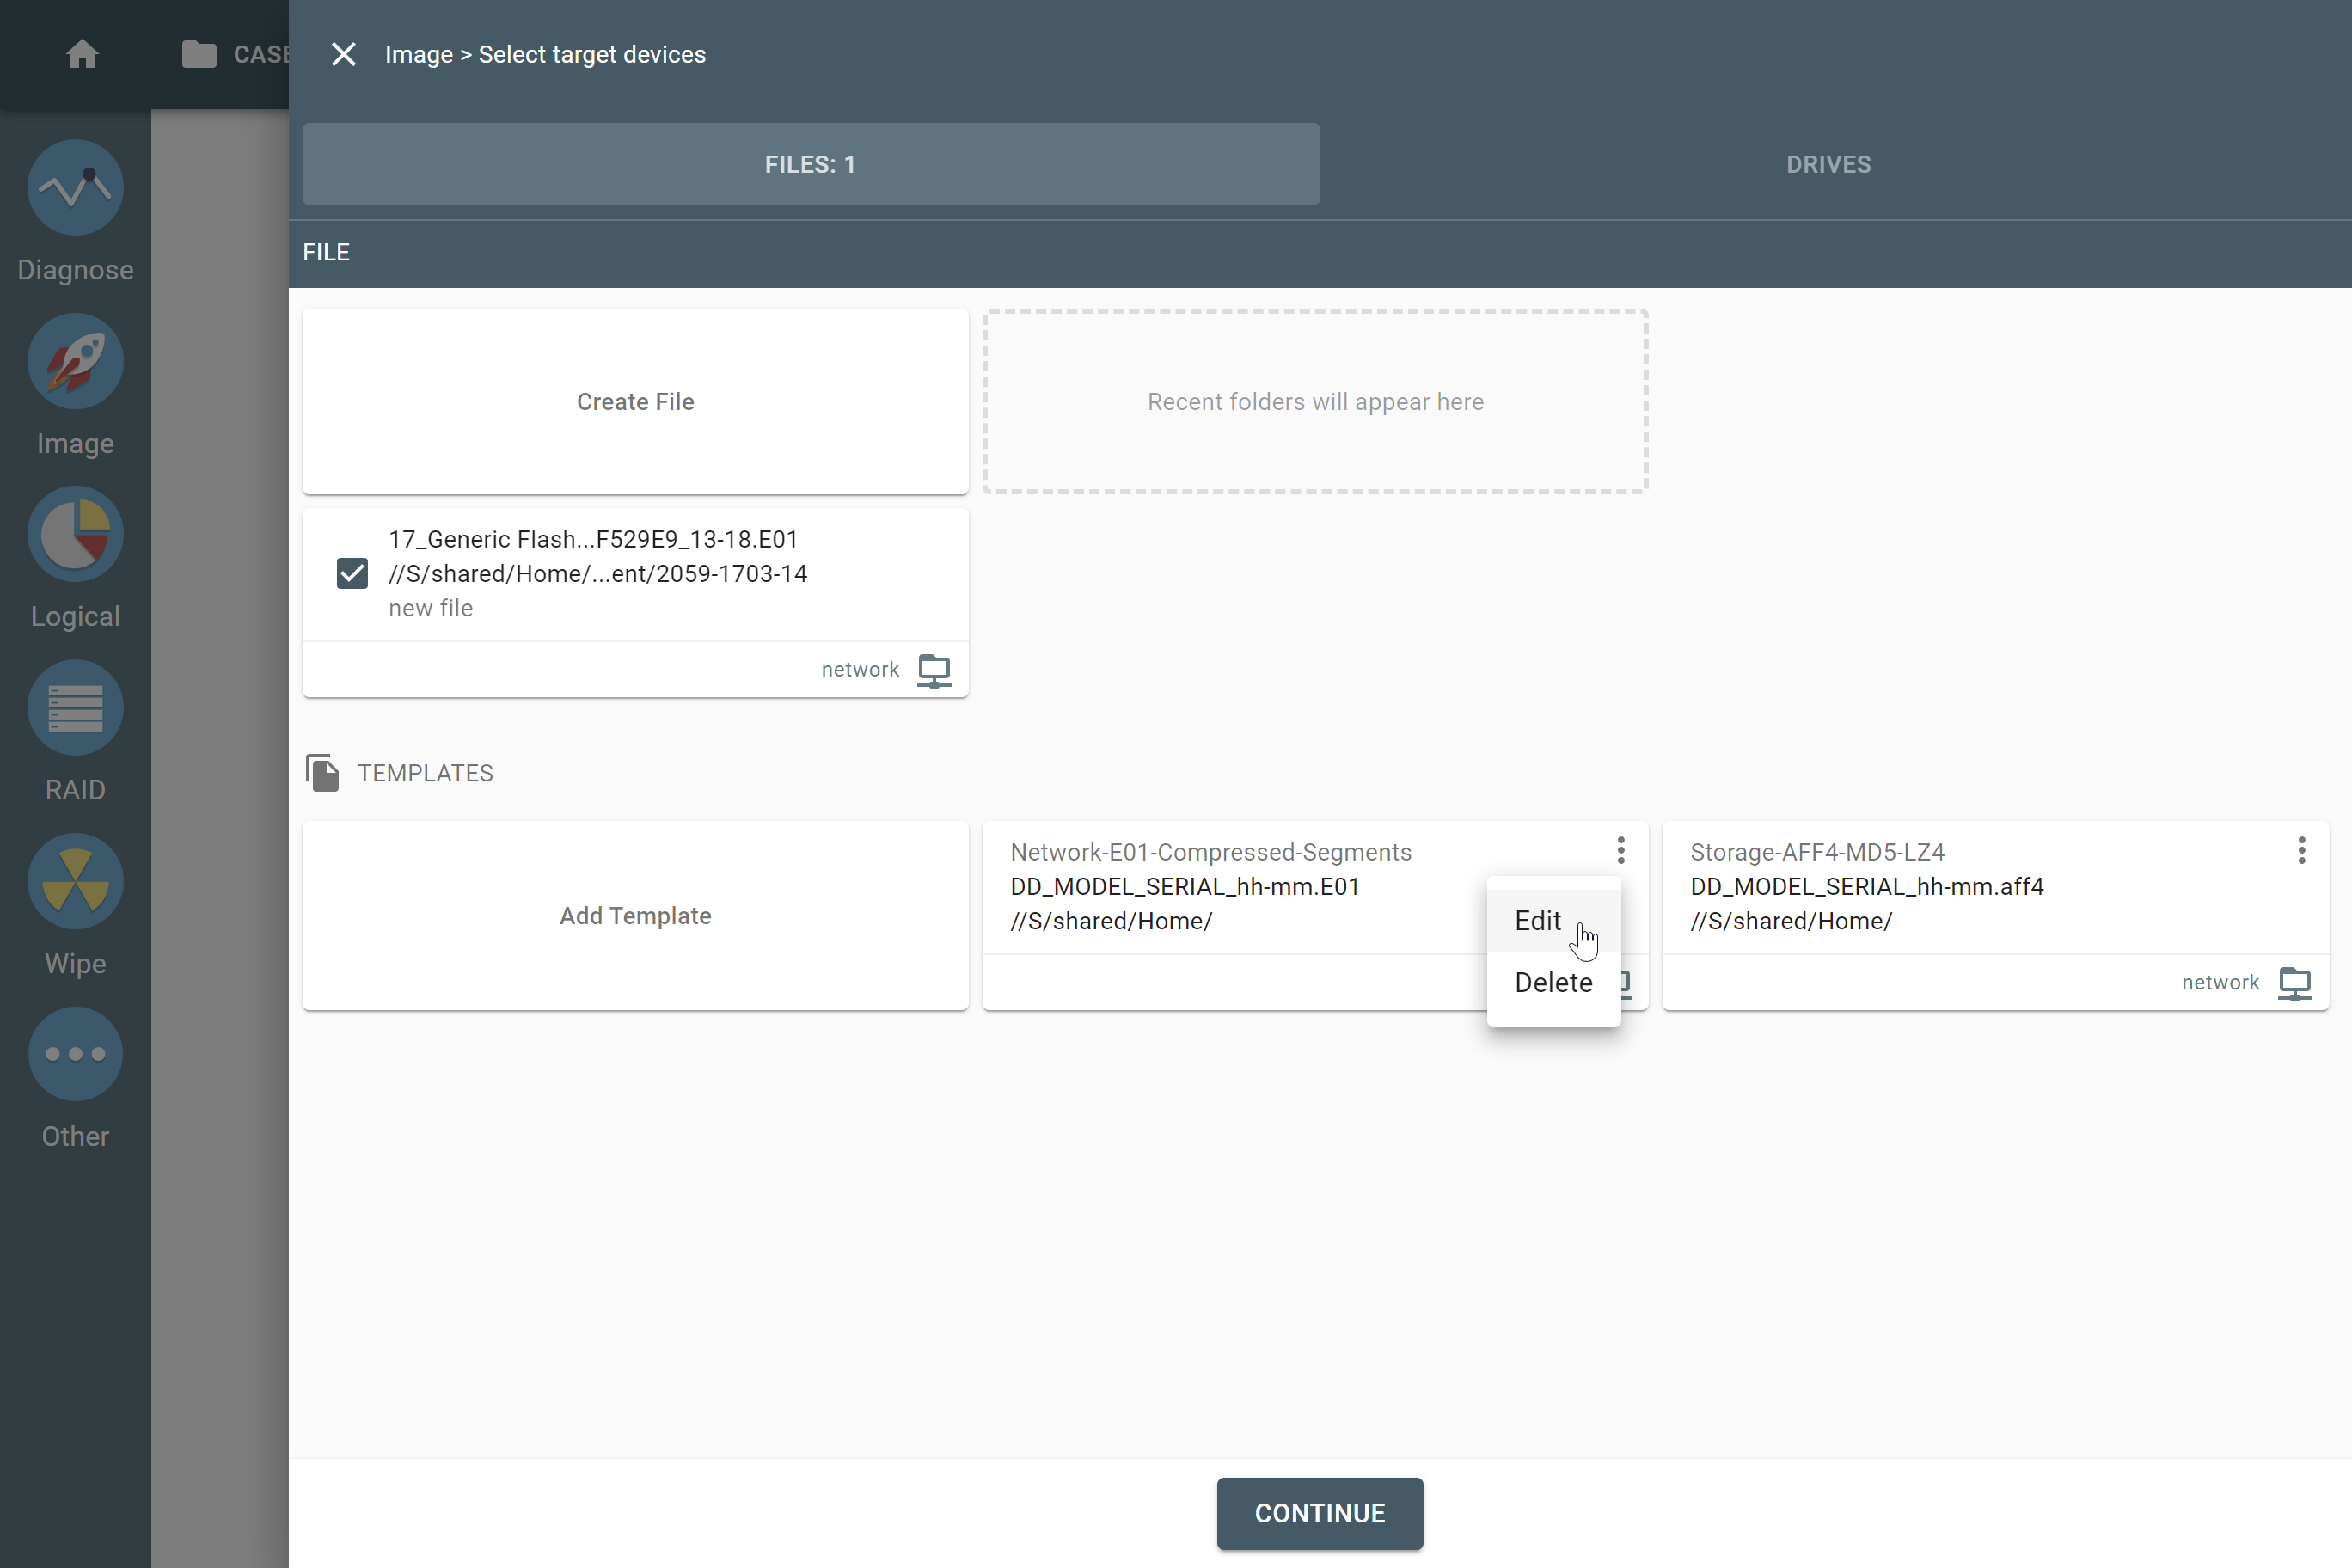
Editing or deleting a template for target image files.