Imaging to a file on an encrypted drive with TaskForce 2
With Atola TaskForce 2 it is possible to image into files on an encrypted target drive using VeraCrypt for data encryption. Multiple target drives can be encrypted for the same or different sessions.
Create encrypted storage
To image into files on an encrypted target drive, connect the source drive to a port in the Source mode and take these steps:
- In the TaskForce main window, click Image.
- Select a source device.
- Optional: On the Imaging sessions page, click Start new.
- On the Select target devices panel, switch to the Files tab and click Create file.
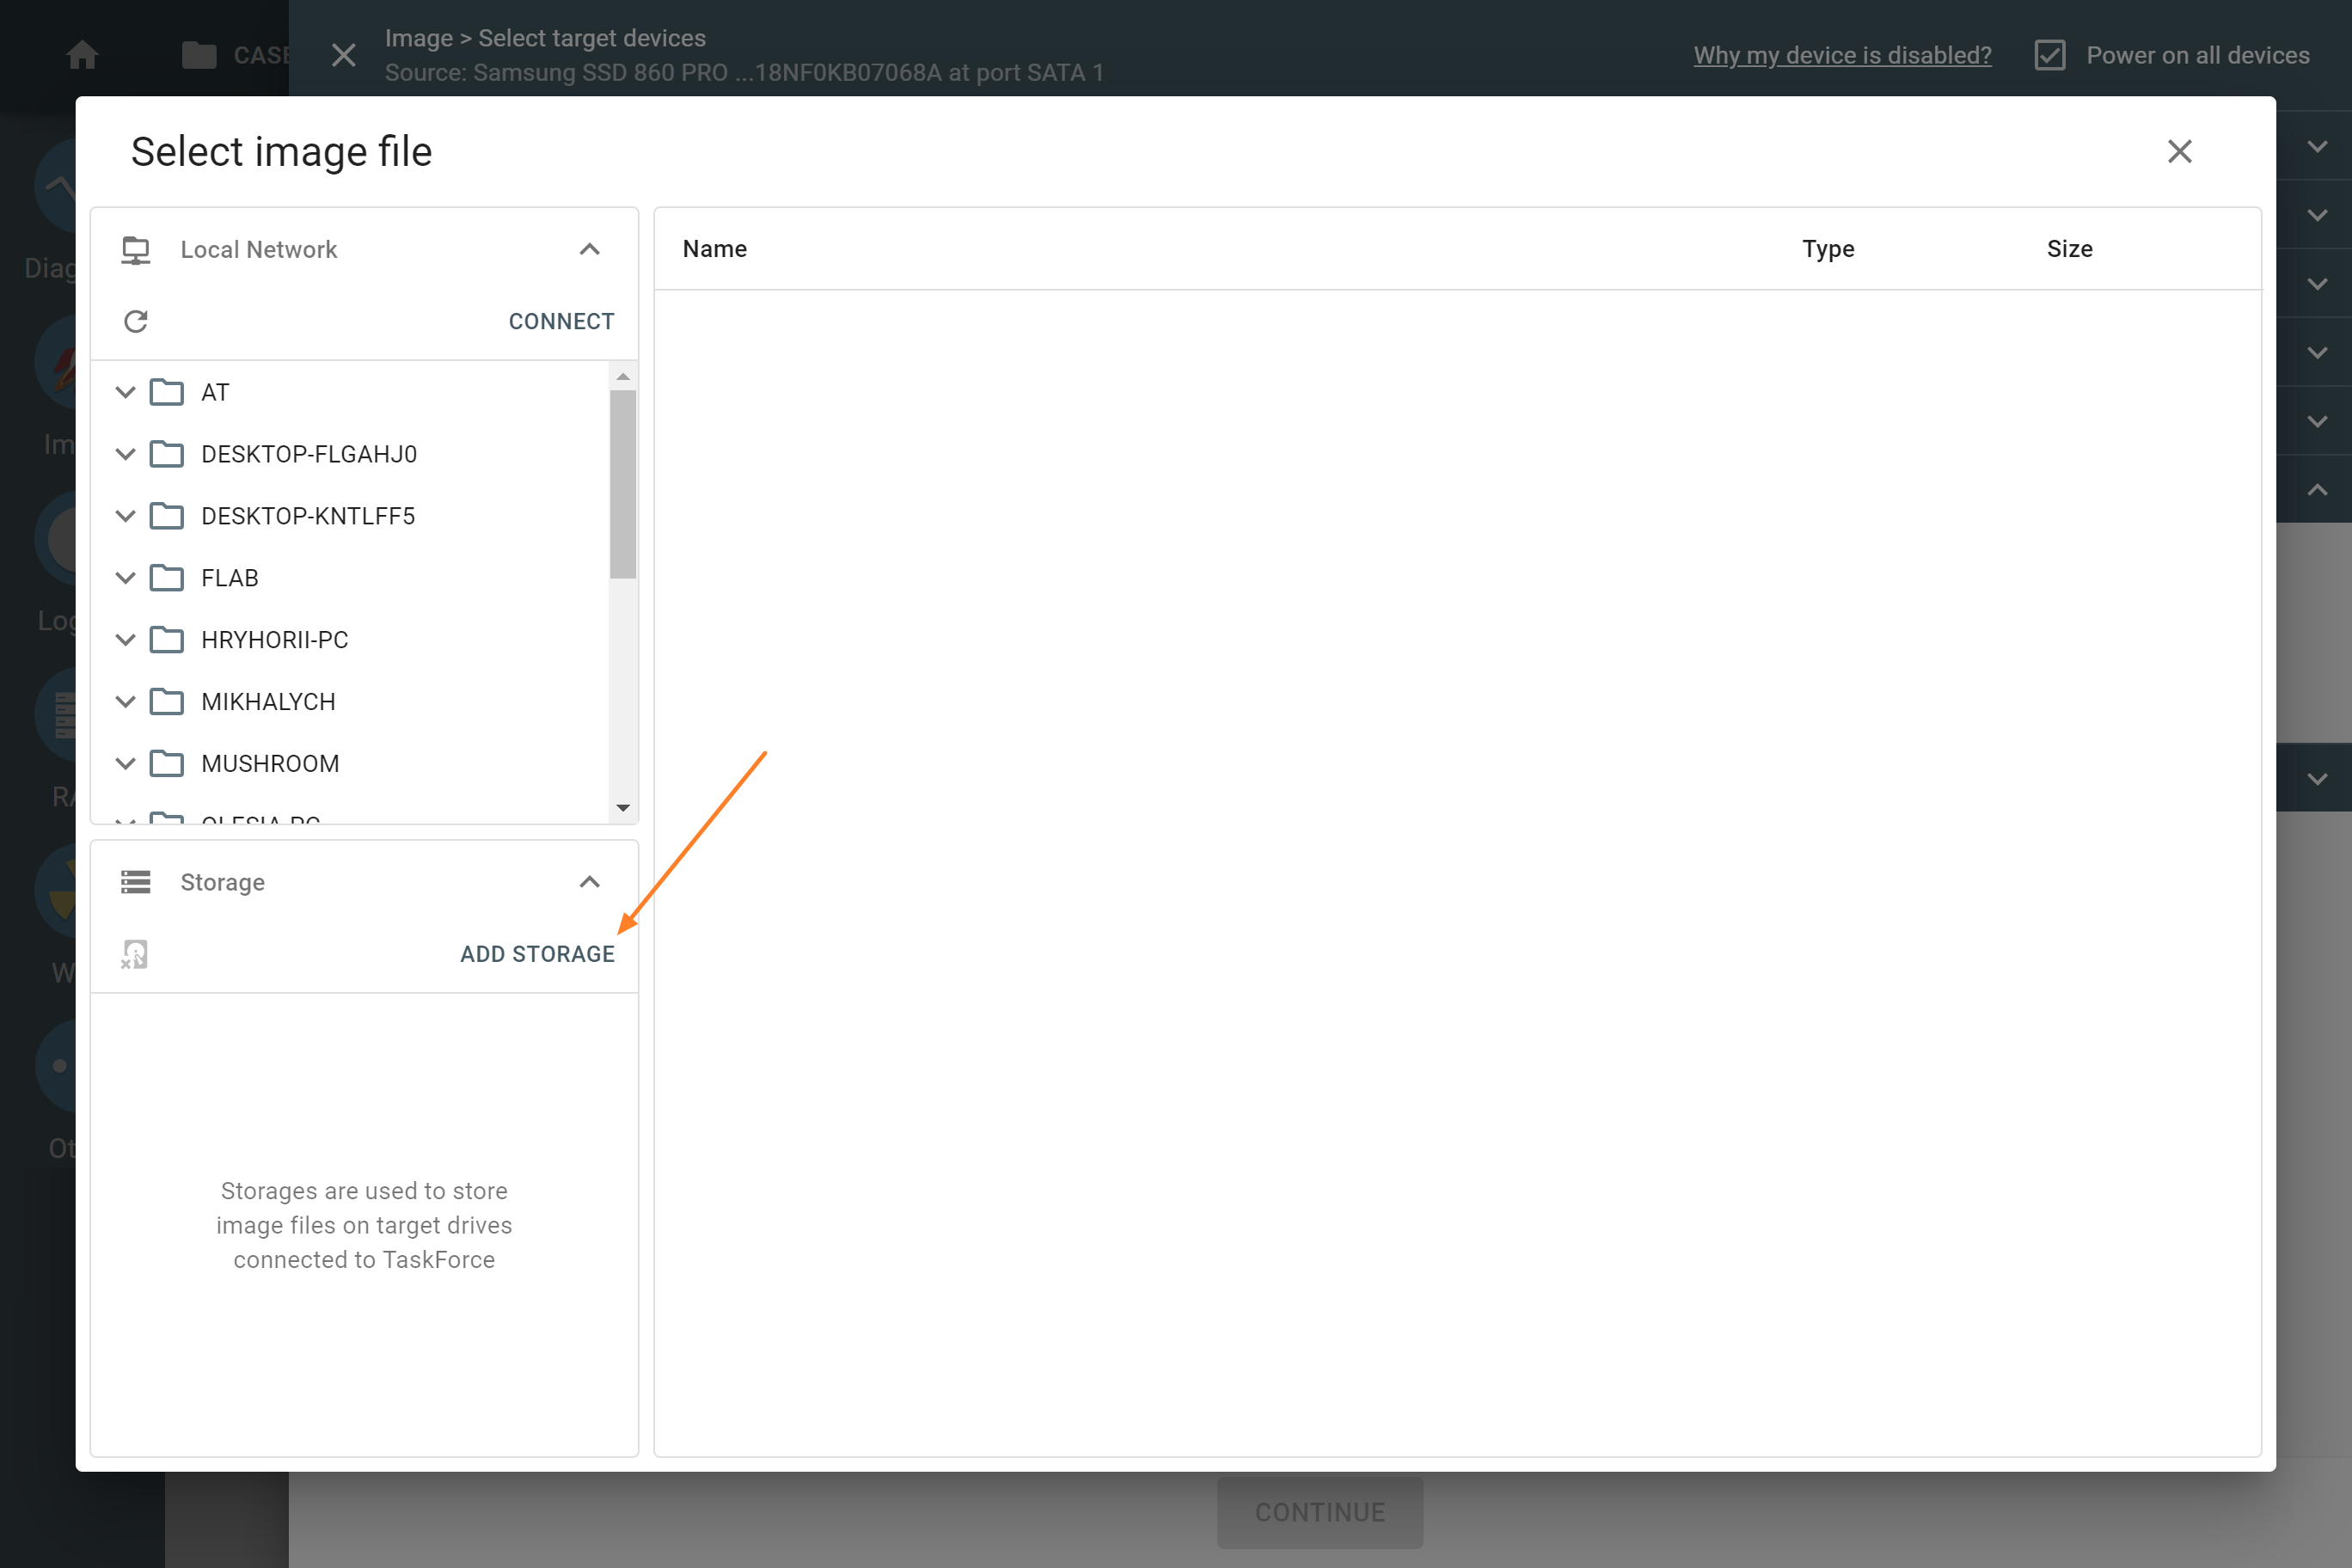
- In the Select image file window, click Add storage.
- On the Select device panel, switch to the Drives tab and choose the drive connected to a port in the Target mode.
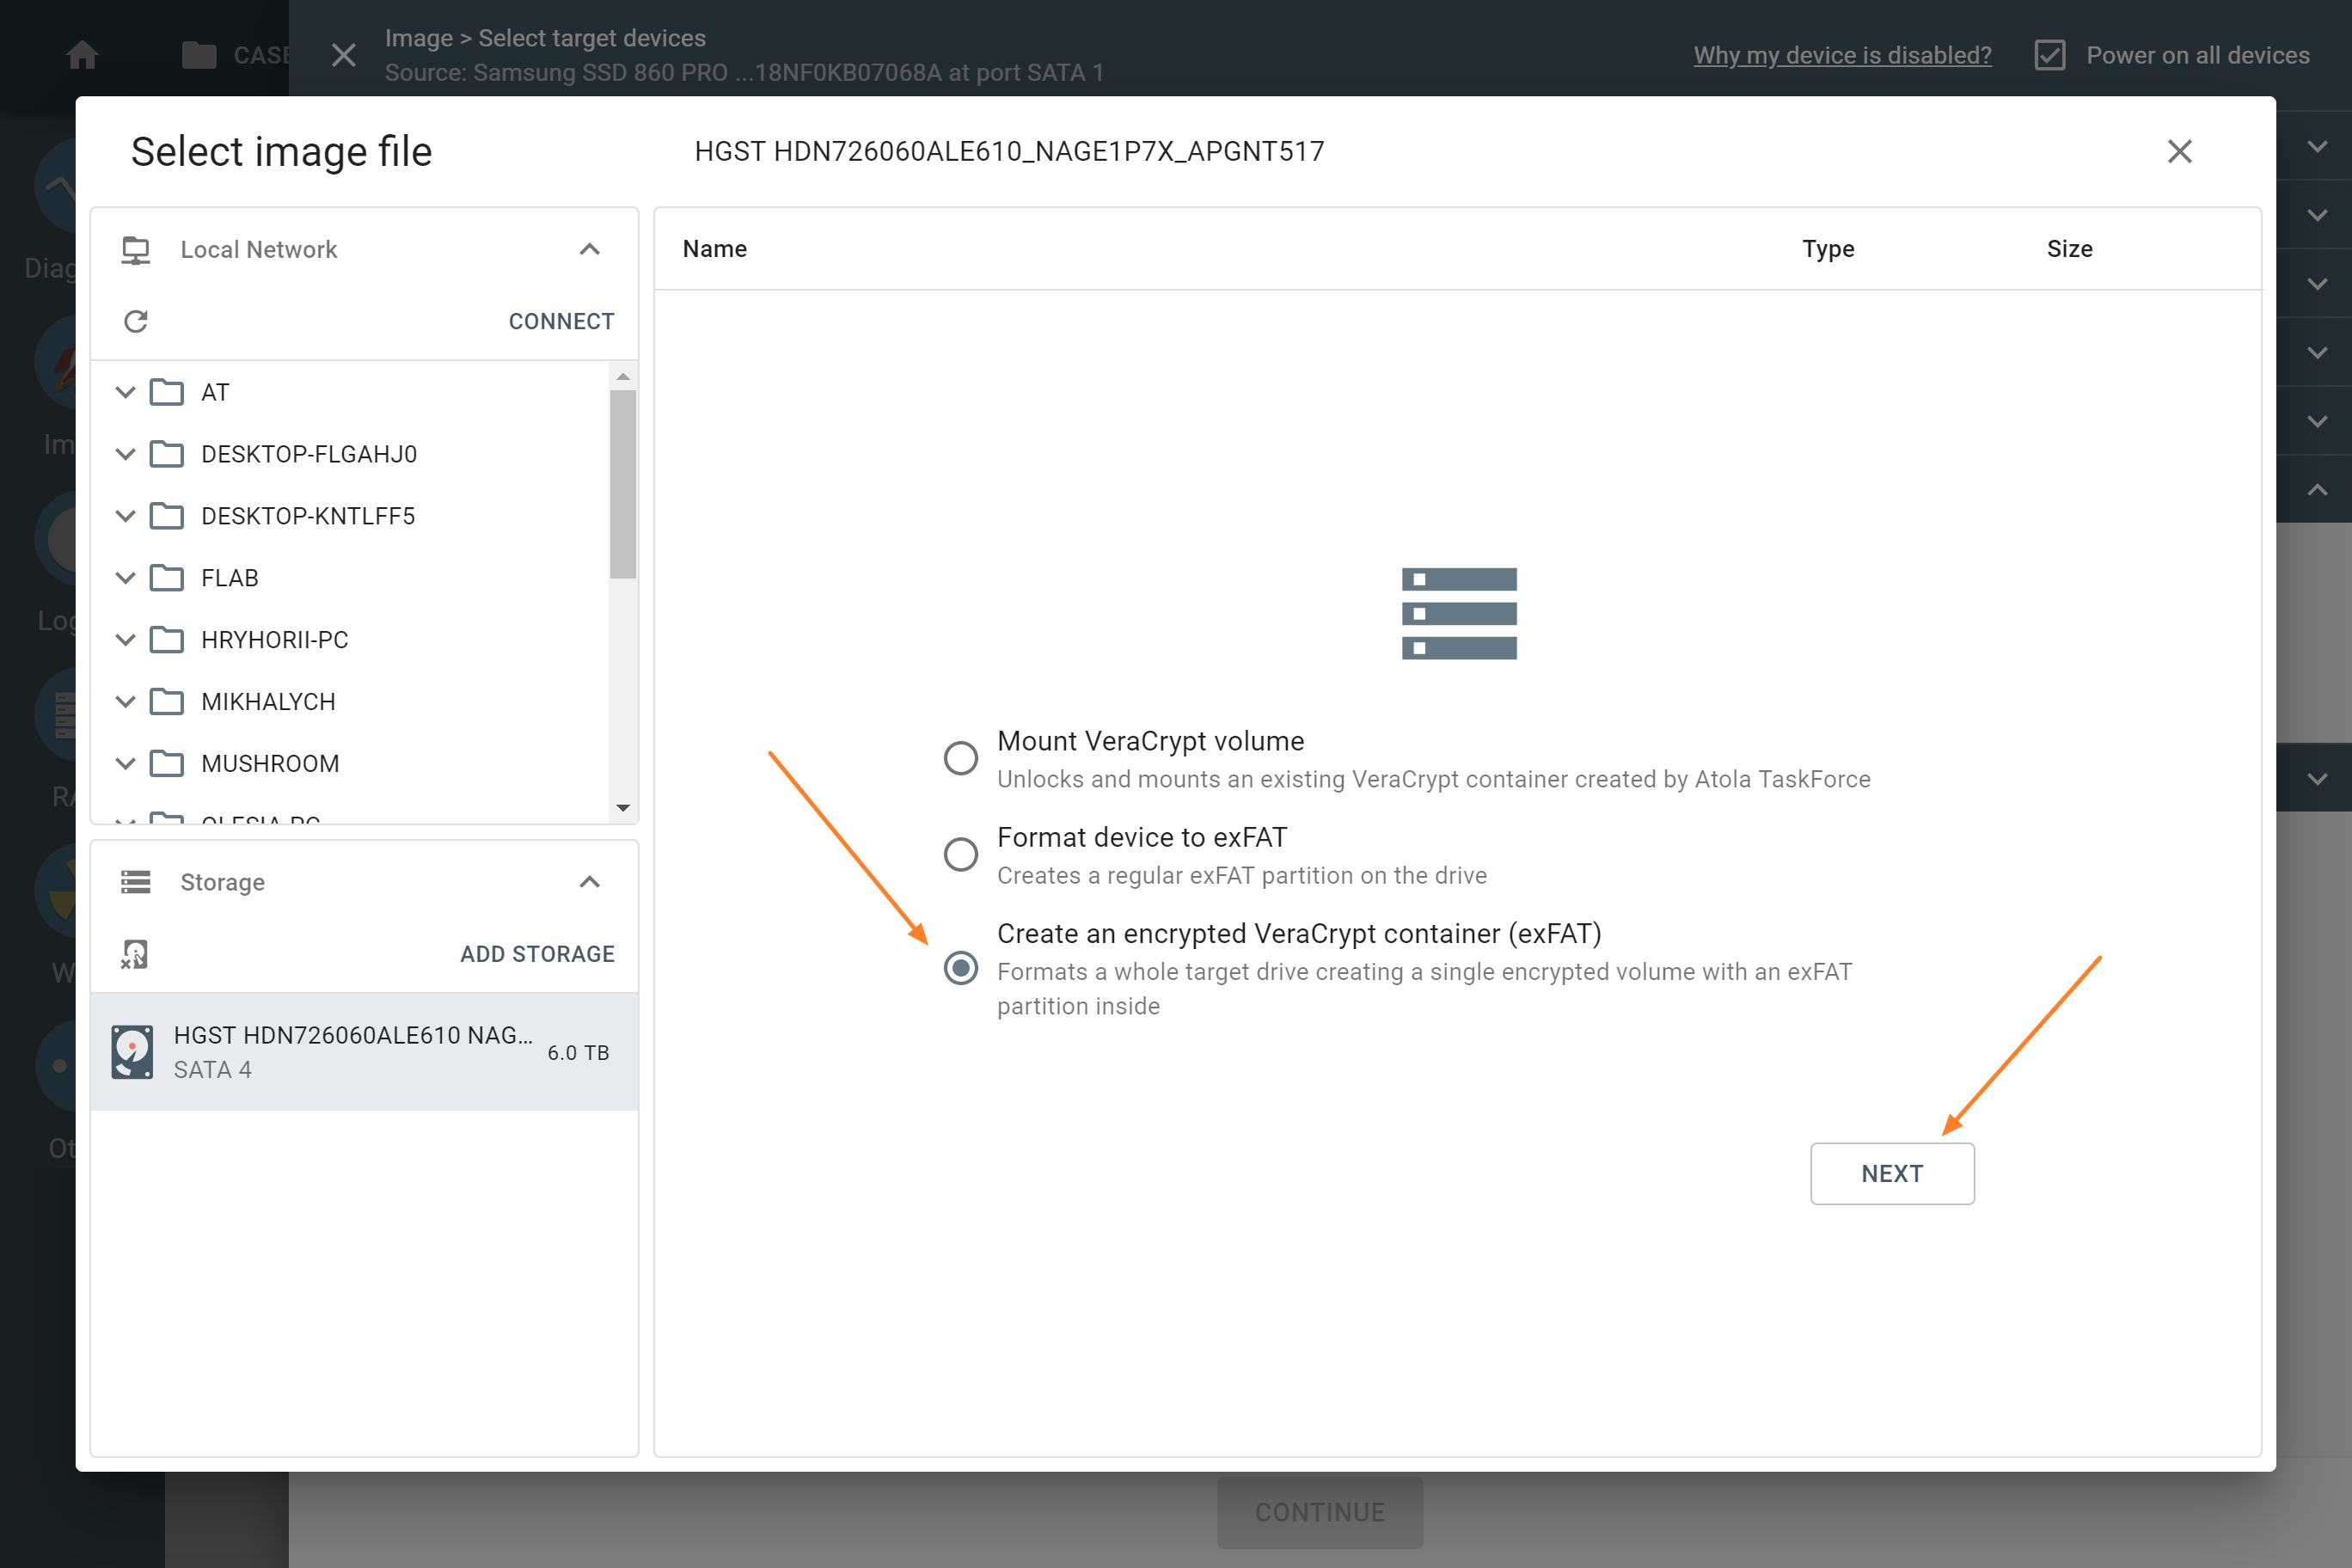
- Select Create an encrypted VeraCrypt container (exFAT) and click Next.
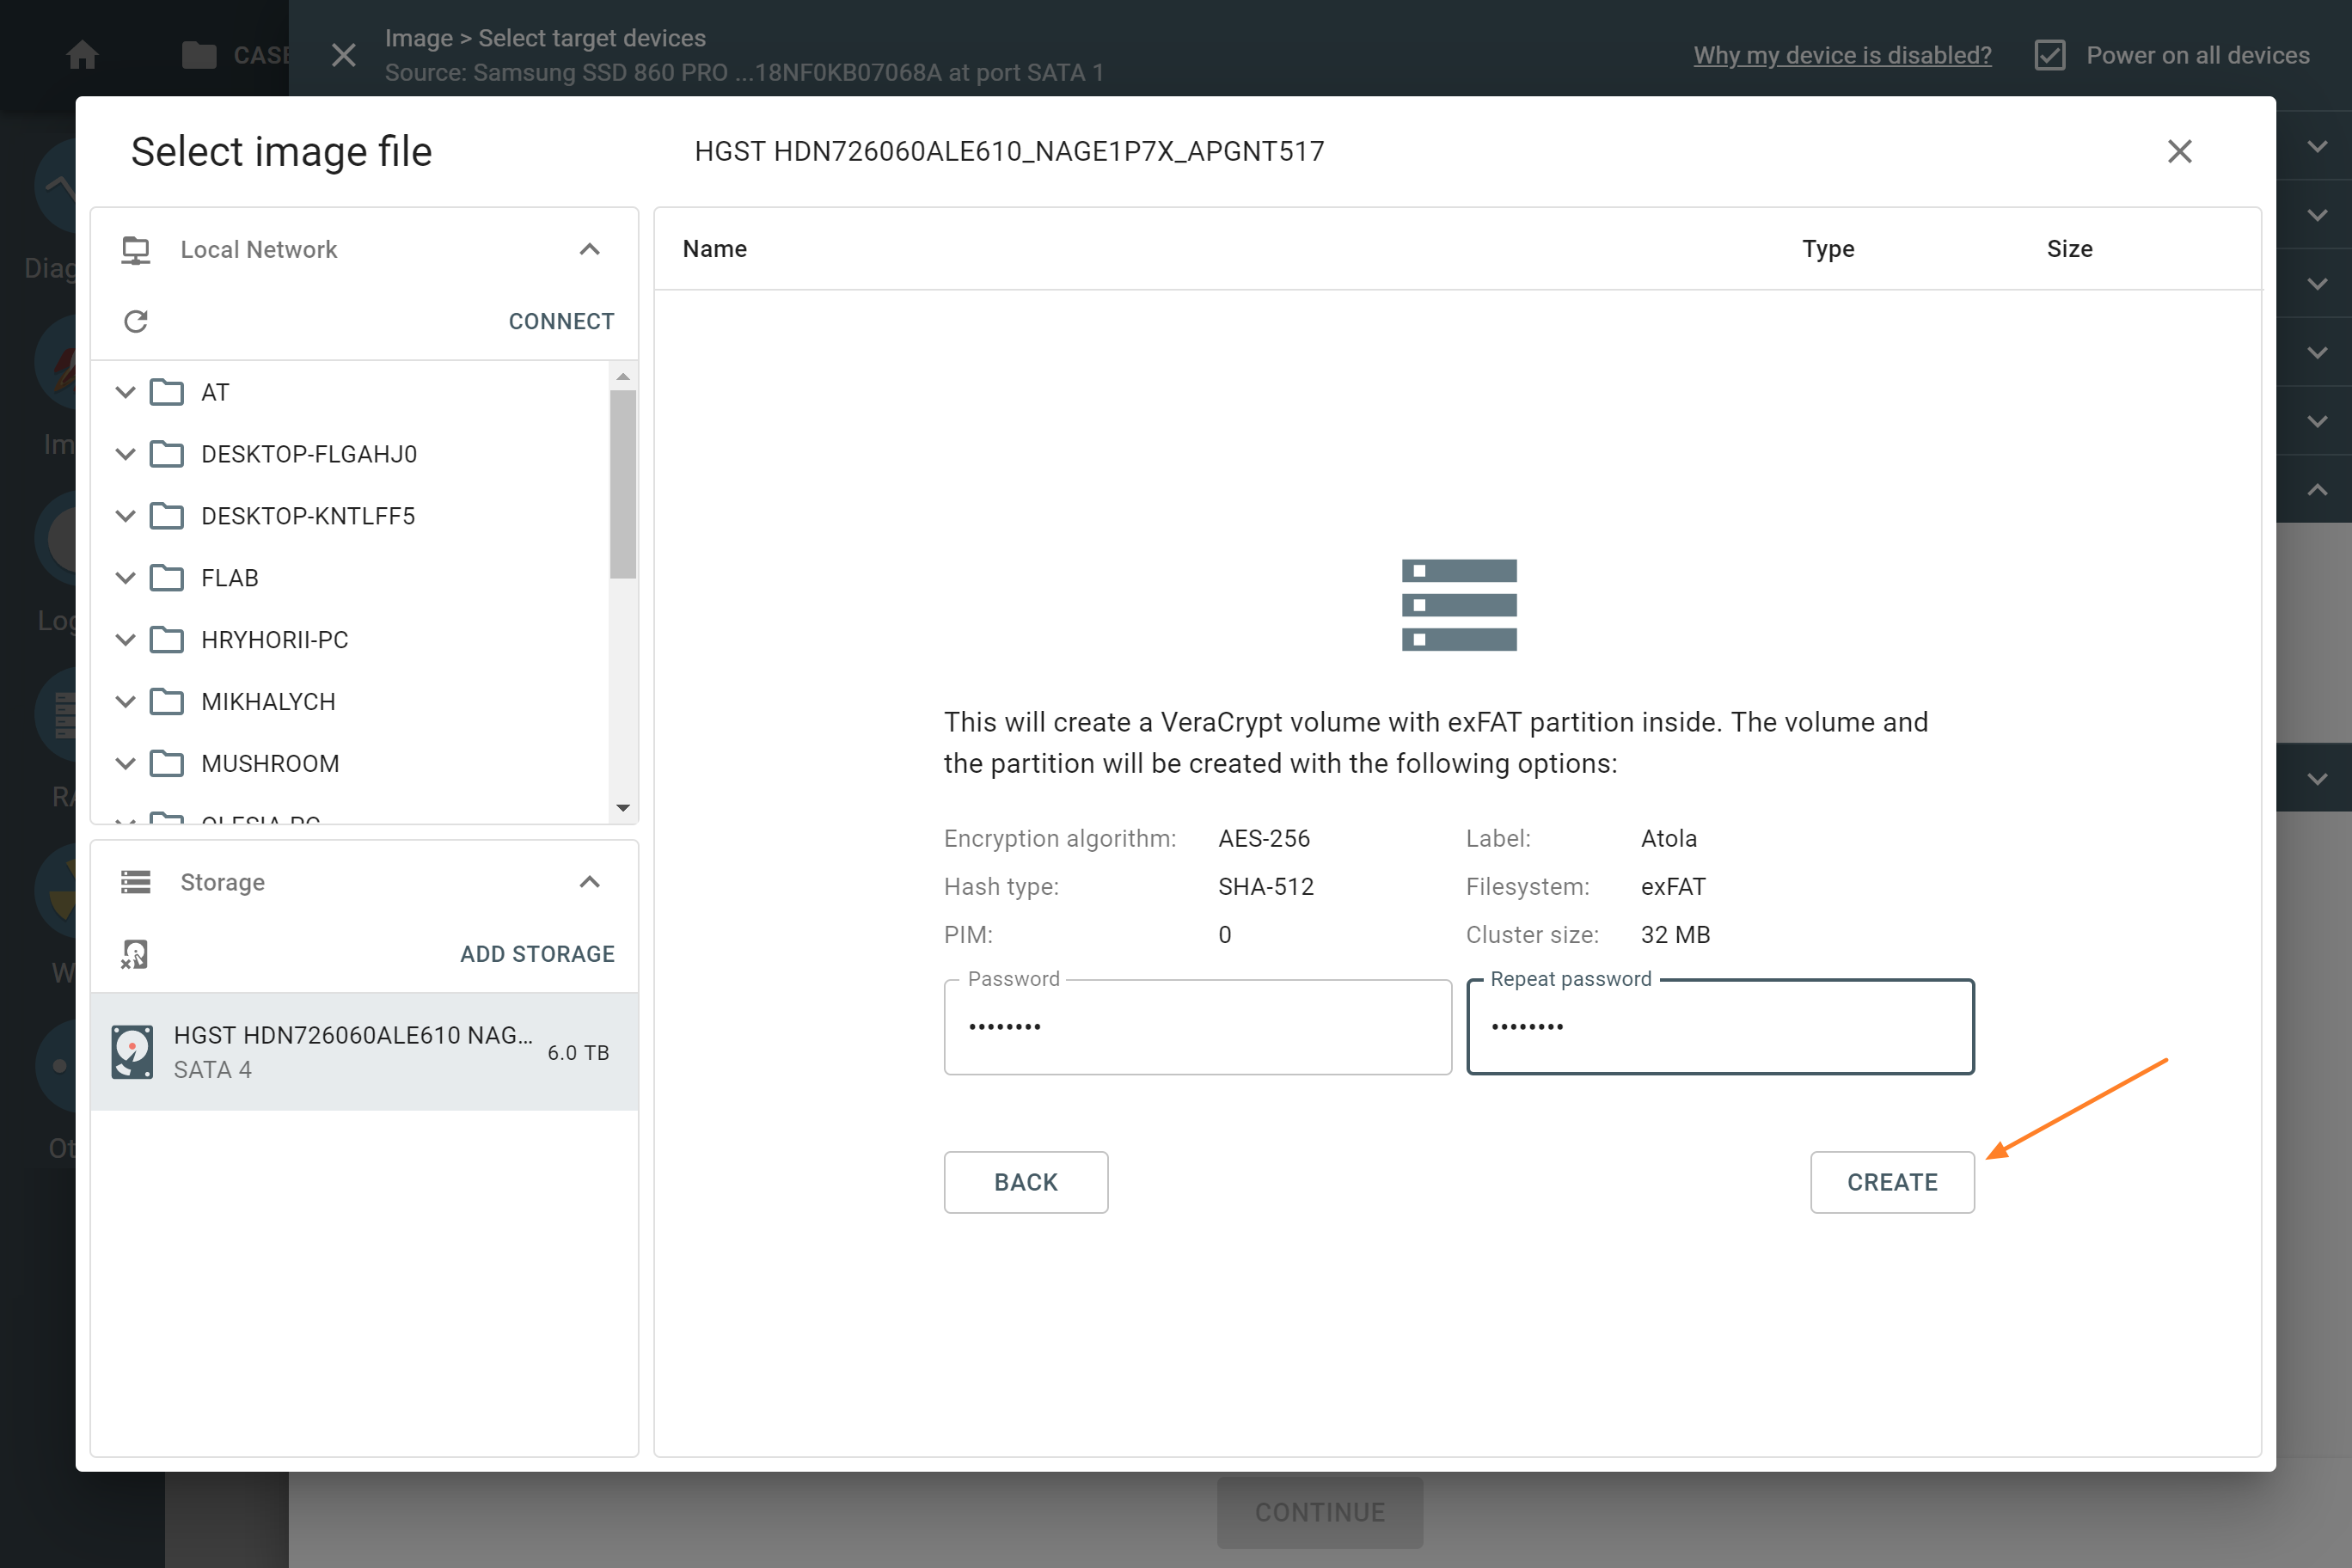
- Enter and confirm the password for the encrypted volume on the drive. Then click Create.
- Confirm the formatting of the device by entering YES and clicking OK. After this step, the formatting takes a few seconds.
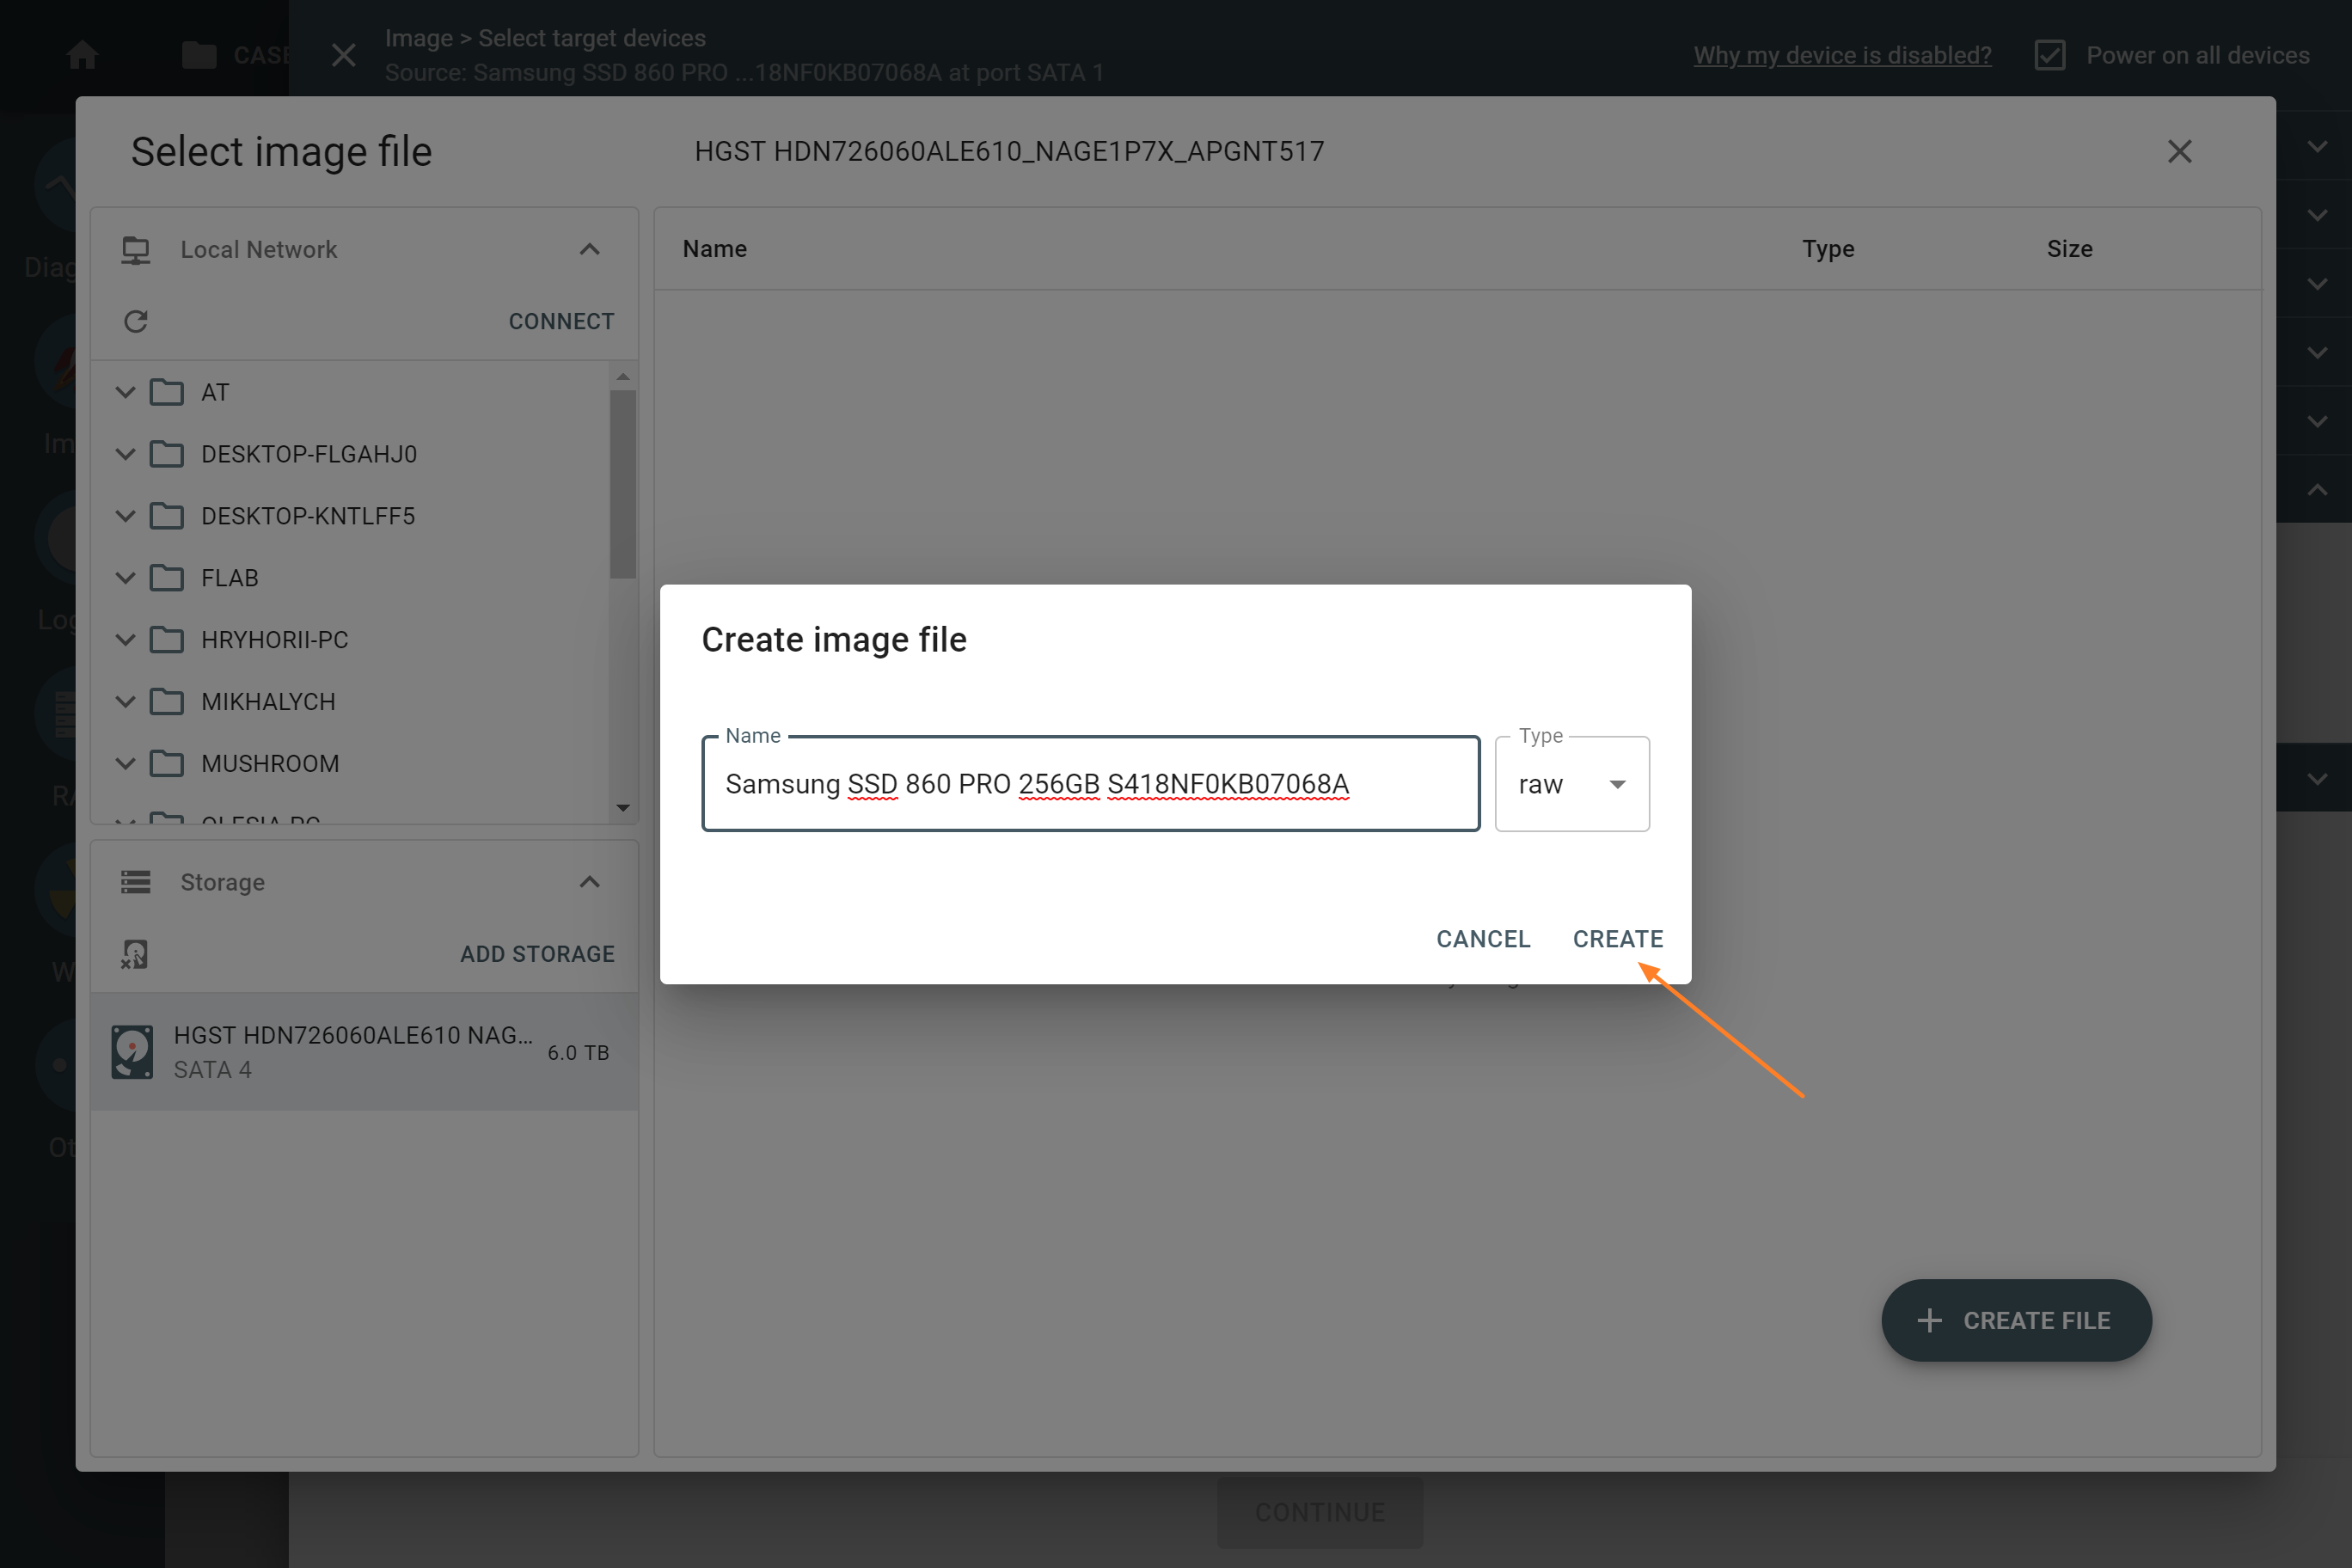
- Click + Create file.
- Enter the name of the image file and choose the file format (E01, raw, img or dd). Then click Create.
- Once you have created the file, you may add more image files in the same or a different folder.
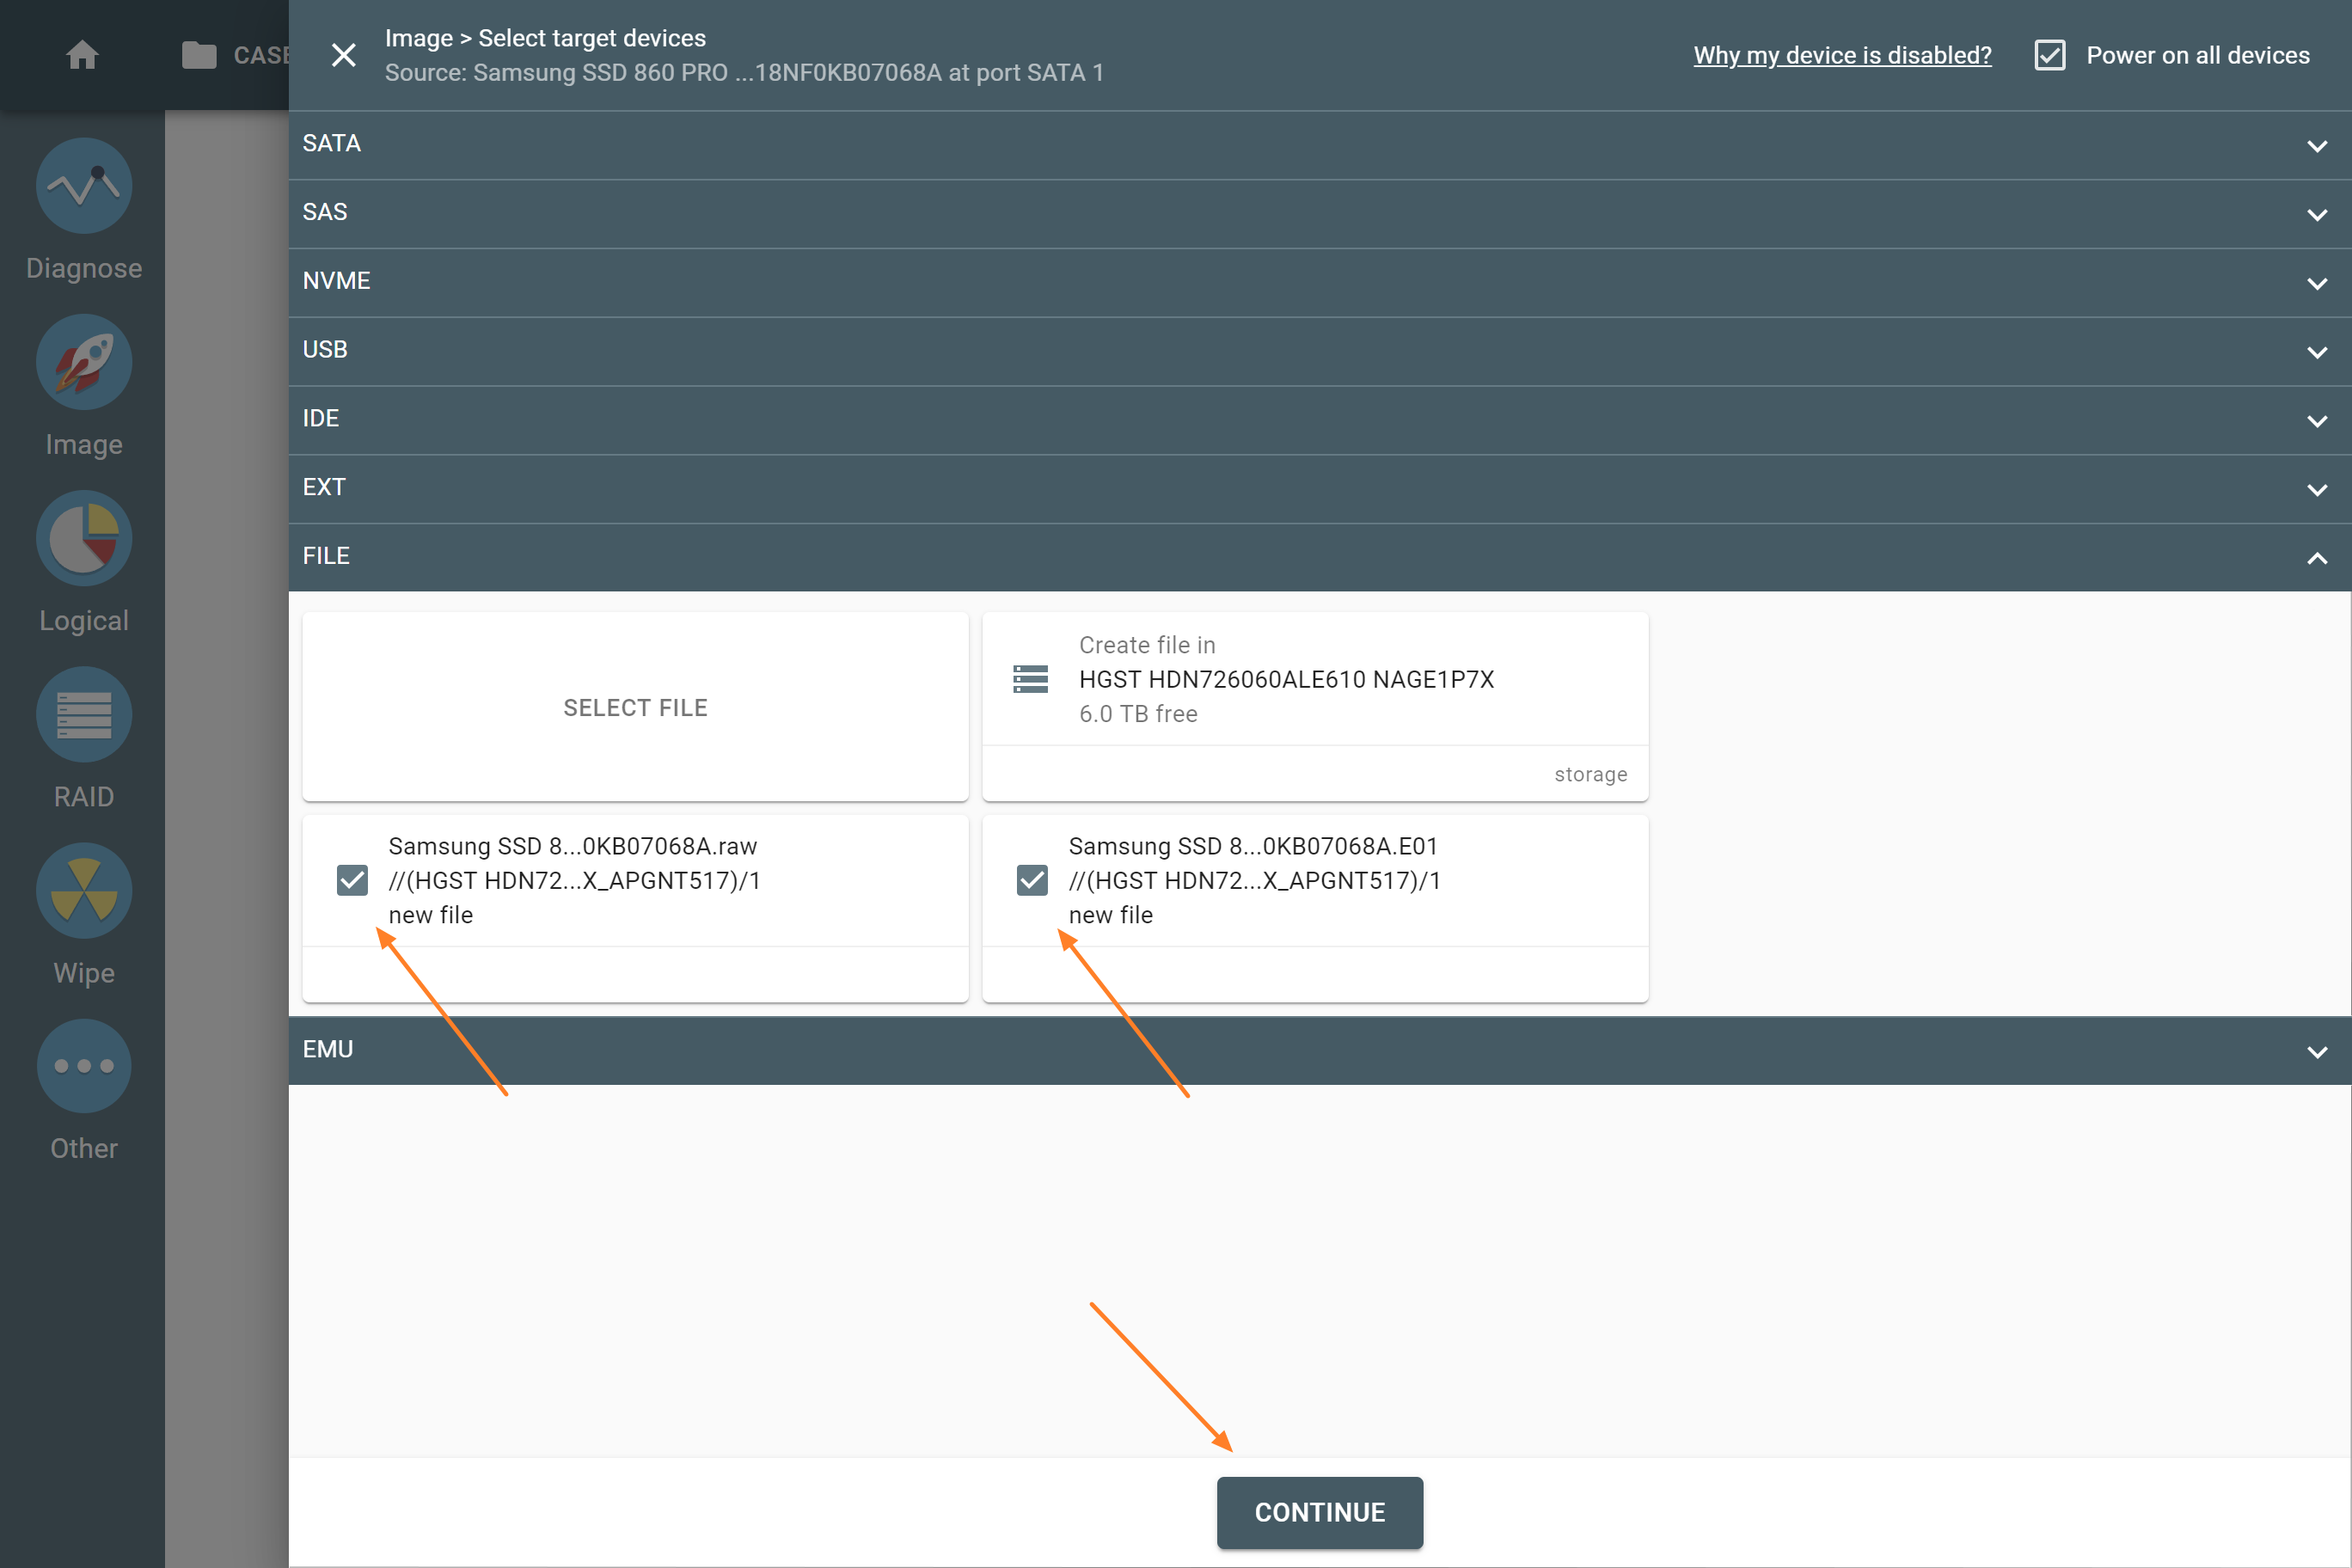
After you click Continue, TaskForce 2 images the evidence into the file on your encrypted target.
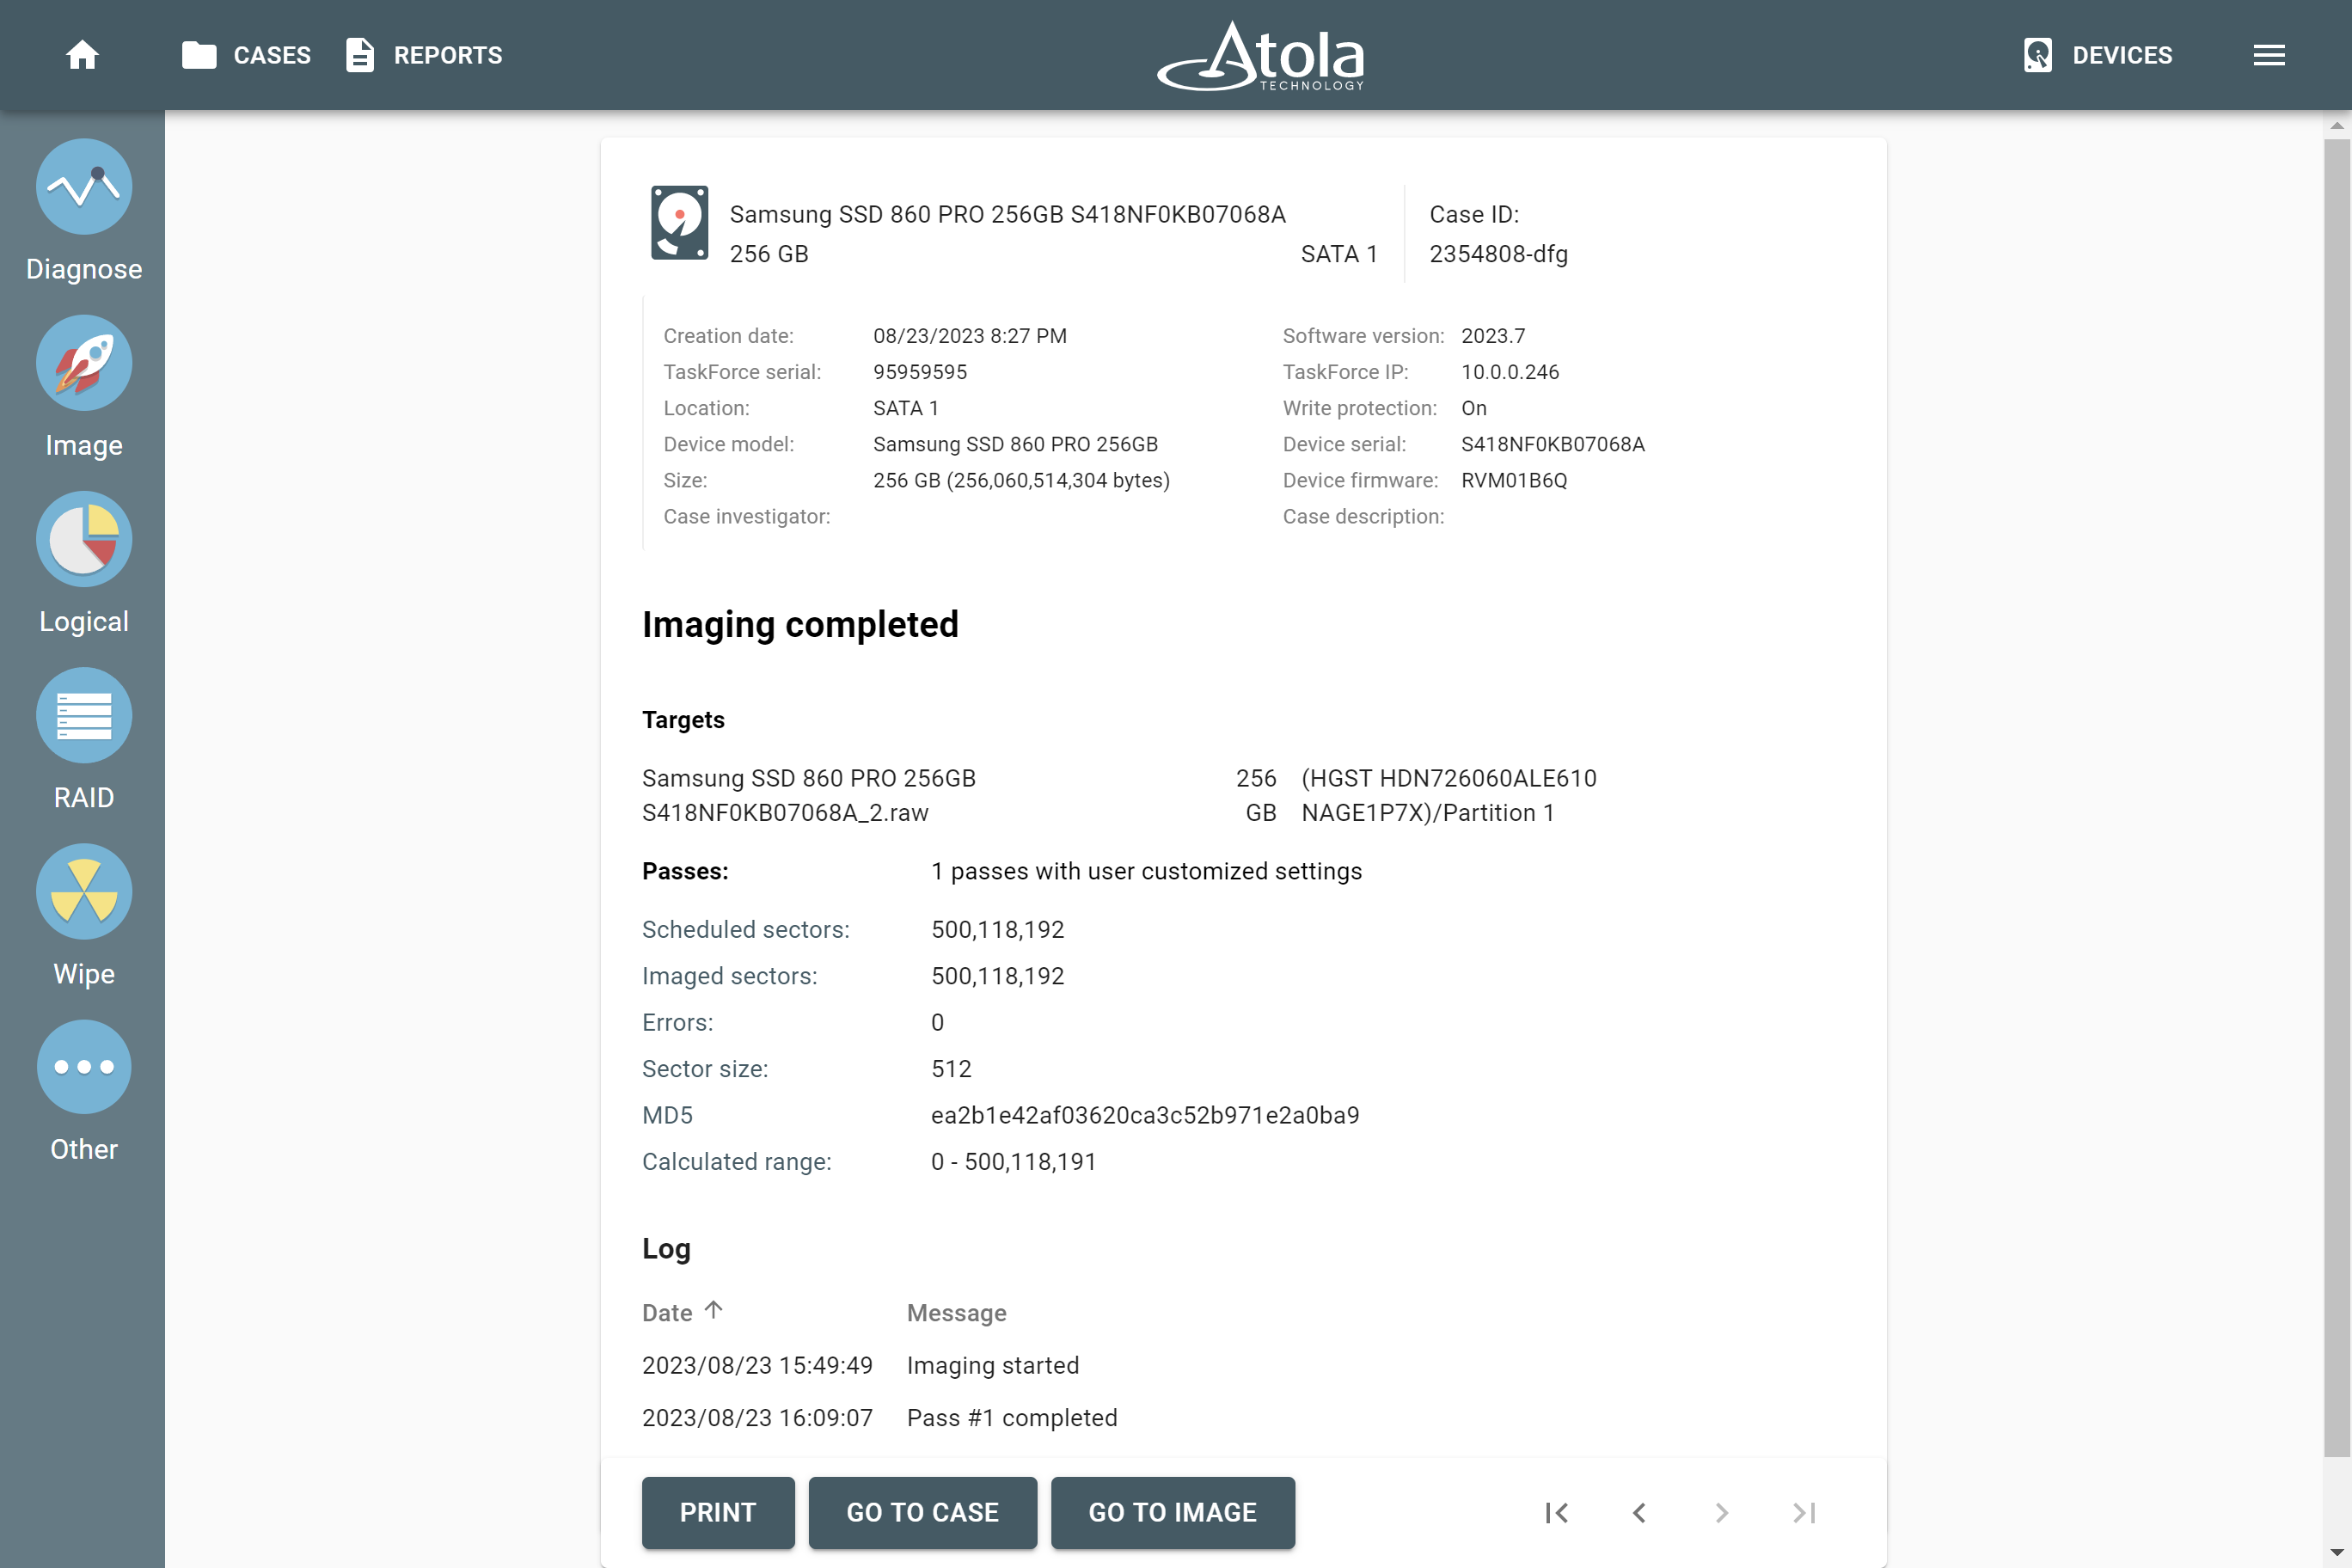
Upon completion of the imaging session, check the Imaging completed report.
Extract data from an encrypted volume
To find the VeraCrypt volume and the imaged file, do the following:
- Plug the target drive into your computer.
- Use VeraCrypt software to safely access encrypted data from your drive.
- Select the drive label (A, B, C, etc.) on which you want the volume to be mounted.
- Click Select device.
- In the pop-up window, select your encrypted volume.
- Click Mount. Now you can view the partition name, size and encryption algorithm.
- Use the password set prior to the imaging session to get access to the encrypted volume.
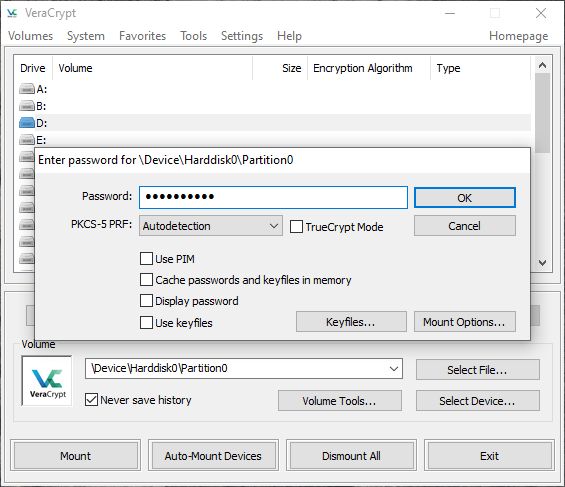
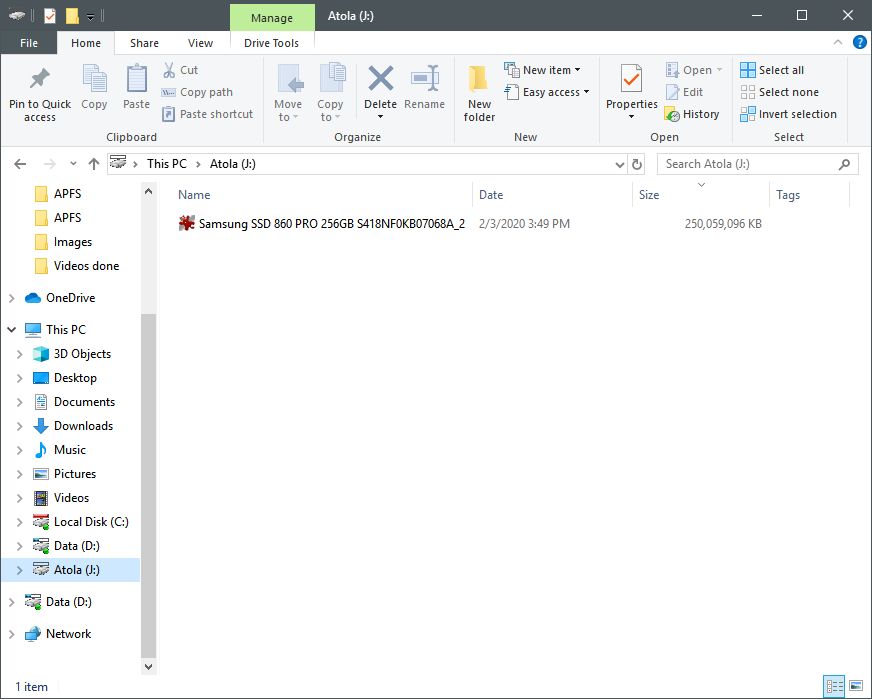
After you enter the password, the volume is mounted and you can access it from Windows Explorer and use the image for subsequent operations.