Imaging presets
For examiners who need to ensure they are using specific imaging settings for certain types of drives or cases, TaskForce 2 allows creating different presets for easy, one-click switching to a specific imaging routine. Presets also allow these specific imaging settings to be shared with colleagues who use another TaskForce 2 by exporting presets from one device and importing them onto another one.
TaskForce 2 has two presets called Default and Damaged recommended for healthy and faulty drives respectively.
Default presets.
Manage custom presets
To create a custom preset:
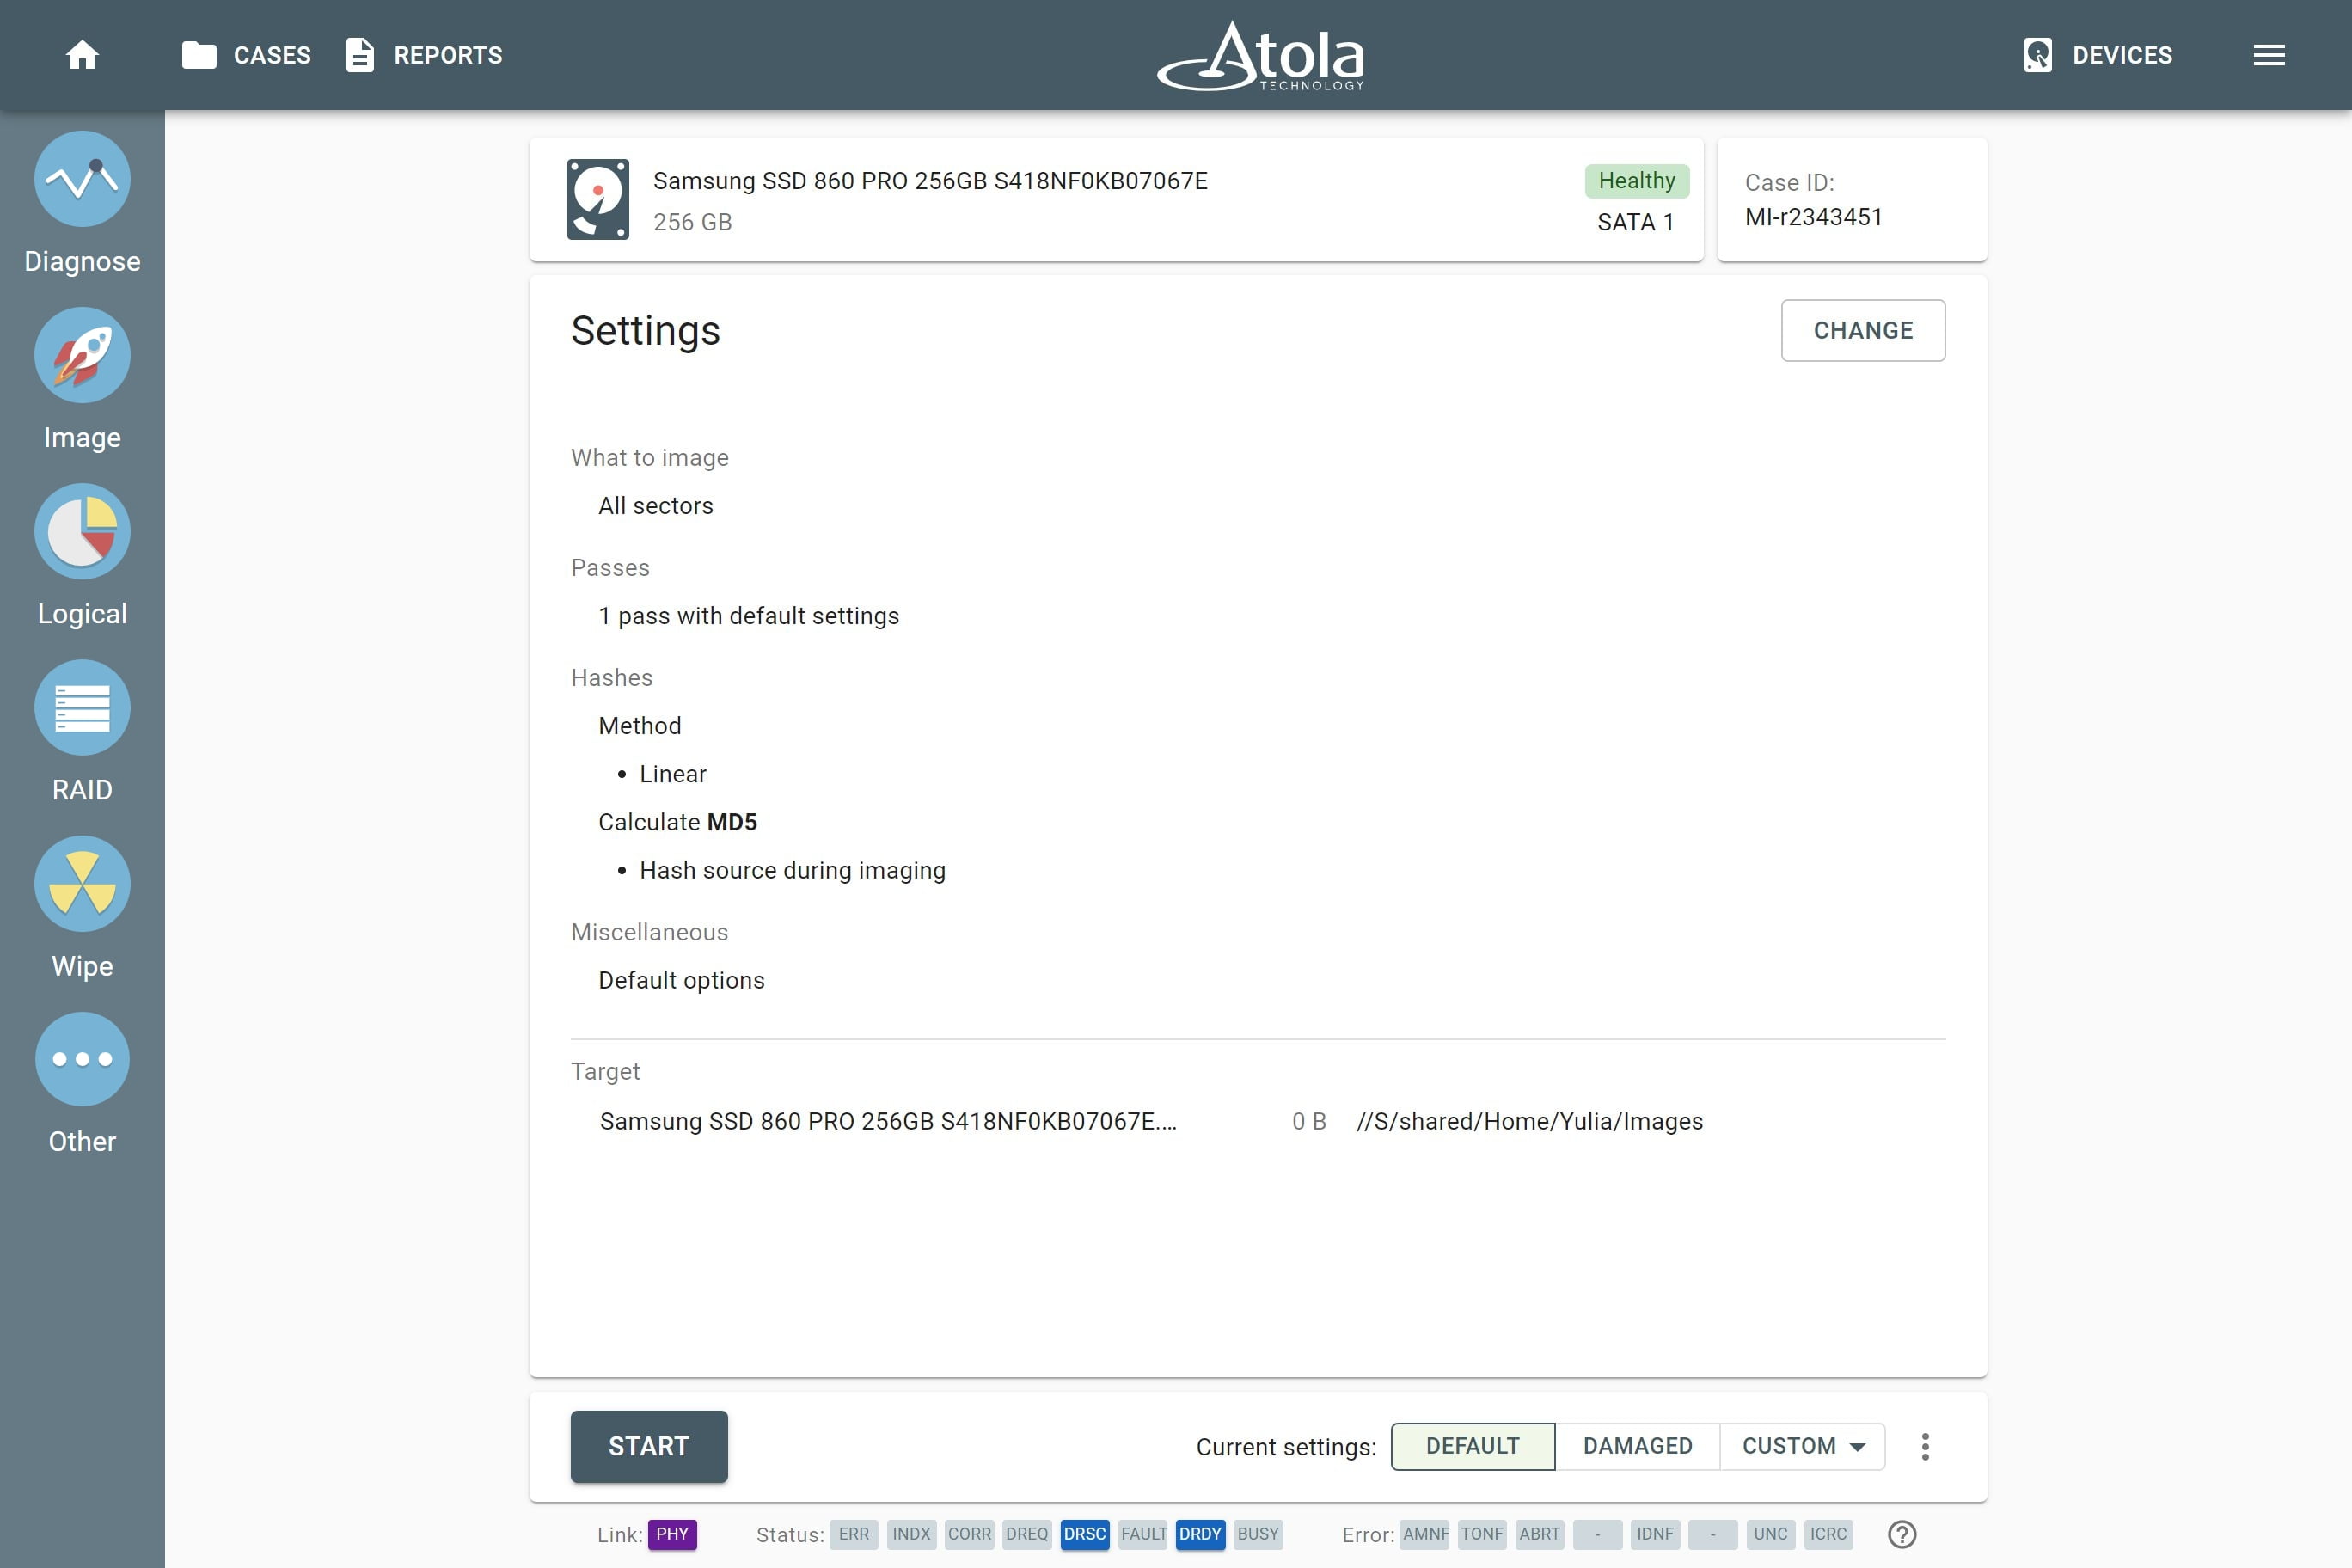
- Go to Image and select source and target devices.
- On the Imaging settings page, click Change.
- Change the imaging settings.
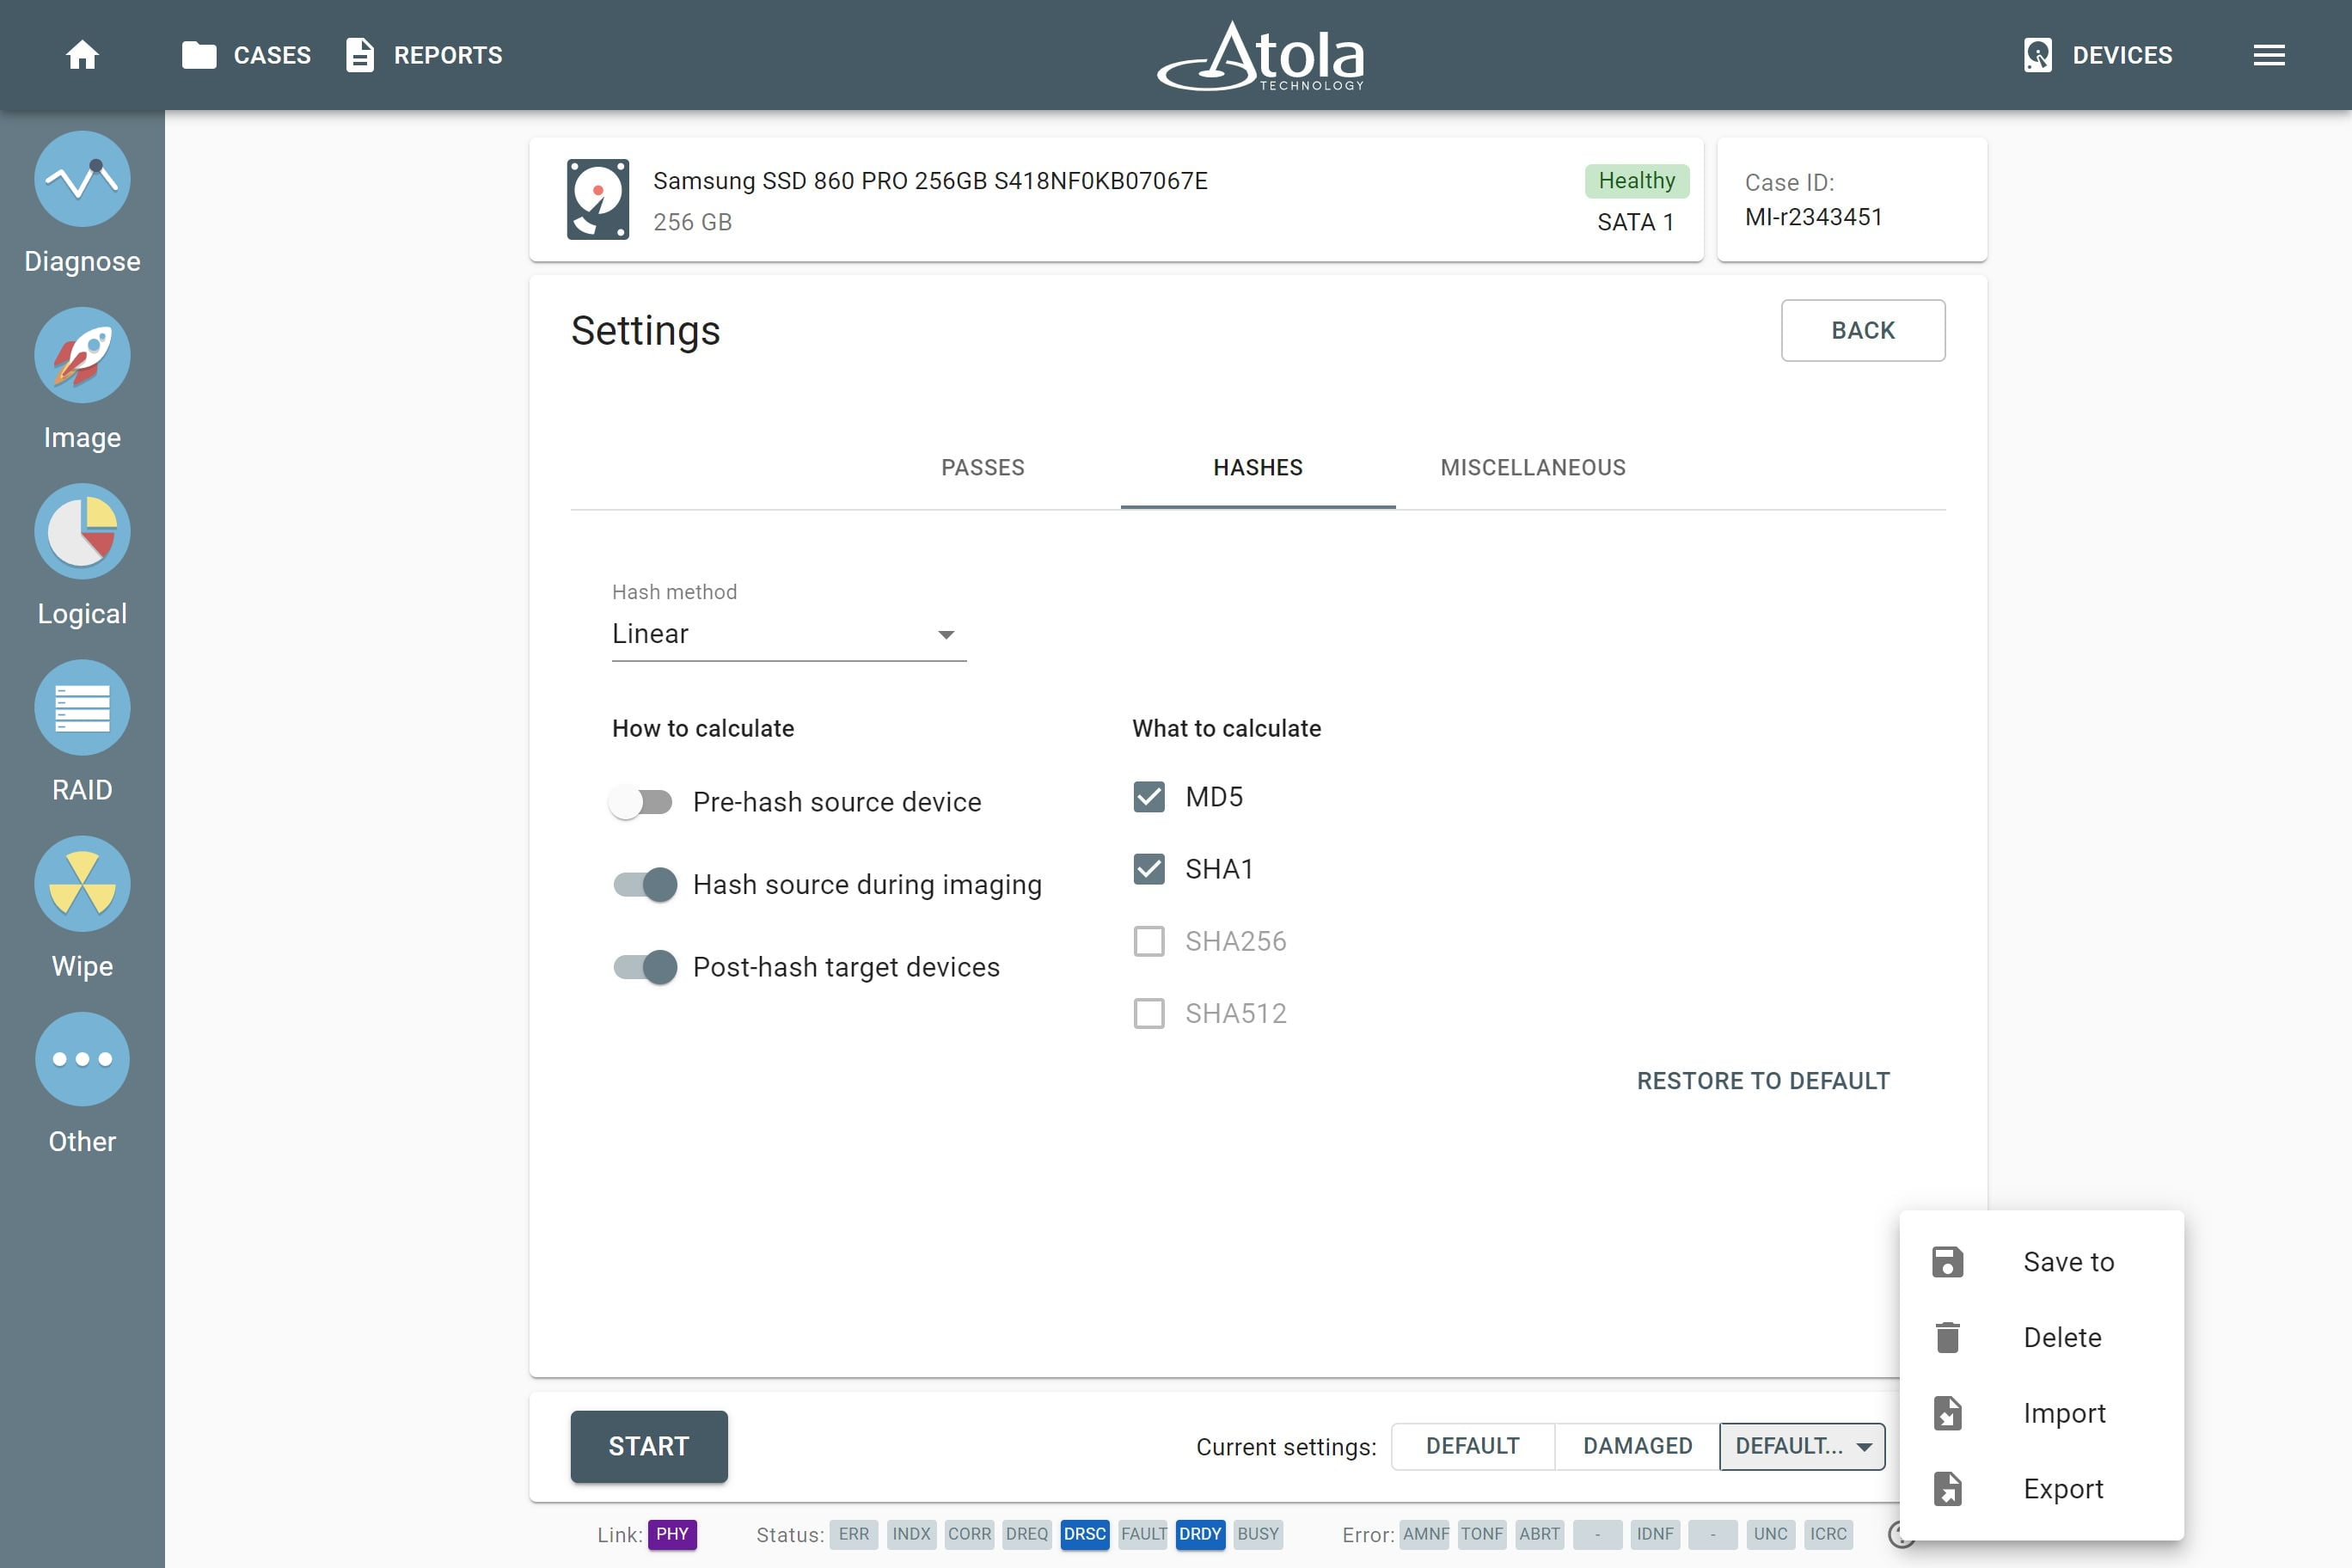
- Click the three-dot icon in the bottom right corner and choose Save to.
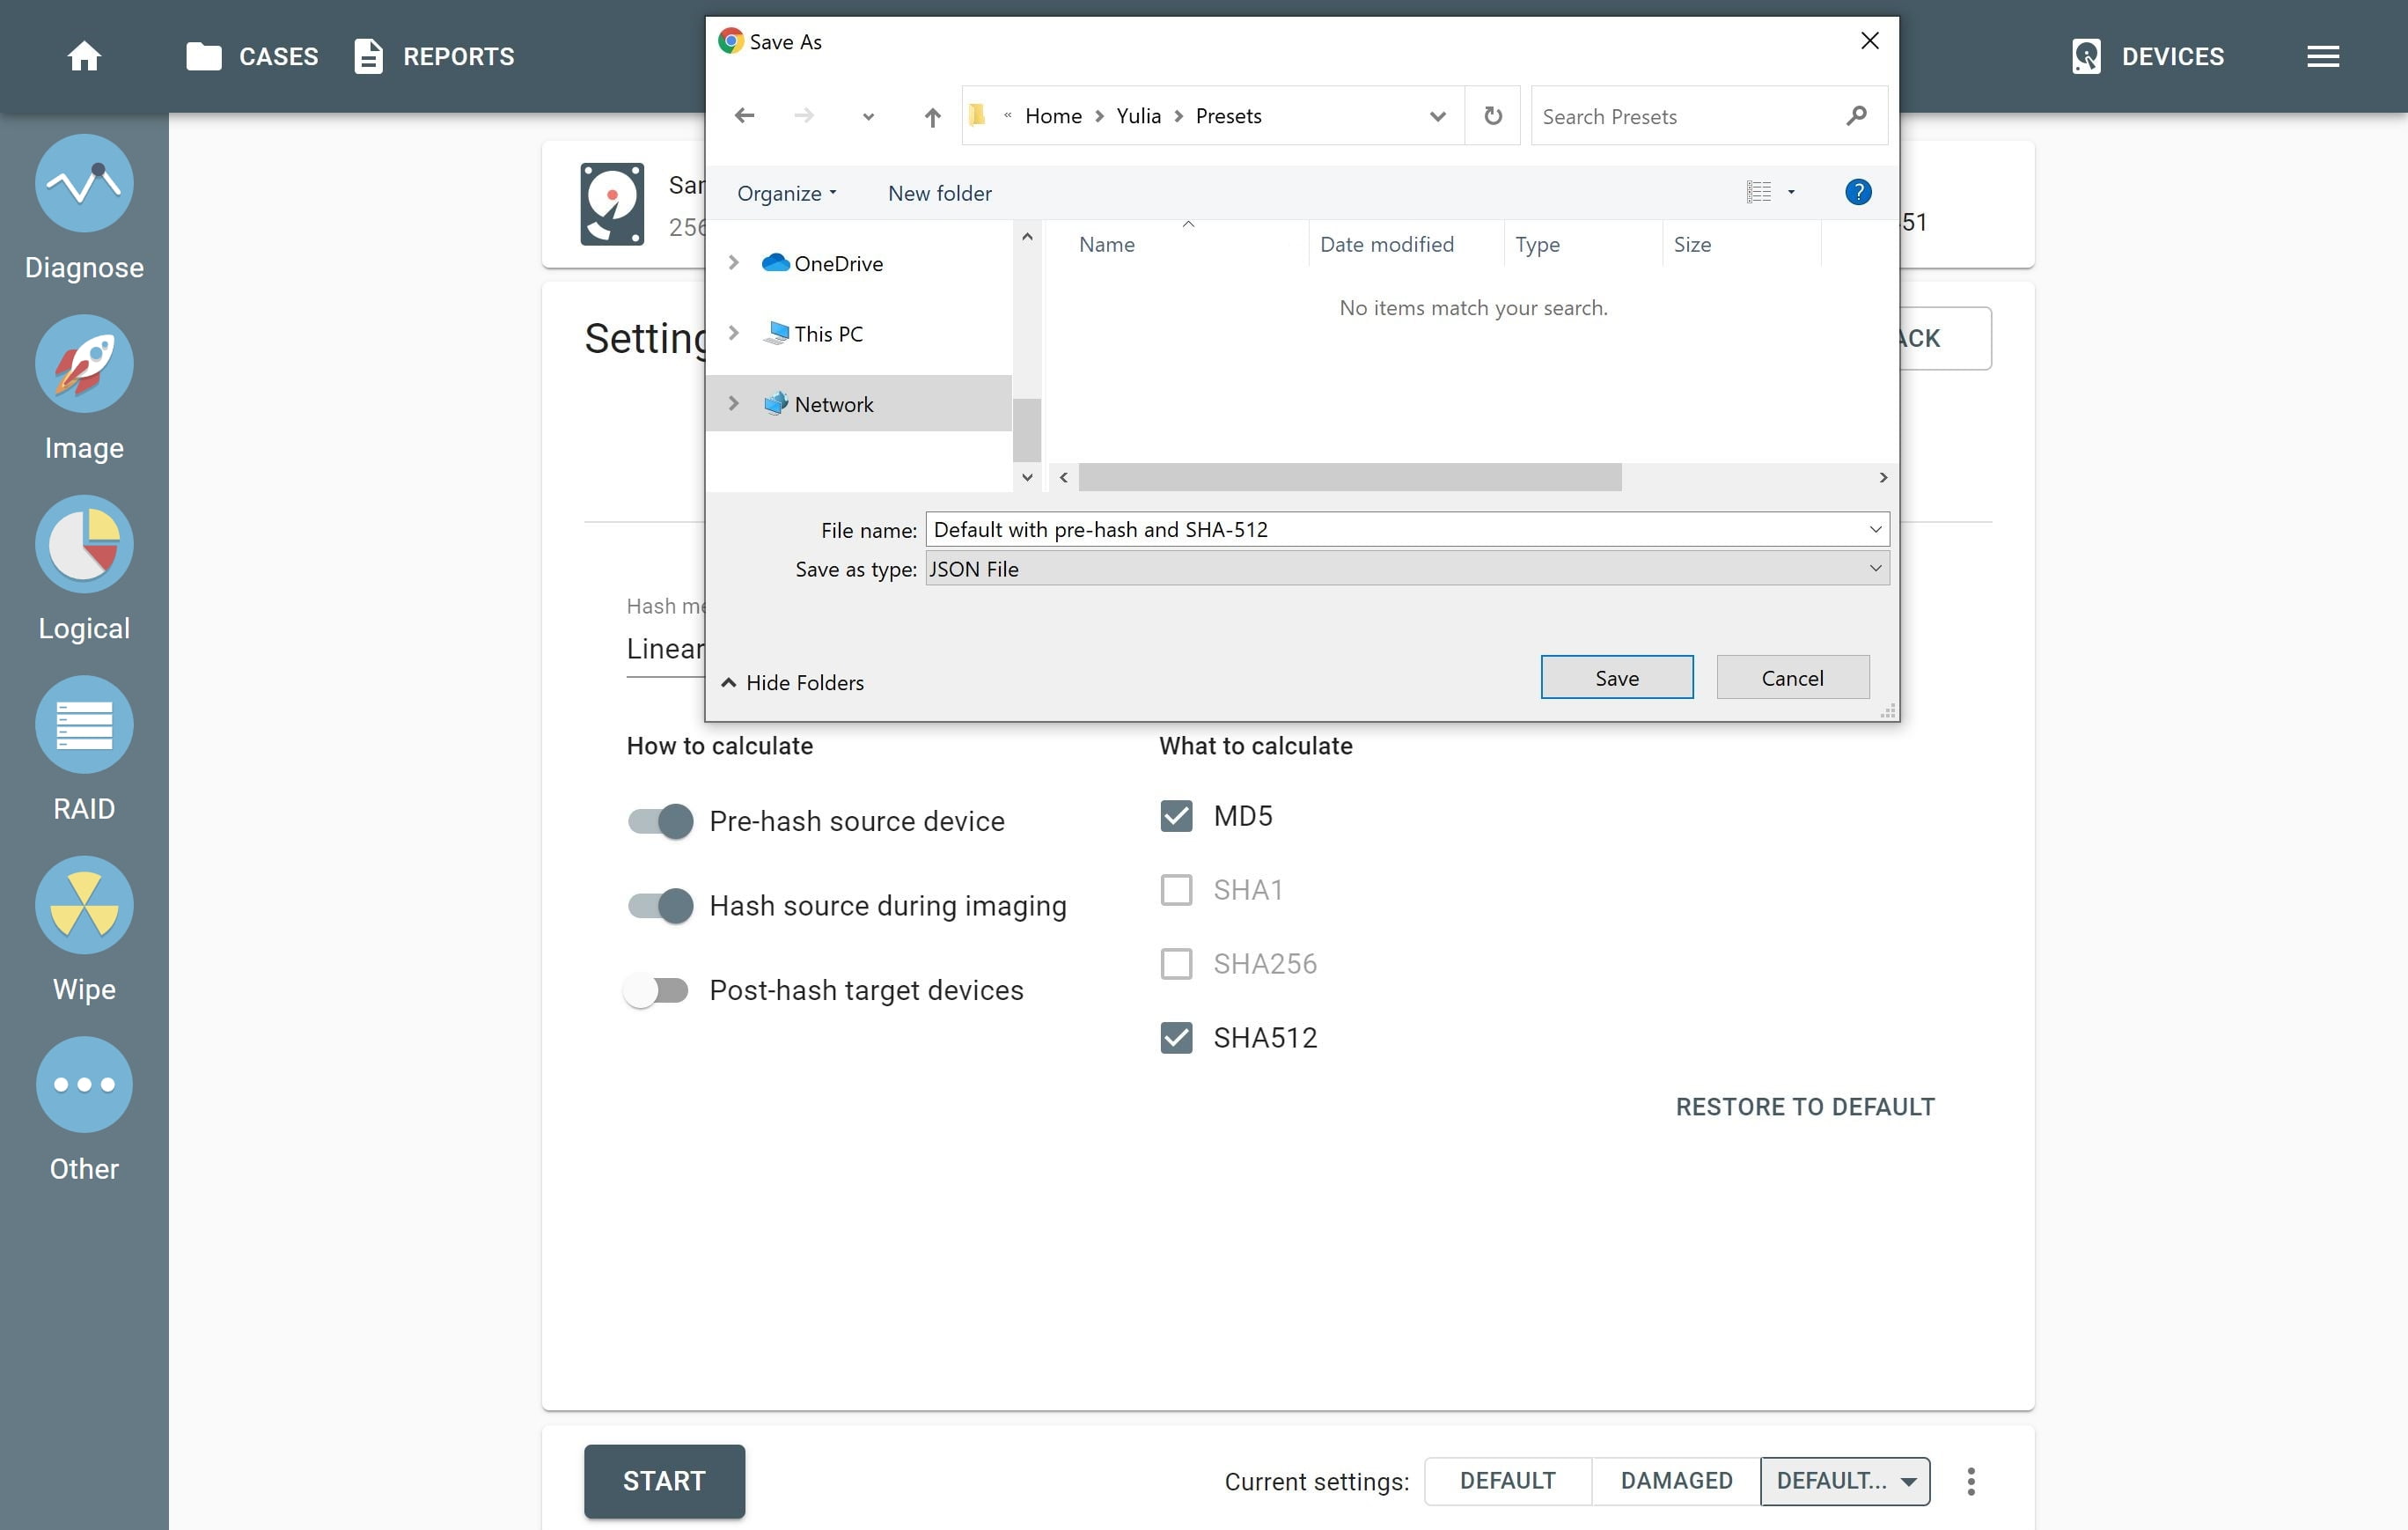
- In the dialog window, enter the name of the preset and click Save.
Saving a preset.
Once you have saved a preset, they are stored in TaskForce's work folder and can be used by other operators using the same imager. They can find the presets you created under the Custom button.
The Chrome browser of the user who created a preset, saves a copy of the preset locally. When this user opens the Custom menu, both presets are displayed:
- one is the preset saved in TaskForce's work folder,
- another one is the local copy.
If one becomes redundant, it can be easily deleted.
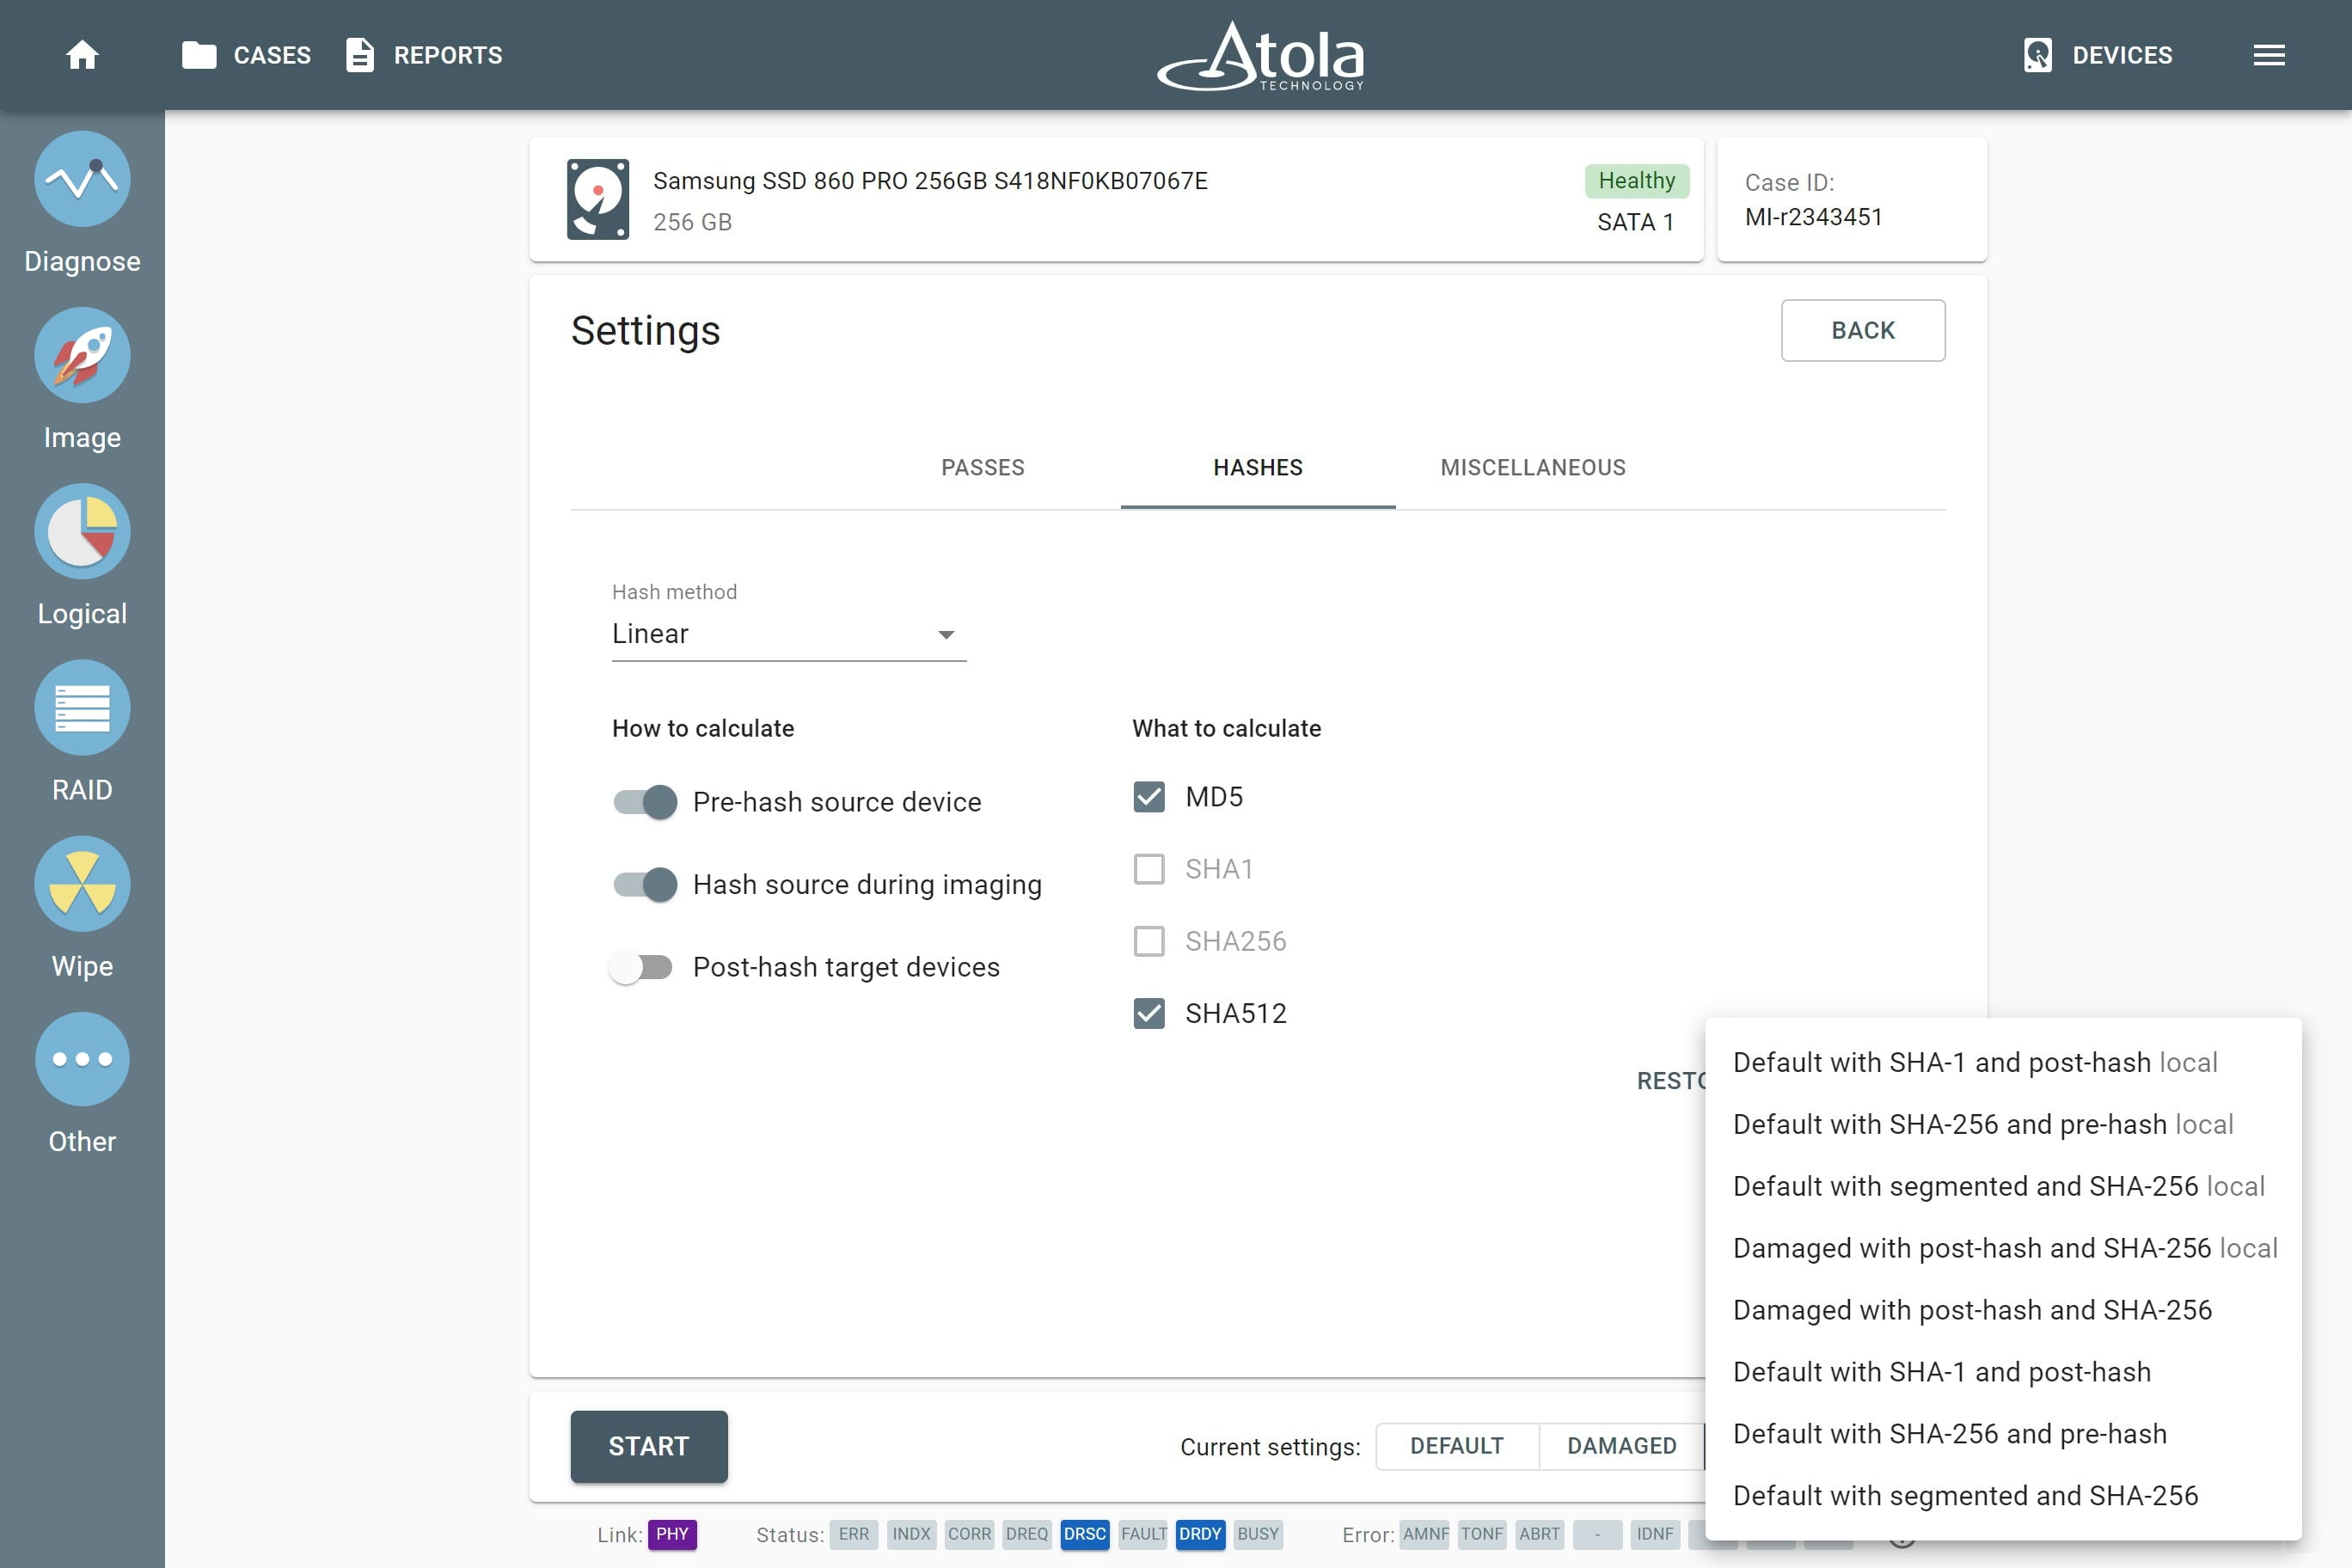
All custom presets.
To delete a preset:
- Select the preset in the Custom menu.
- Go to the three-dot menu in the bottom-right corner and click Delete.
Share presets with another TaskForce
Once you have created your custom presets, you can share them with colleagues who use another TaskForce imager.
To export a preset:
- Select the preset from the Custom menu.
- Click the three-dot icon.
- Click Export.
The preset will be downloaded in .json format.
Exporting a preset.
To import a preset:
- Click the three-dot icon.
- Click Import.
- In the Import settings window, click Select file.
- Find the file in the file selector and click Open.
- Double-check the preset and click Import.
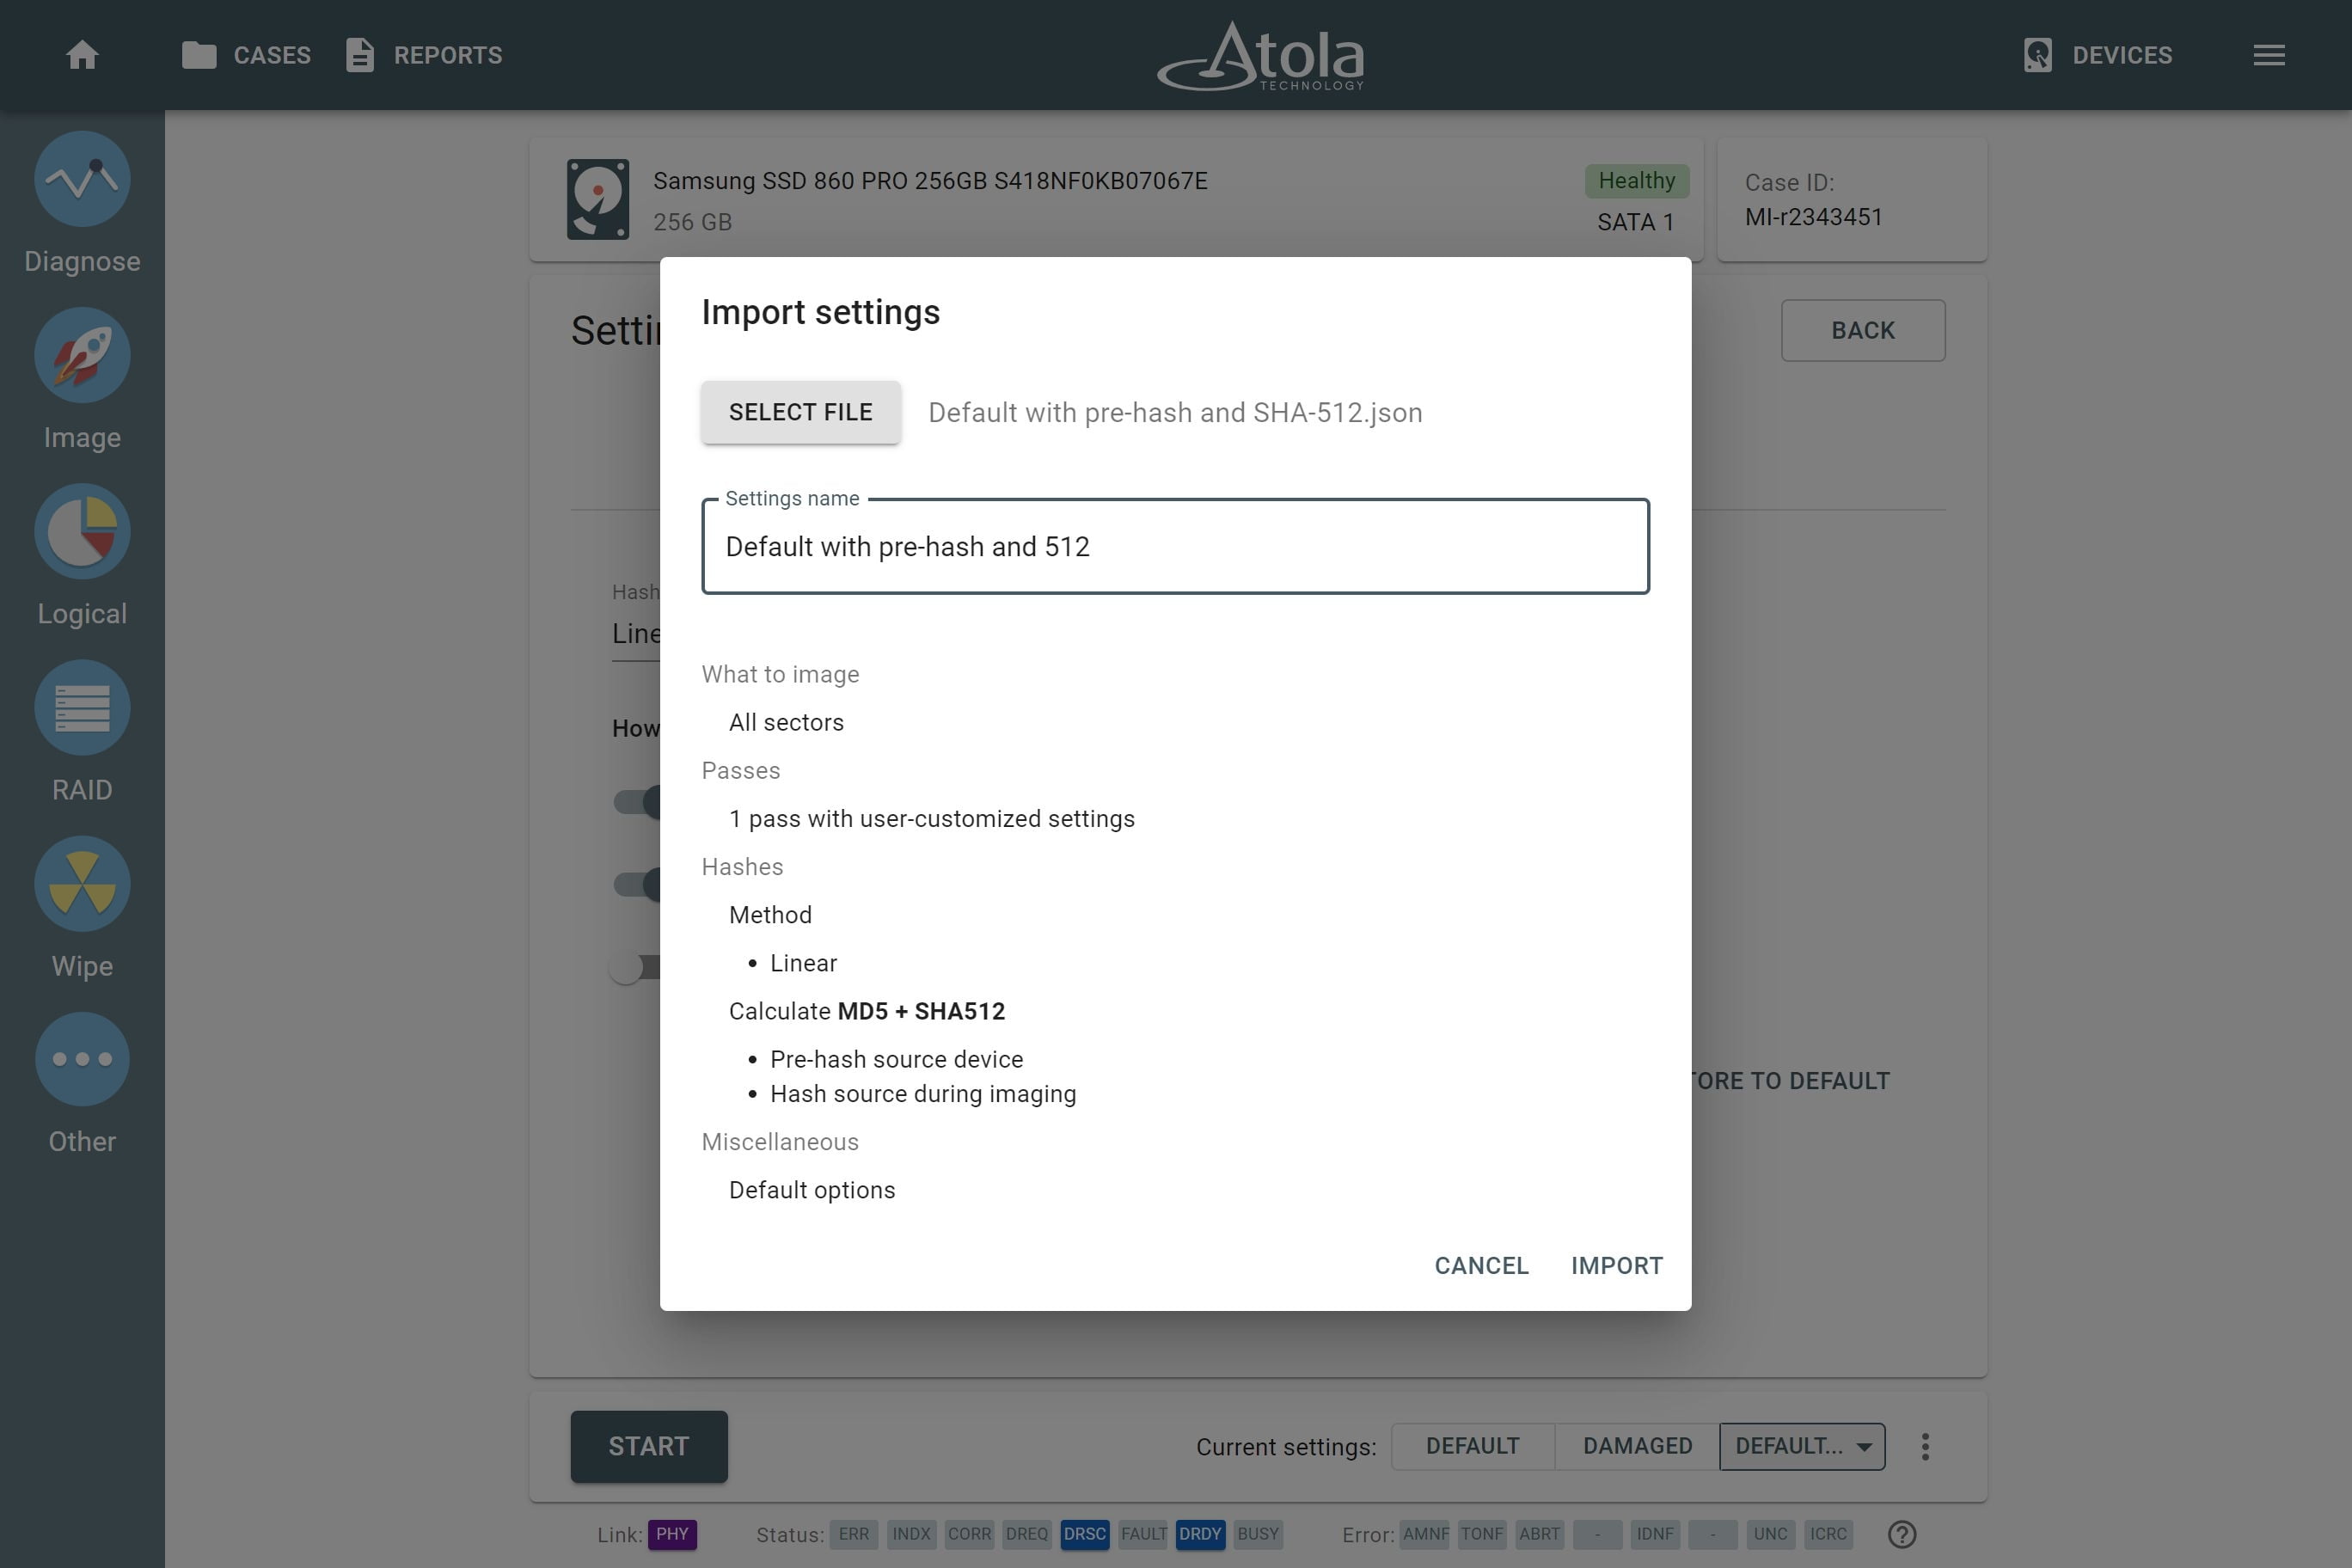
Importing a preset.
After this import, the preset can be found in the Custom menu.