Add a case
When you identify a device in Atola TaskForce 2 for the first time, the system automatically creates a new case for that device and records every single operation performed with the device or with the case itself. To know more about how it works, see Case management system and report types.
Until you specify case details, Case ID shows in the TaskForce interface as Not assigned.
To distinguish and search your cases by a case number, examiner’s name, and case description, you can add a case and enter these case details. Also, you can set TaskForce 2 to remind you to enter case details before starting any task.
There are several ways to create a new case in TaskForce 2:
- From the Devices menu.
- From the Cases page.
- From the Device page.
Add a case from the Devices menu
- Connect a device to TaskForce 2.
- In the TaskForce main window, click Devices.
- In the Select device panel, in the port with your device, click More icon, and then select Add case.

Adding a device to a new case from the Devices menu.
- Select Create new case and click Next.
- Enter case details and click Continue.
- Set evidence details (ID, examiner) and click Create.
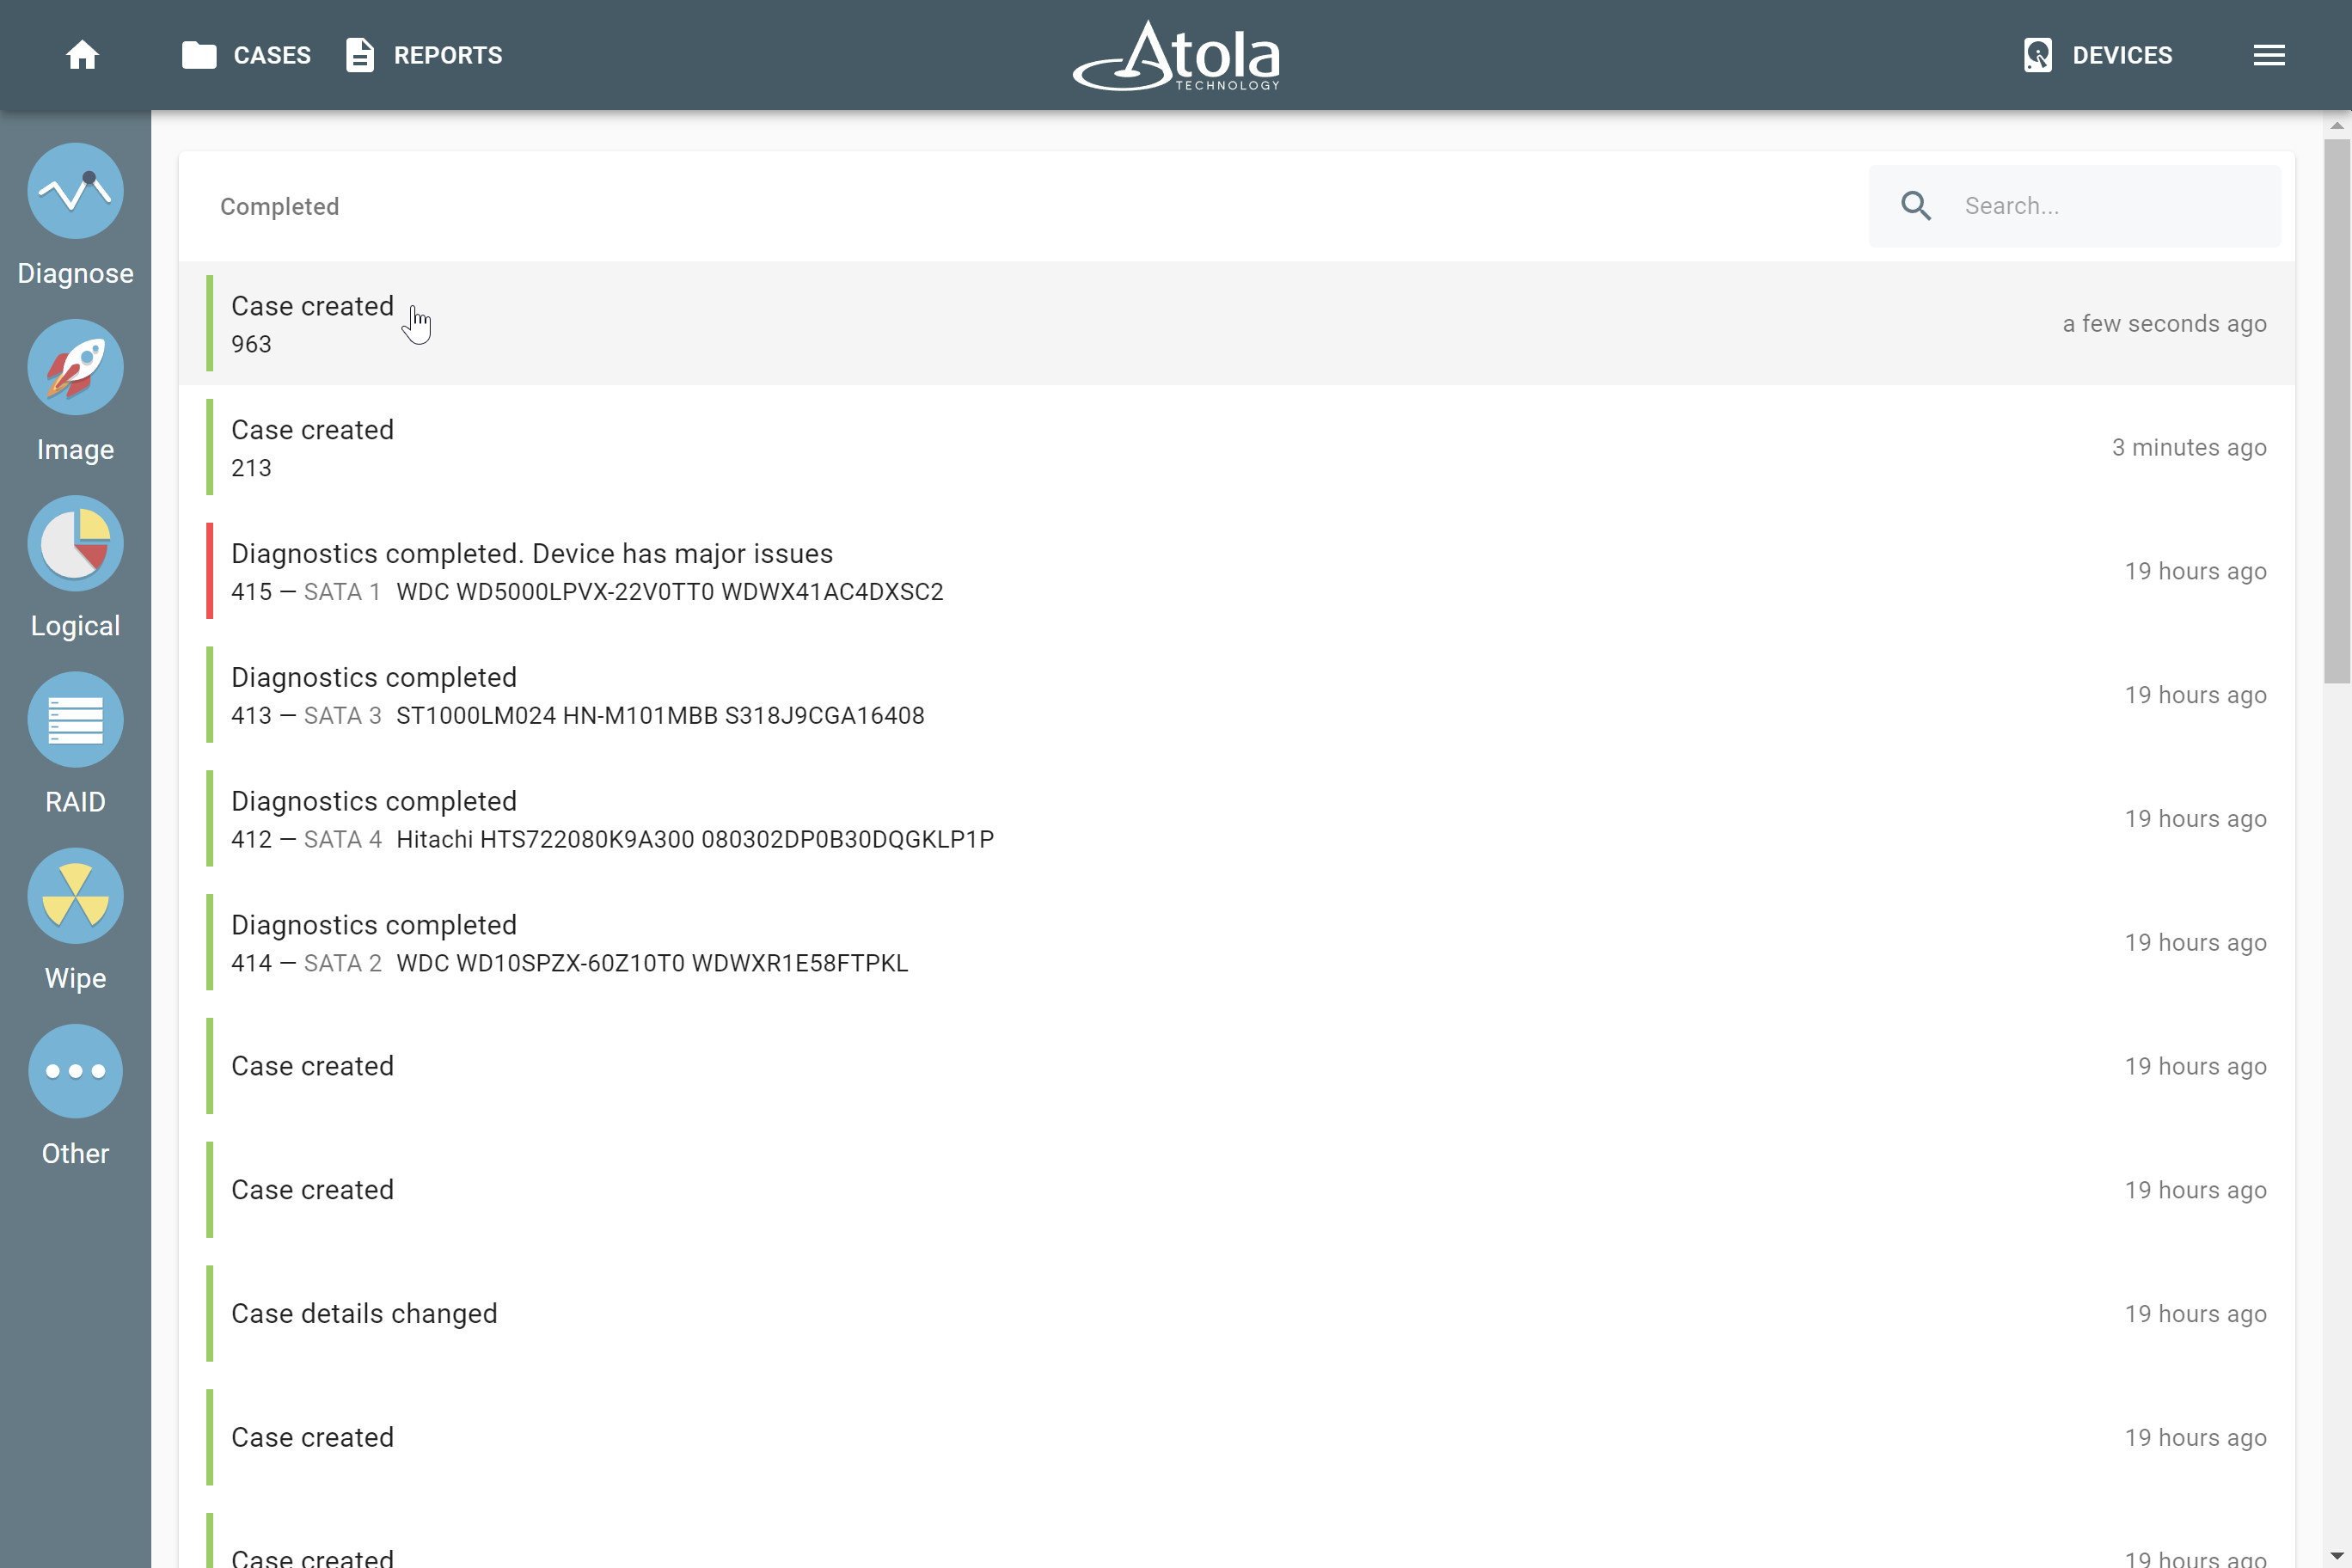
- TaskForce 2 creates a new case and adds your device to it. The Case created report appears on the Home screen and on the Reports page.
The Case created report on the Home screen.
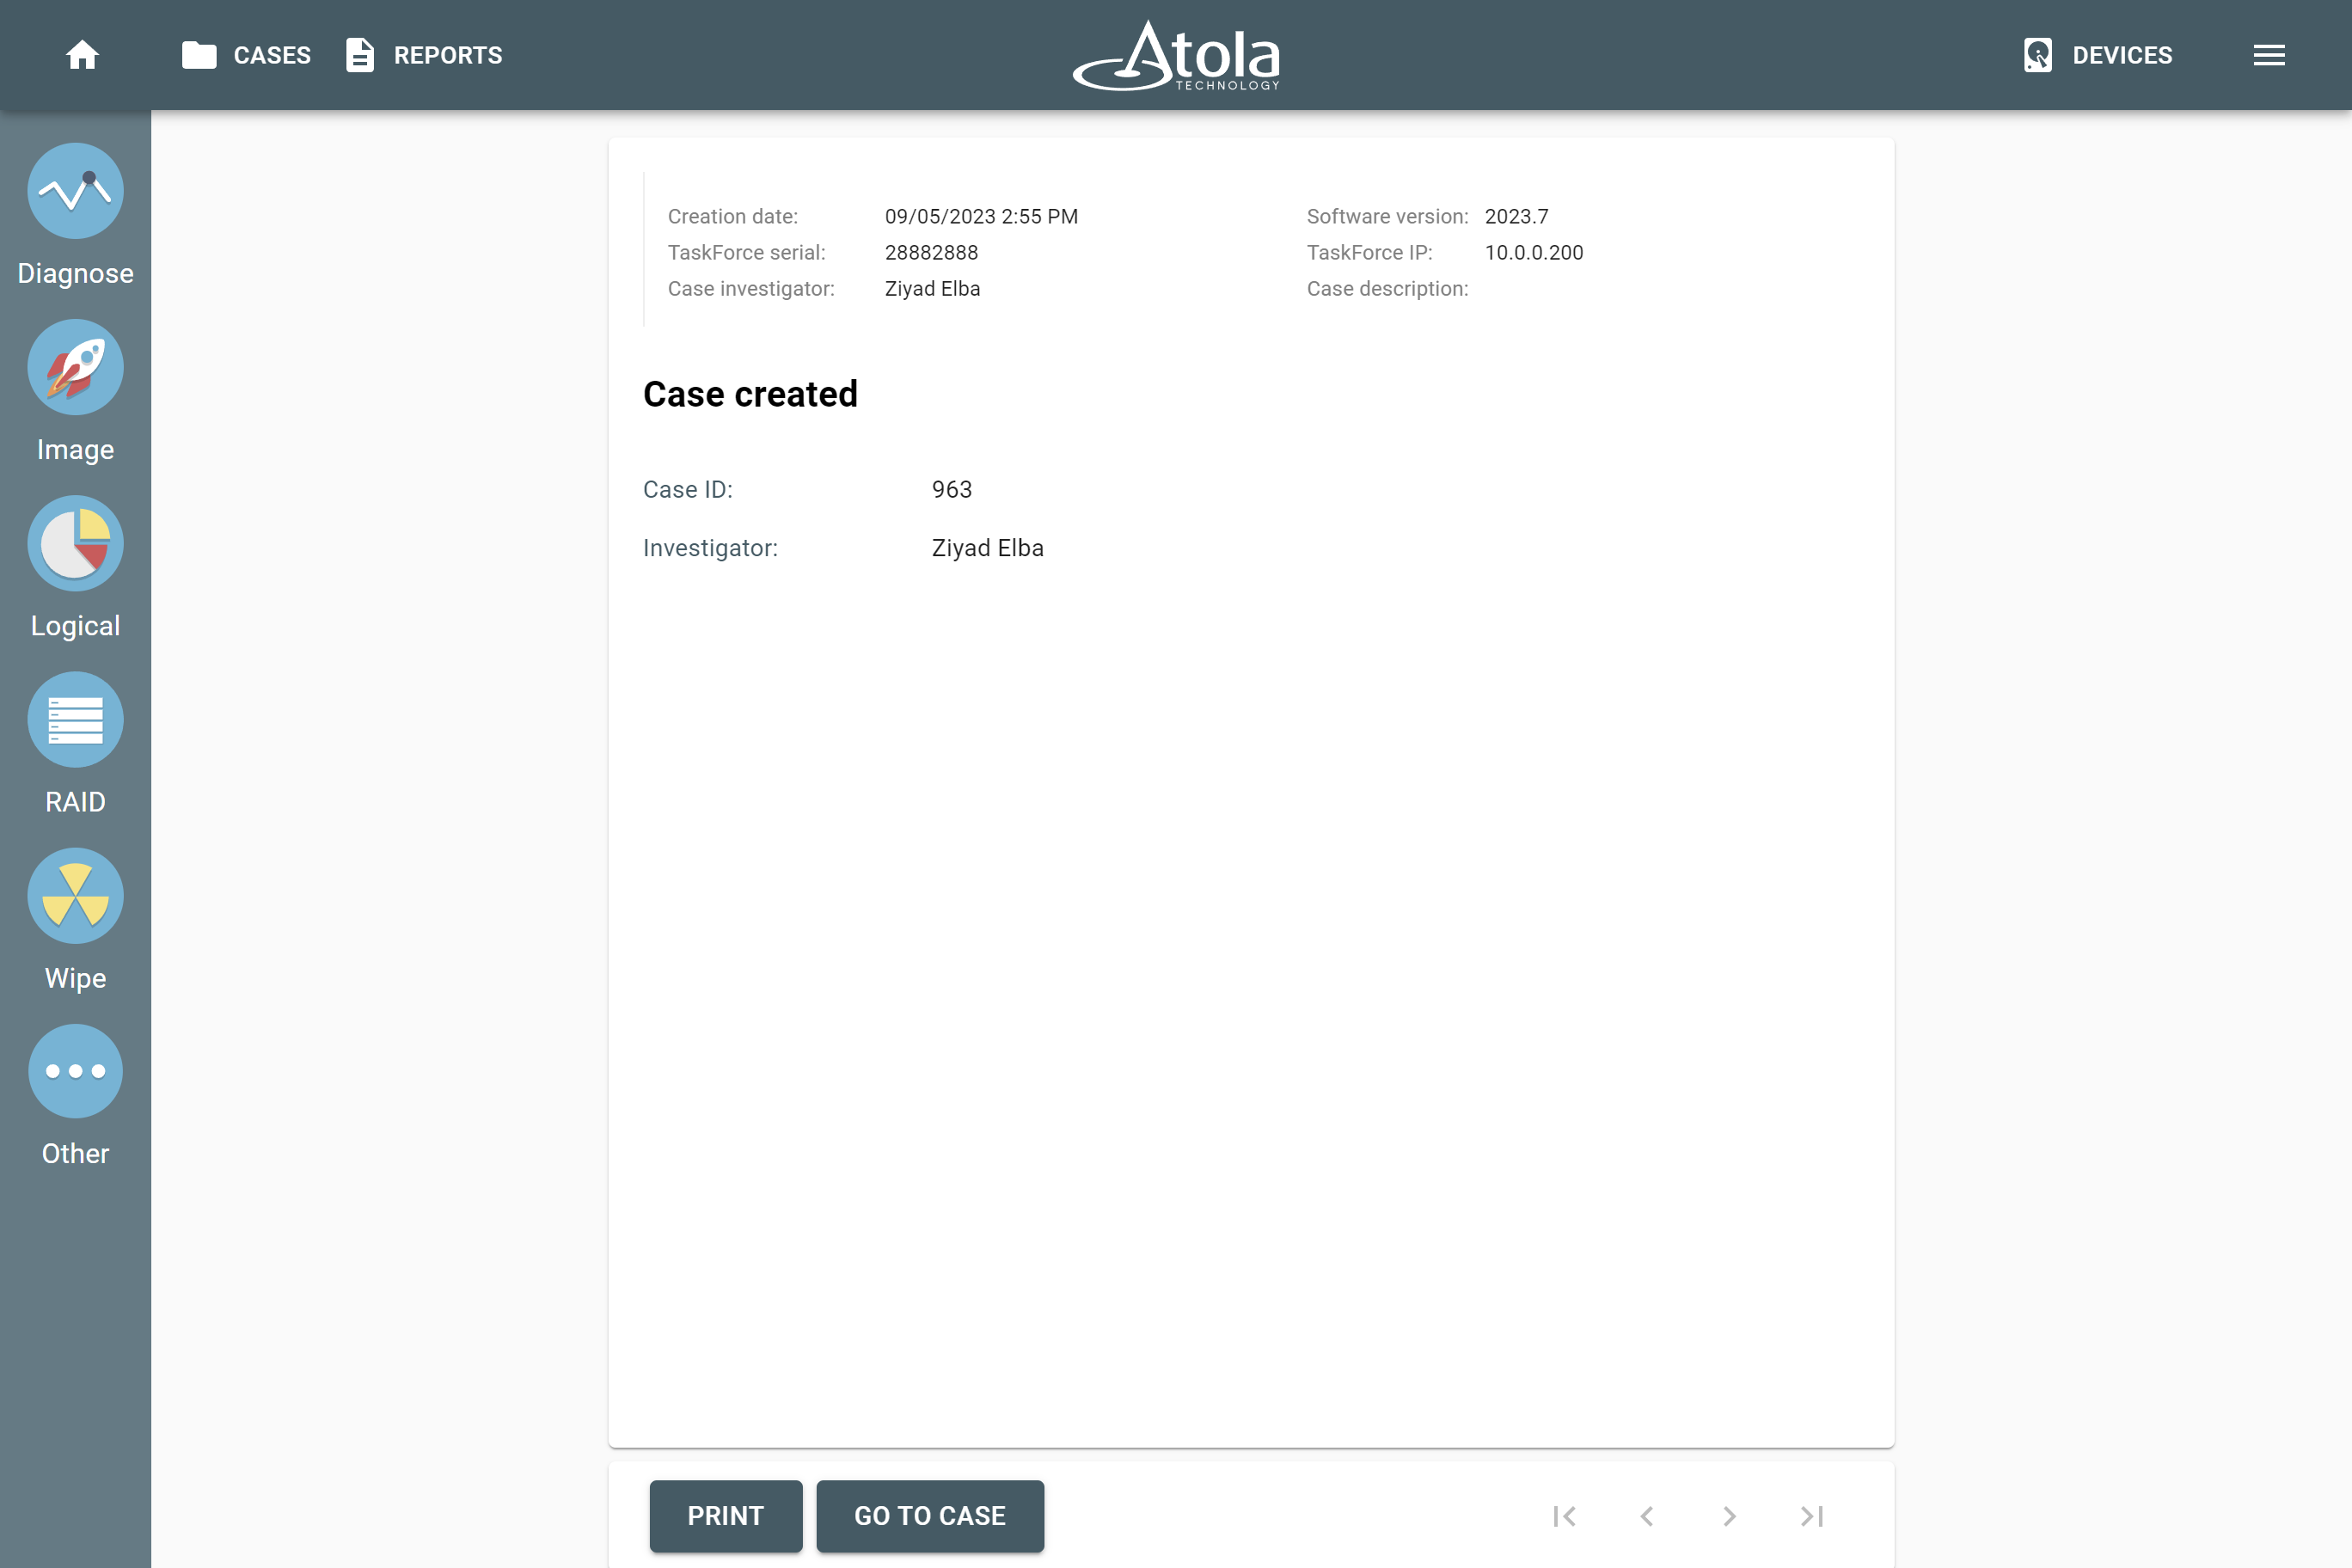
Case created report details.
Add a case from the Cases page
- Connect a device to TaskForce 2.
- In the TaskForce main window, click Cases.
- On the Cases page, click Add case.
- In the Select device panel, click on your device.
- Select Create new case and click Next.
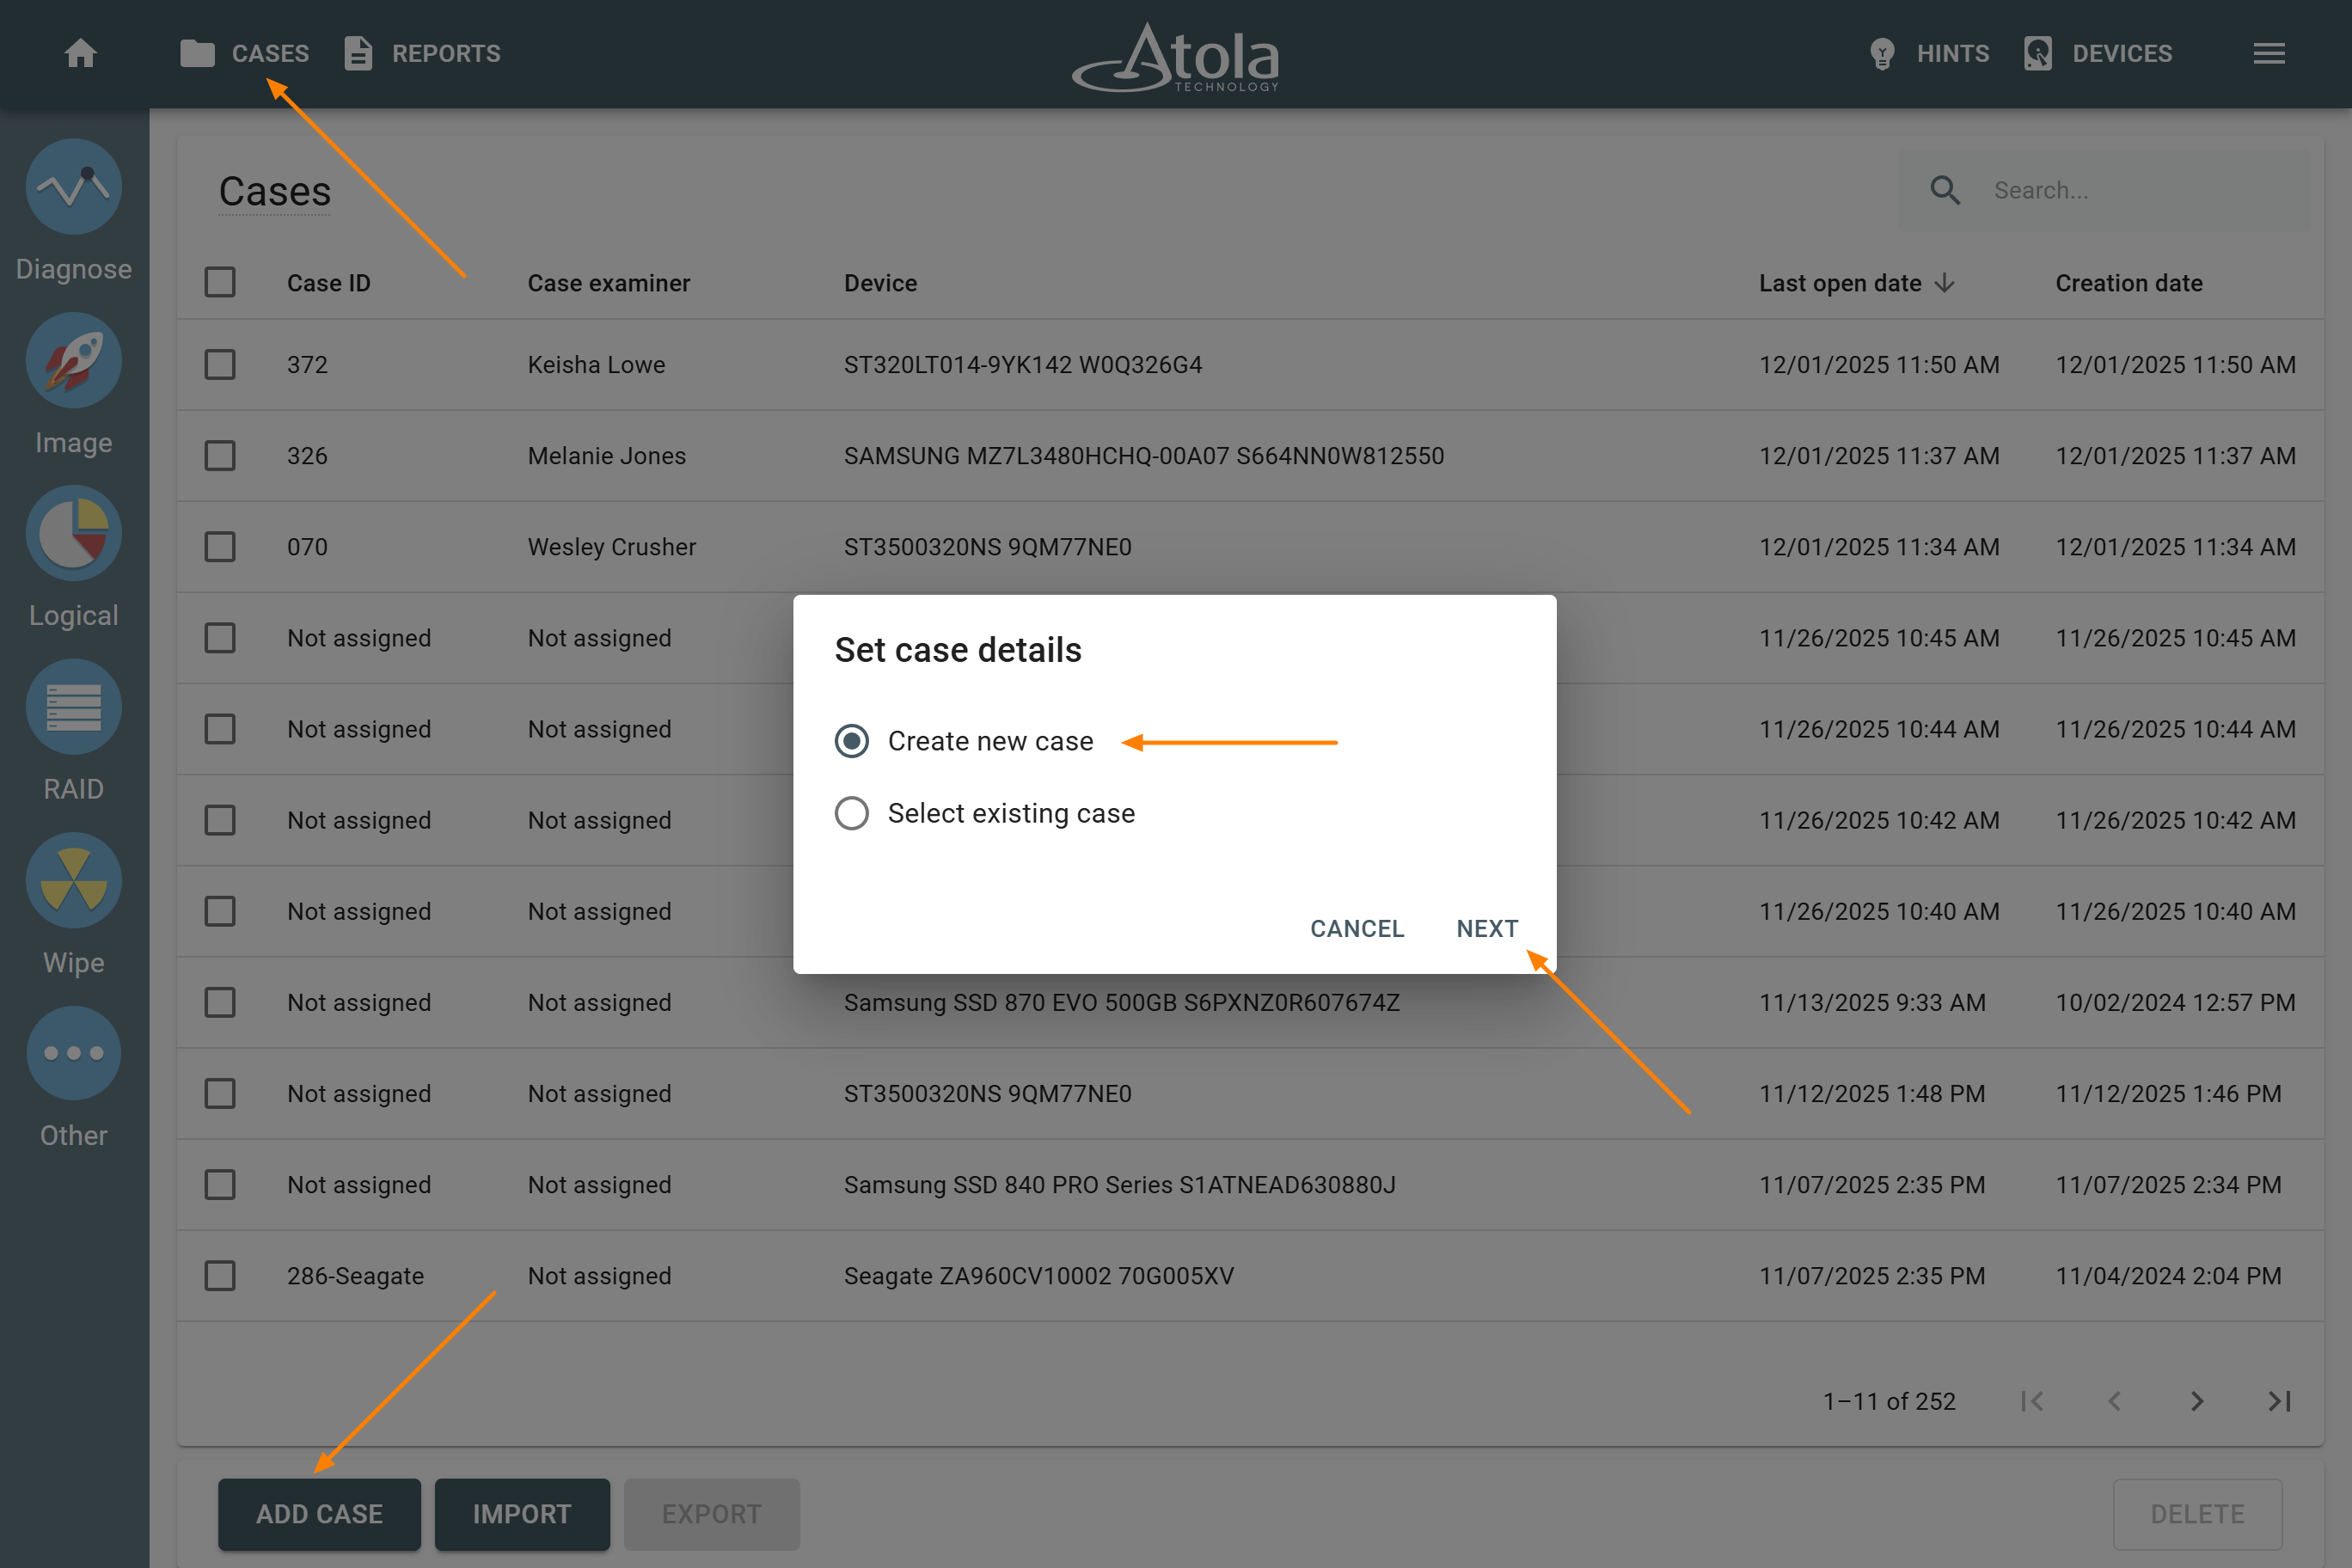
The Set case details dialog.
- Select Create new case and click Next.
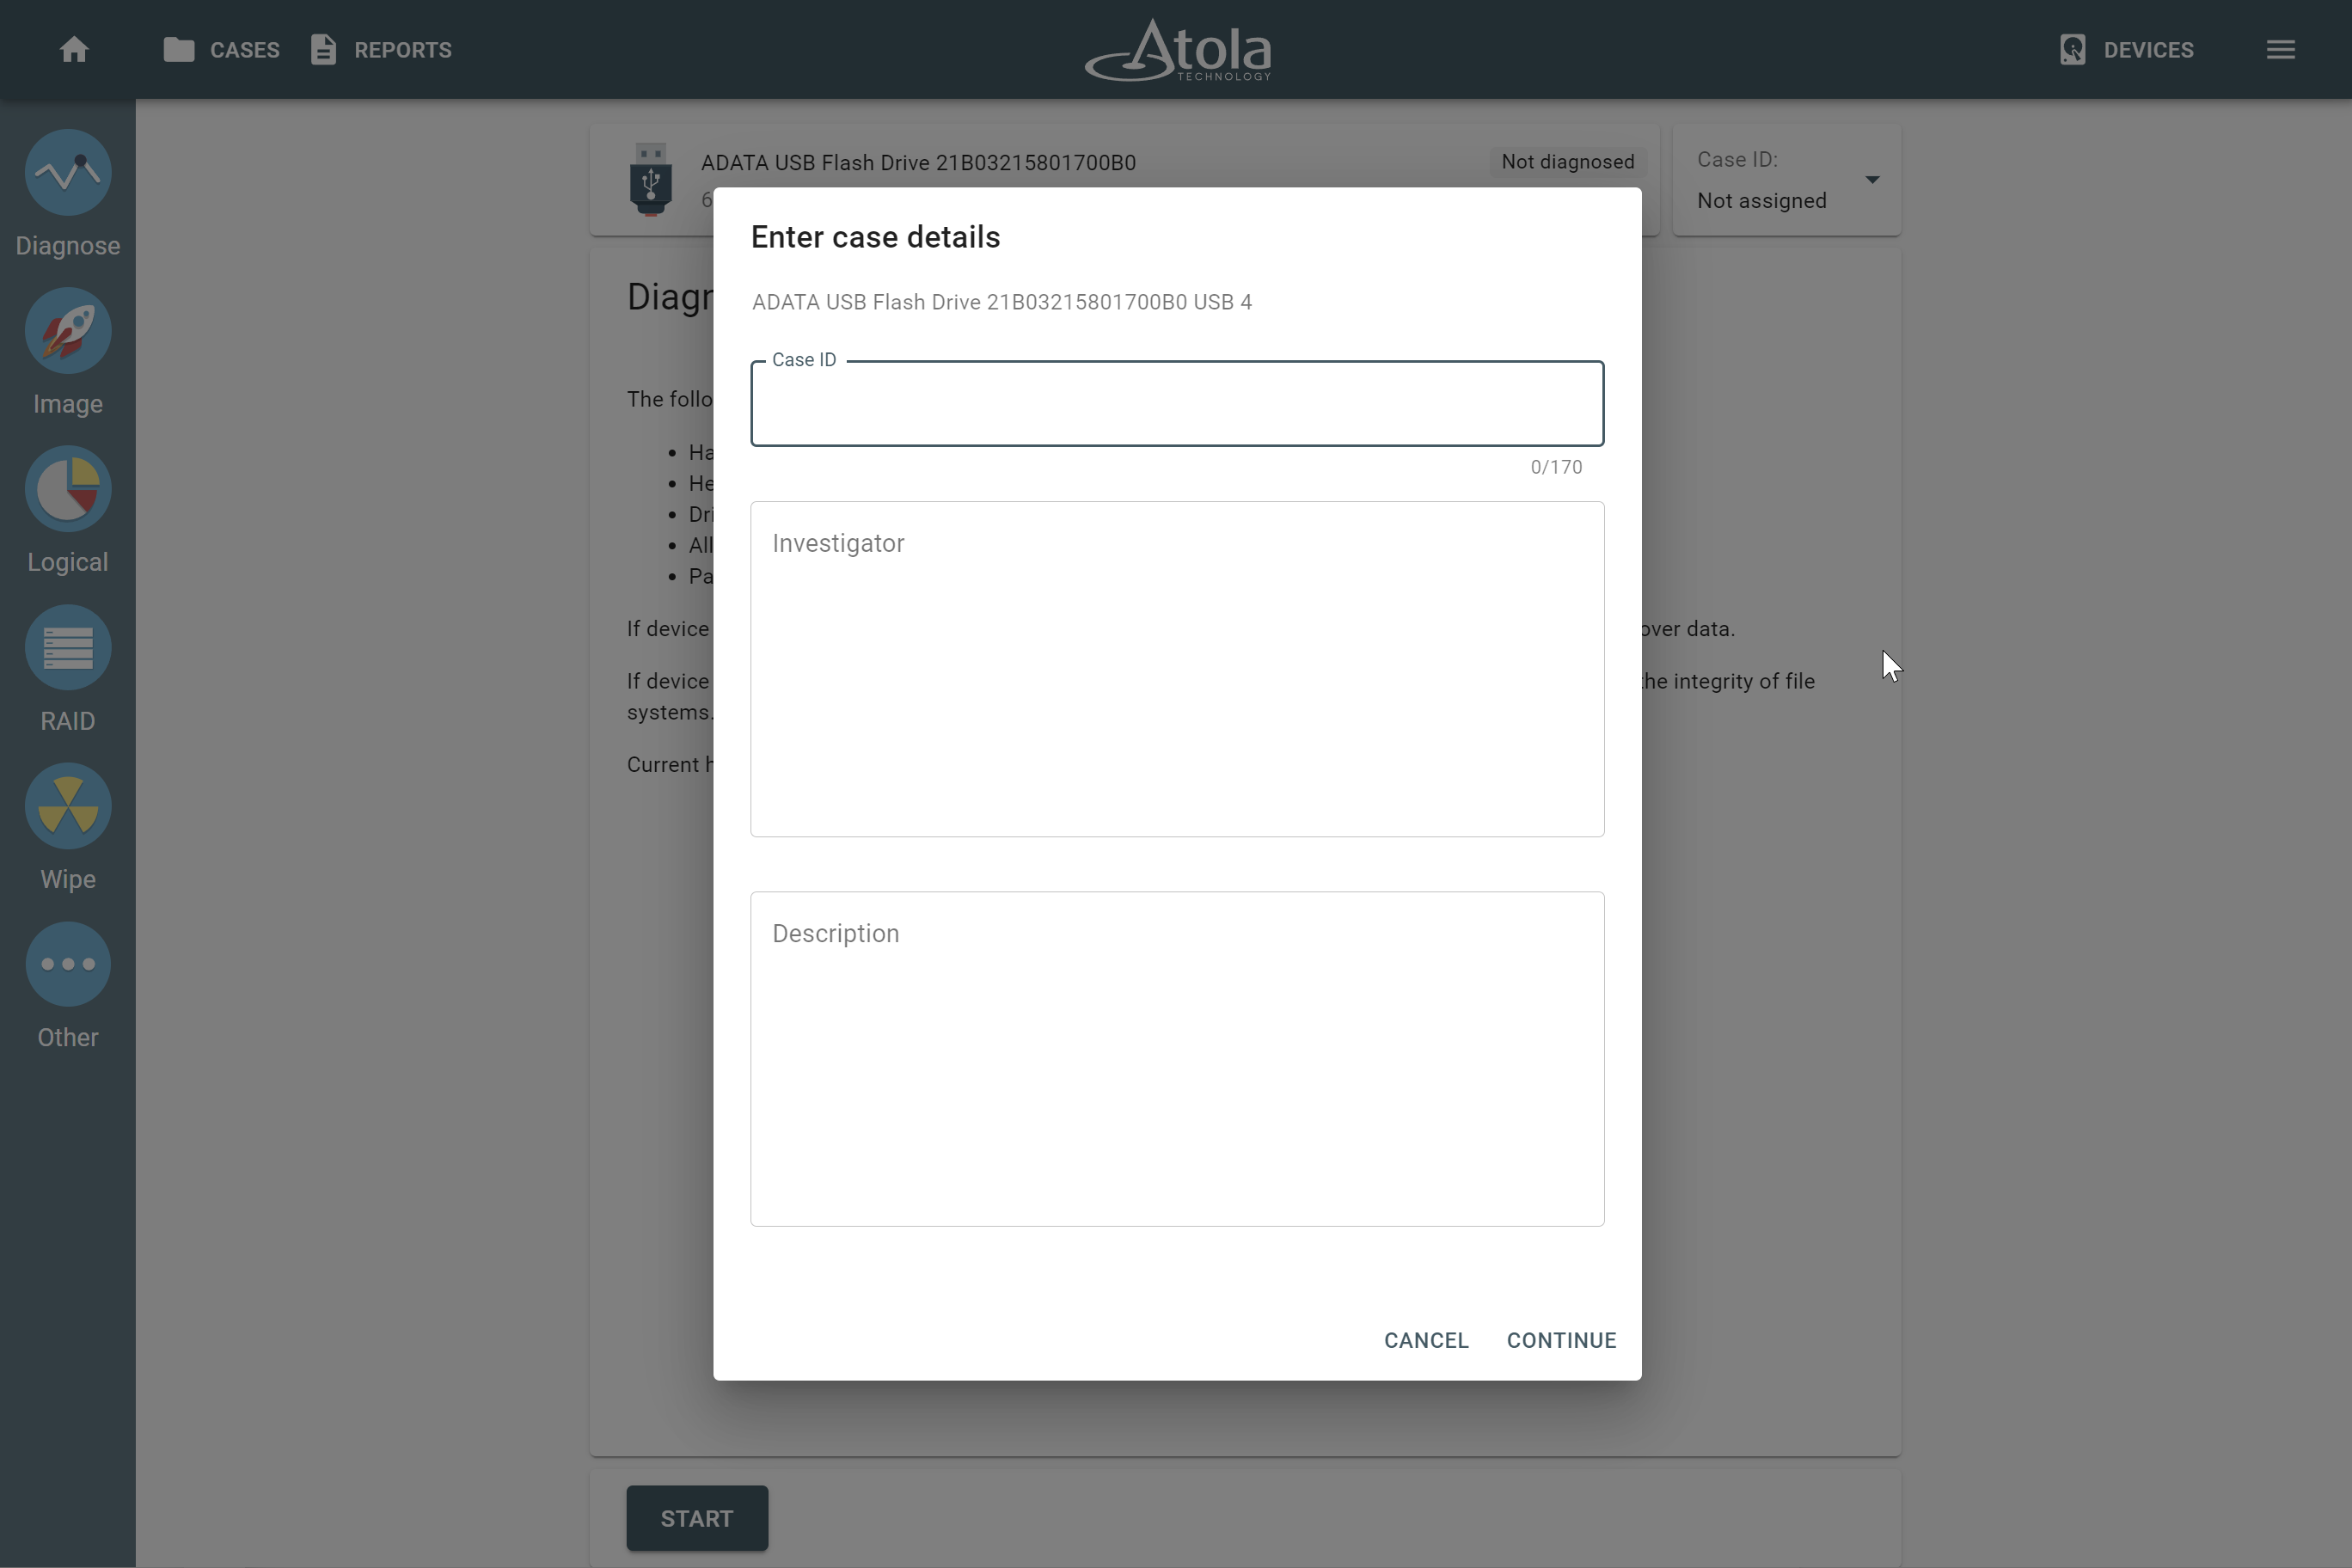
- Enter case details and click Continue.
- Set evidence details (ID, examiner) and click Create.
- TaskForce 2 creates a new case and adds your device to it. The Case created report appears on the Home screen and on the Reports page.
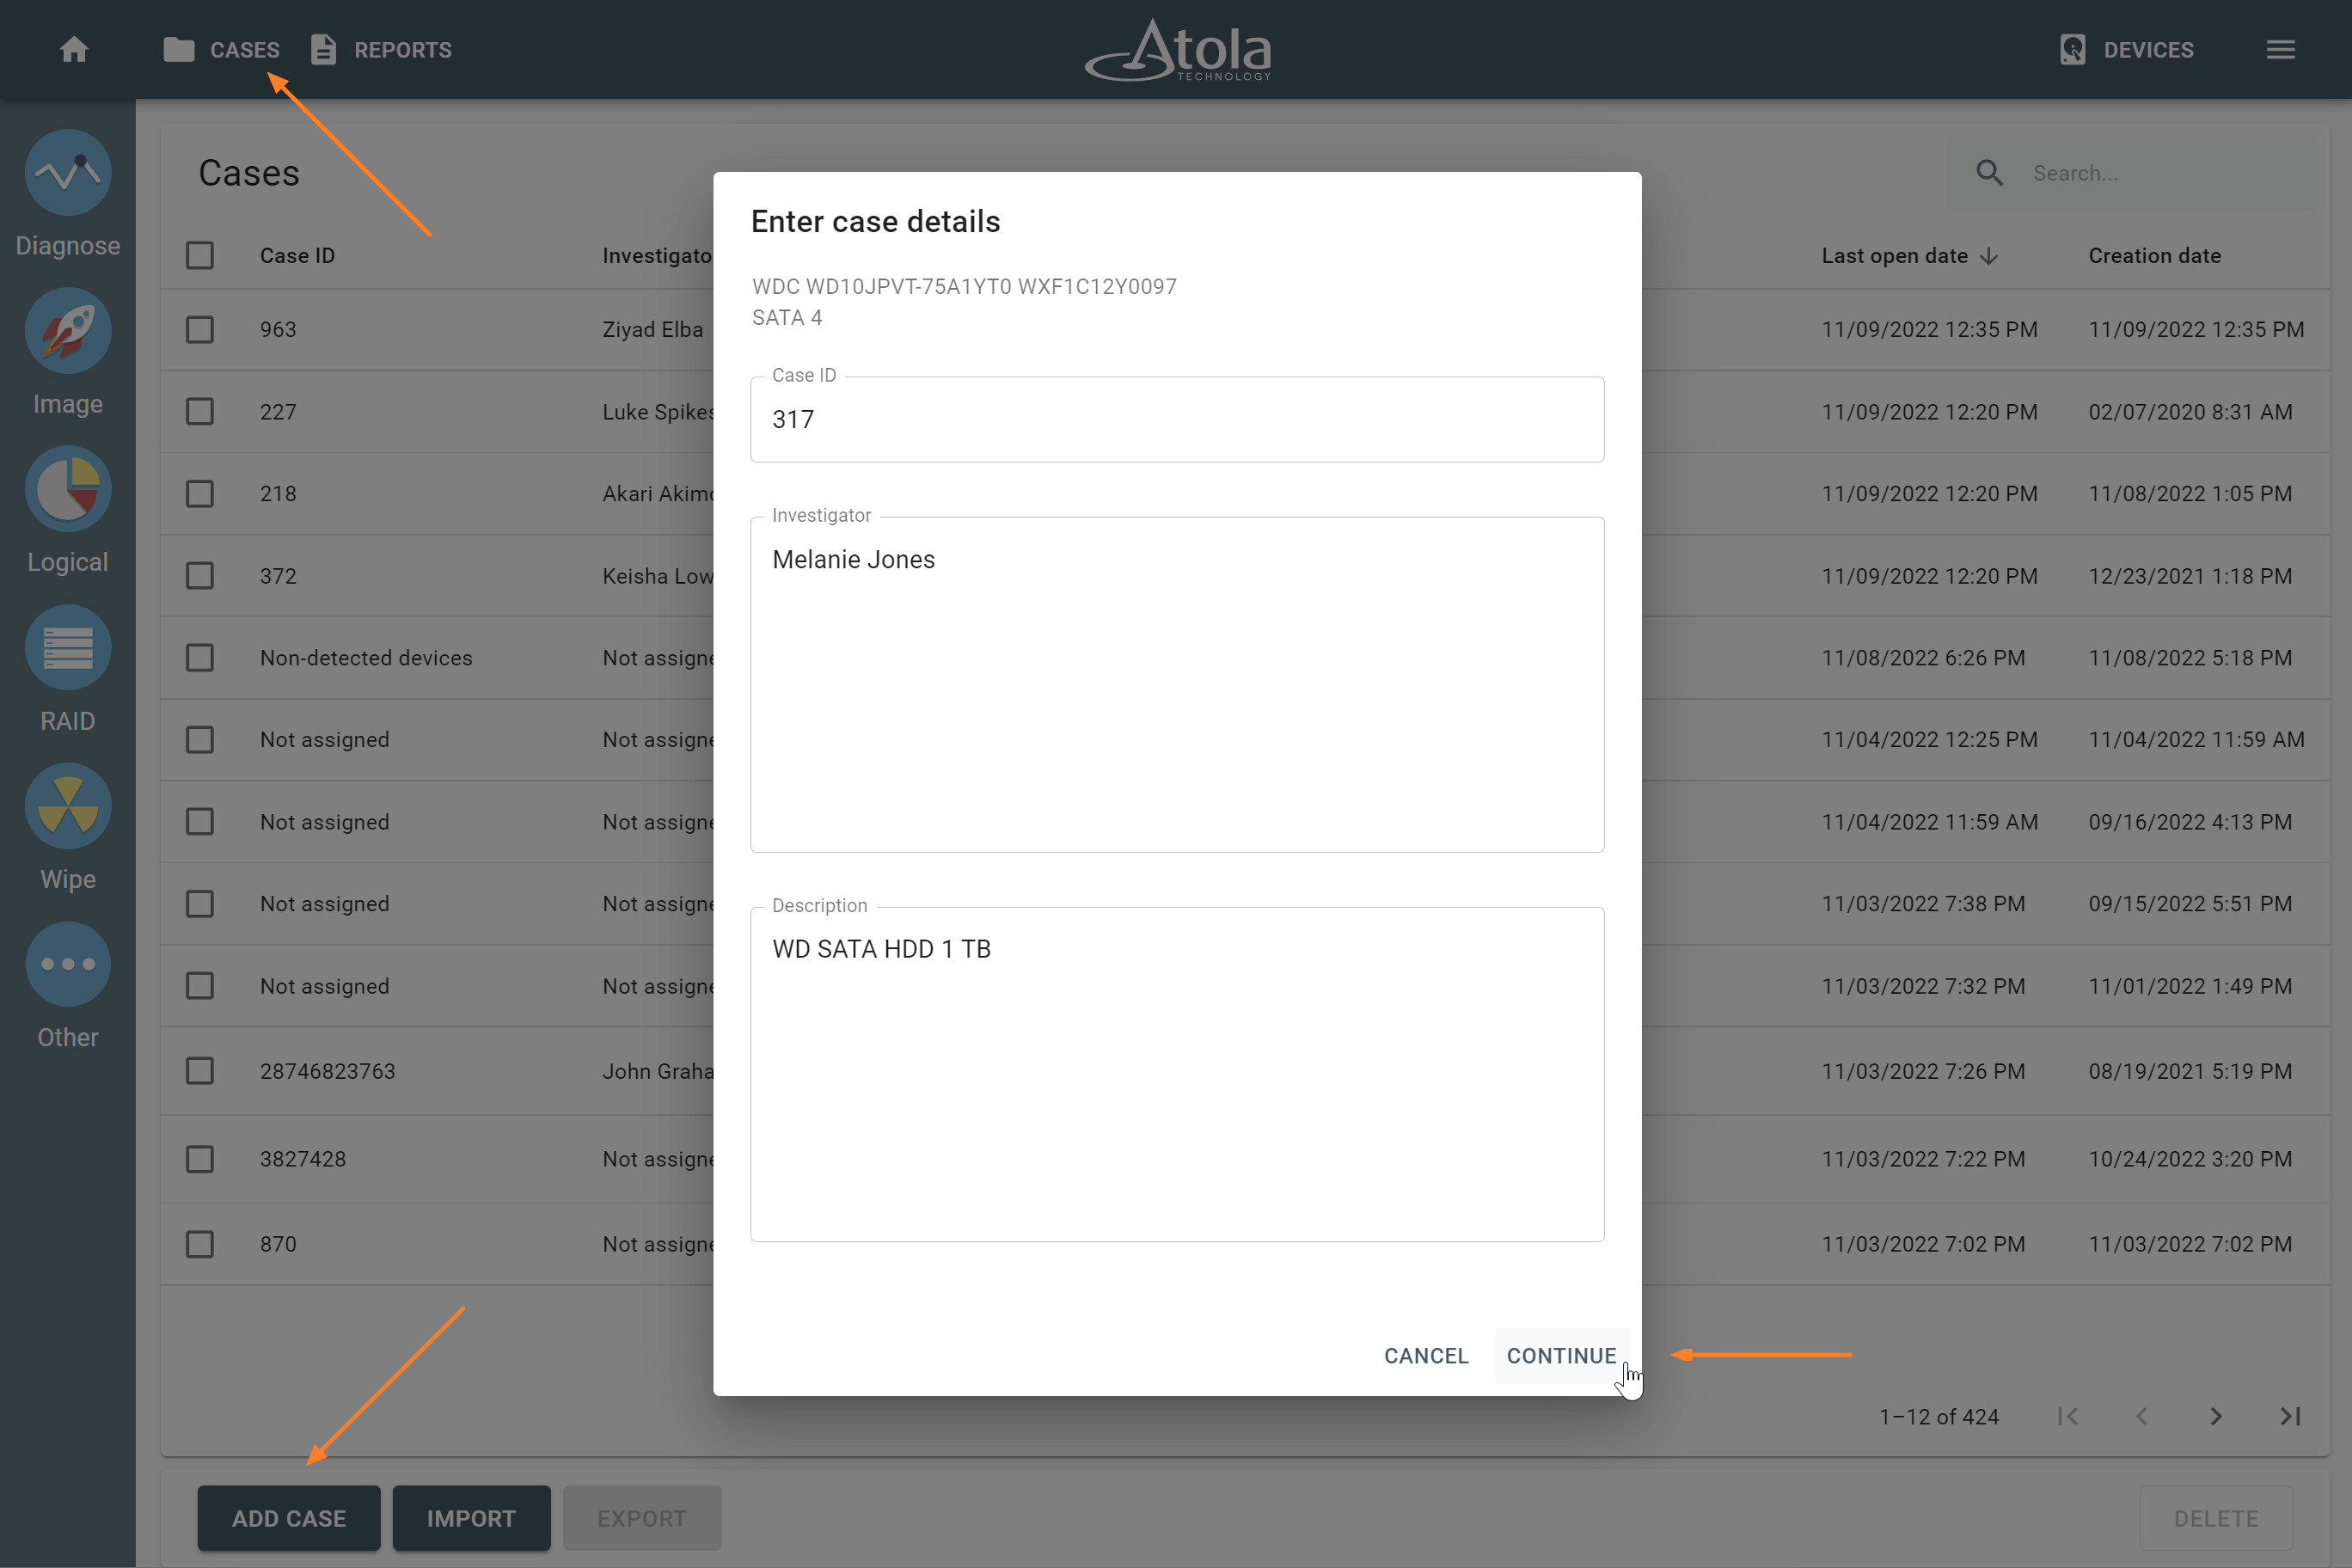
The Enter case details dialog.
Add a case from the Device page
- Connect a device to TaskForce 2.
- In the TaskForce main window, click Devices.
- In the Select device panel, click on the port with your device. TaskForce 2 takes you to the Device page.
- Optional: If TaskForce 2 hasn’t identified your device yet, then, on the Device page, click Re-identify.
- In the Case ID pane, open the drop-down menu, and then click New.
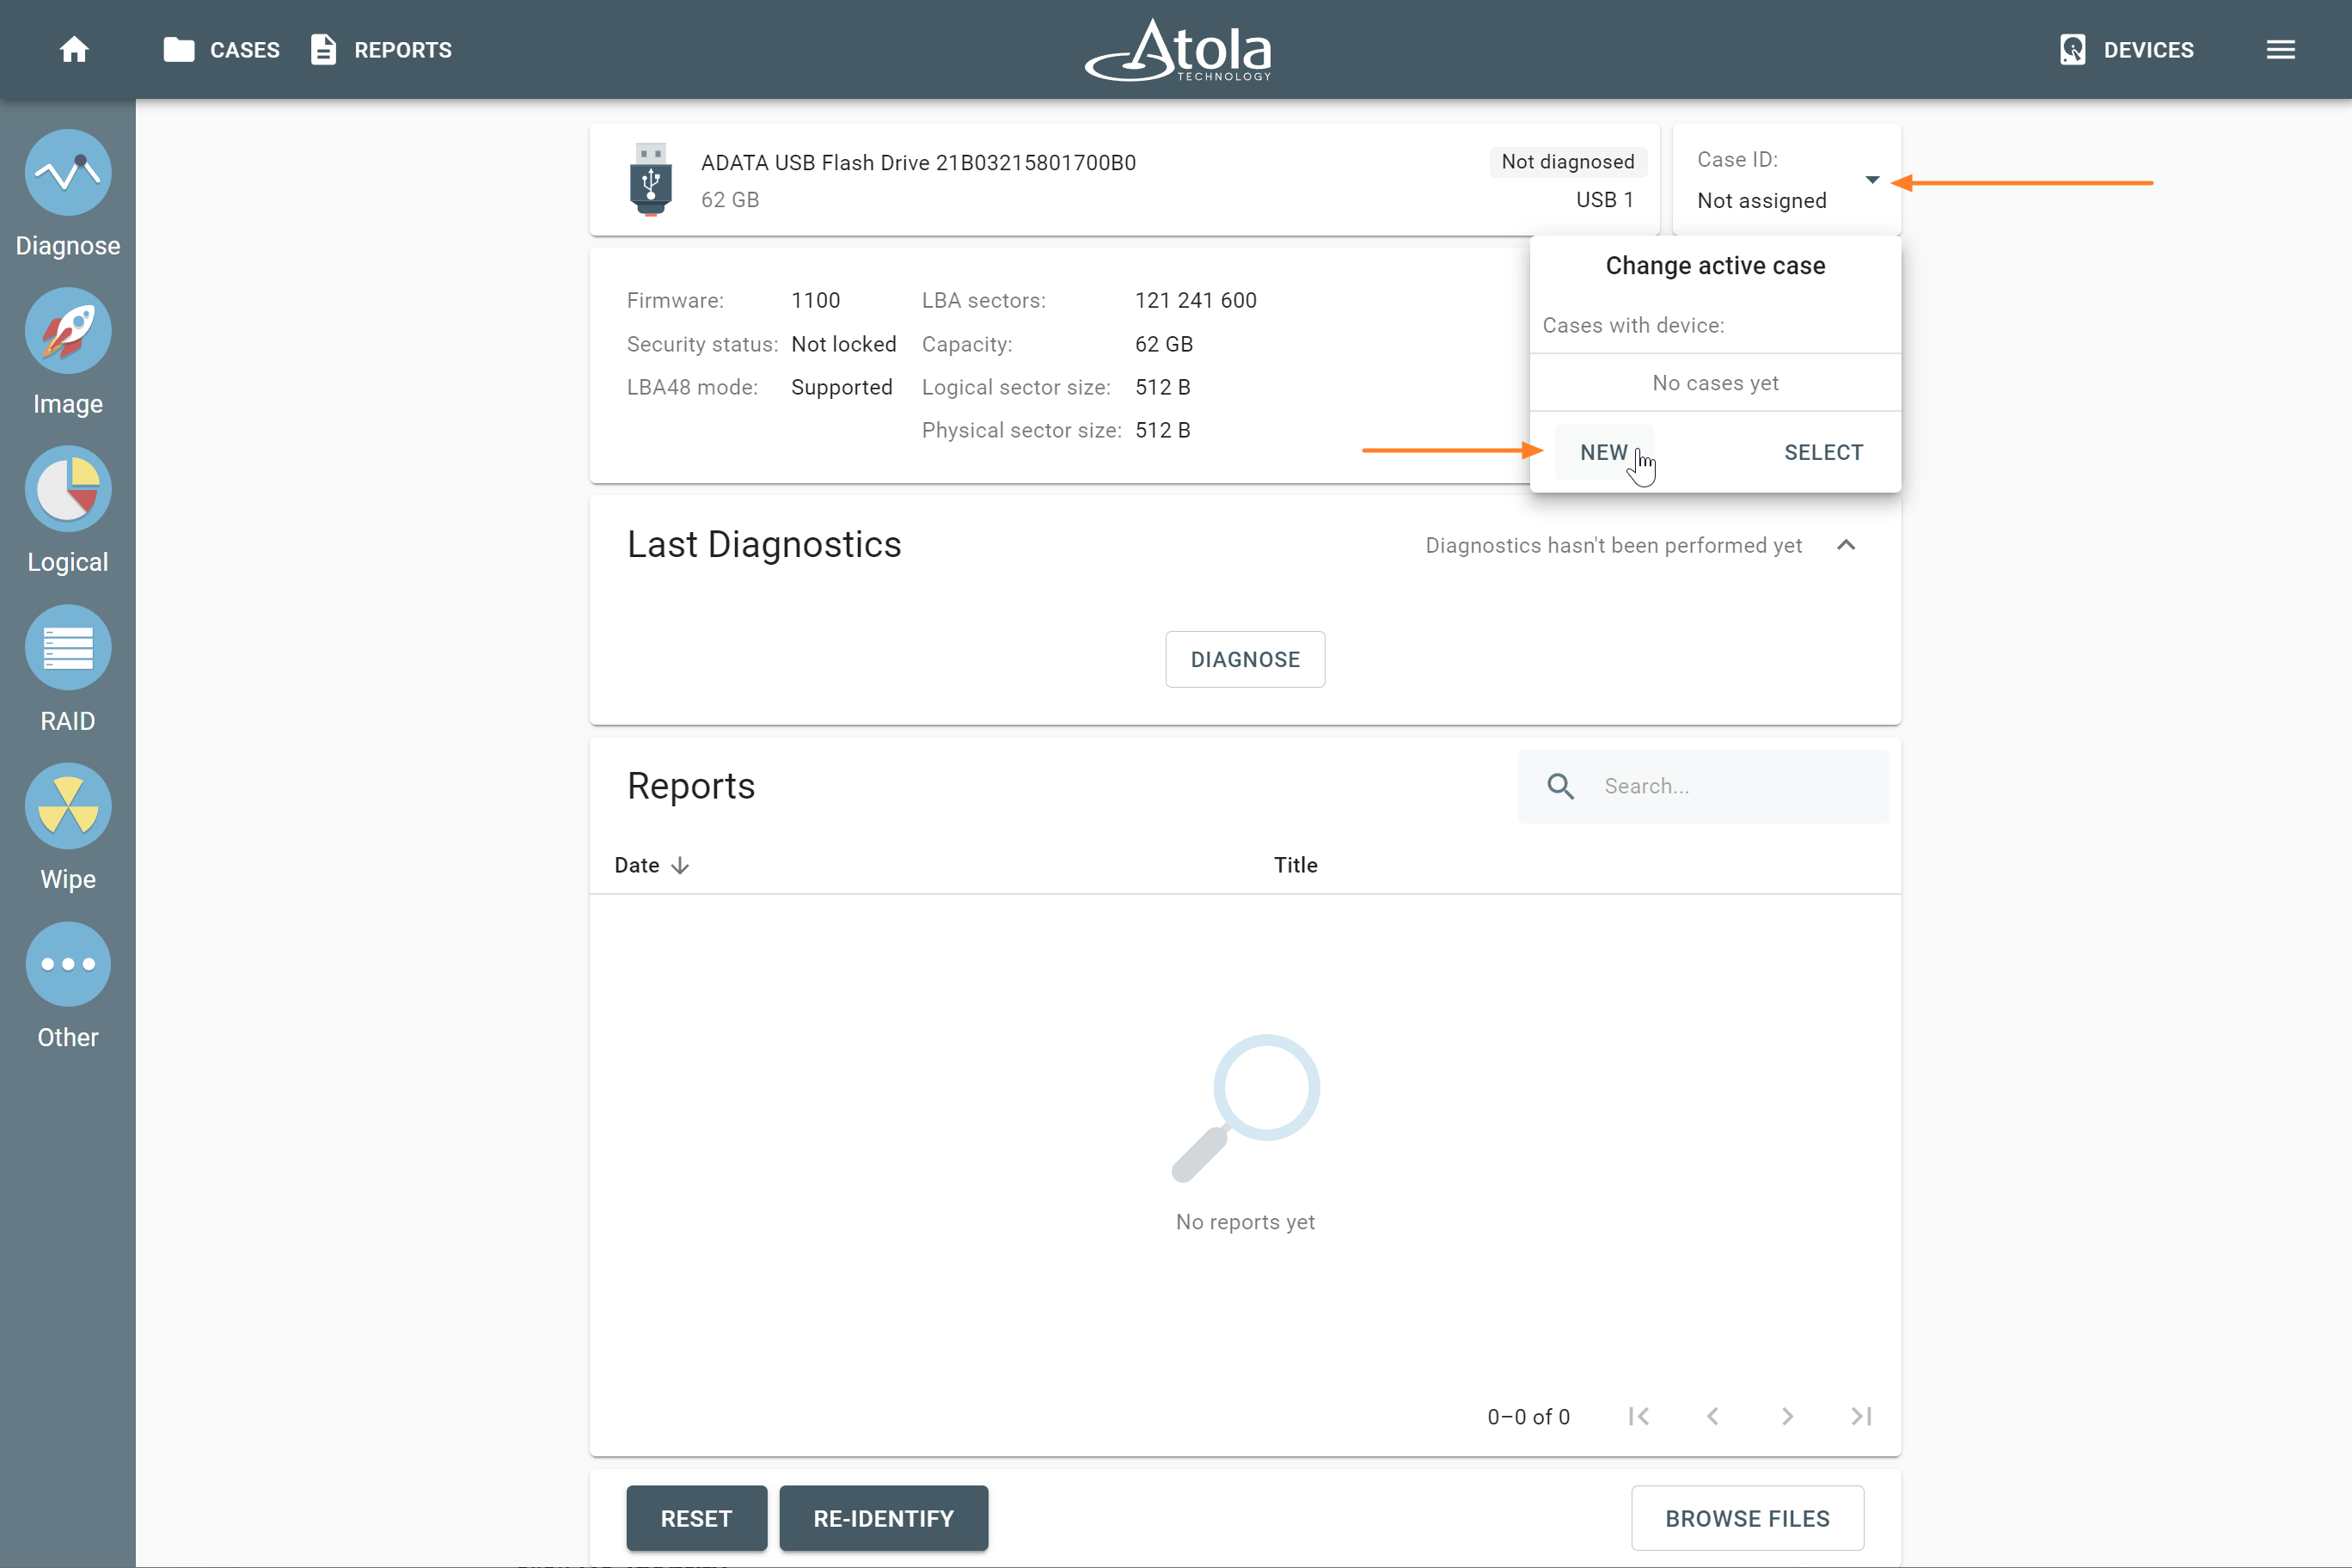
Change active case menu is opened on the Device page.
- Select Create new case and click Next.
- Enter case details and click Continue.
- Set evidence details (ID, examiner) and click Create.
- TaskForce 2 creates a new case and adds your device to it. The Case created report appears on the Home screen and on the Reports page.
Enter case details before starting any task
Entering case details before performing any operation with a device helps you to keep your cases organized and searchable. TaskForce 2 can be set to request that you enter case details before starting any task.
To enable this feature, do the following:
- In the TaskForce main window, go to the Menu > Settings.
- In the Cases section, toggle Set case details before task start.
Now, TaskForce 2 will ask you to enter case details before performing any operation with a device.
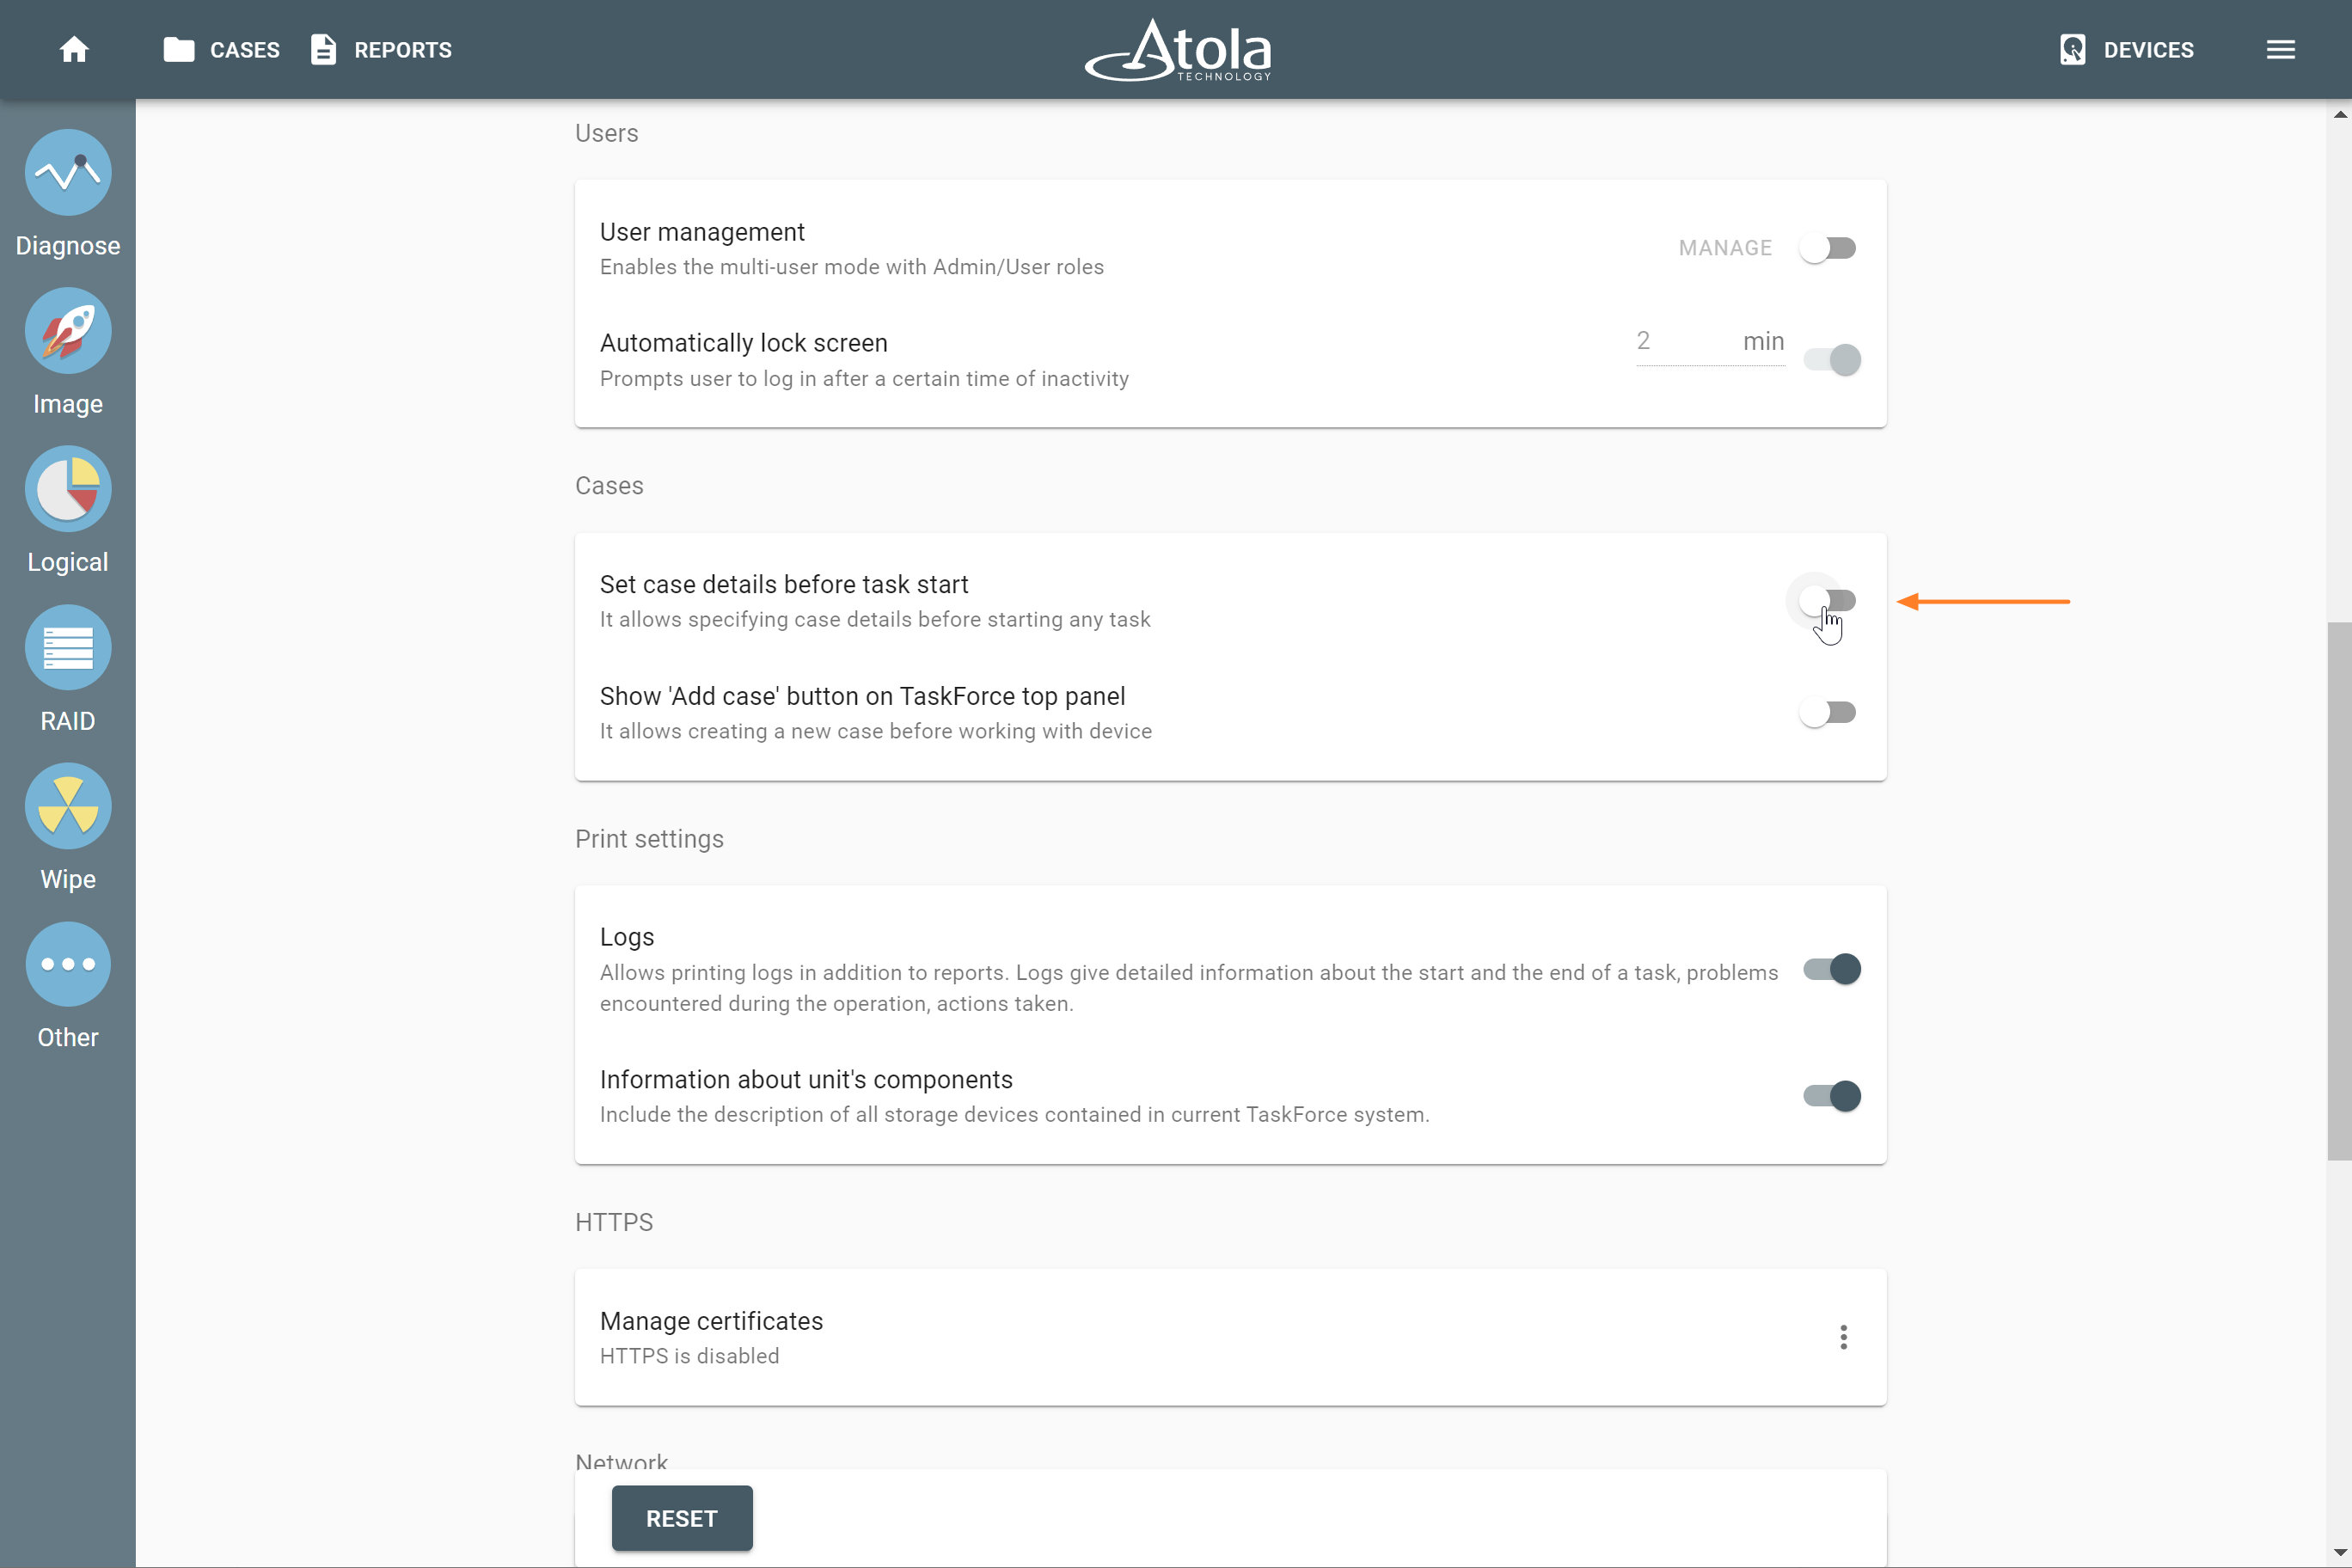
The Set case details before task start toggle on the Settings page.
Atola TaskForce 2 asks a user to enter case details before starting diagnostics.
Set default values for all cases
If Case examiner, Organization, or Location are the same for all or majority of your cases, set them as default for all new cases, and TaskForce will fill those fields automatically every time you create a new case:
- At the top right, go to Menu > Settings.
- On the Settings page, scroll down to the Cases section.
- Toggle on Set default values for all cases.
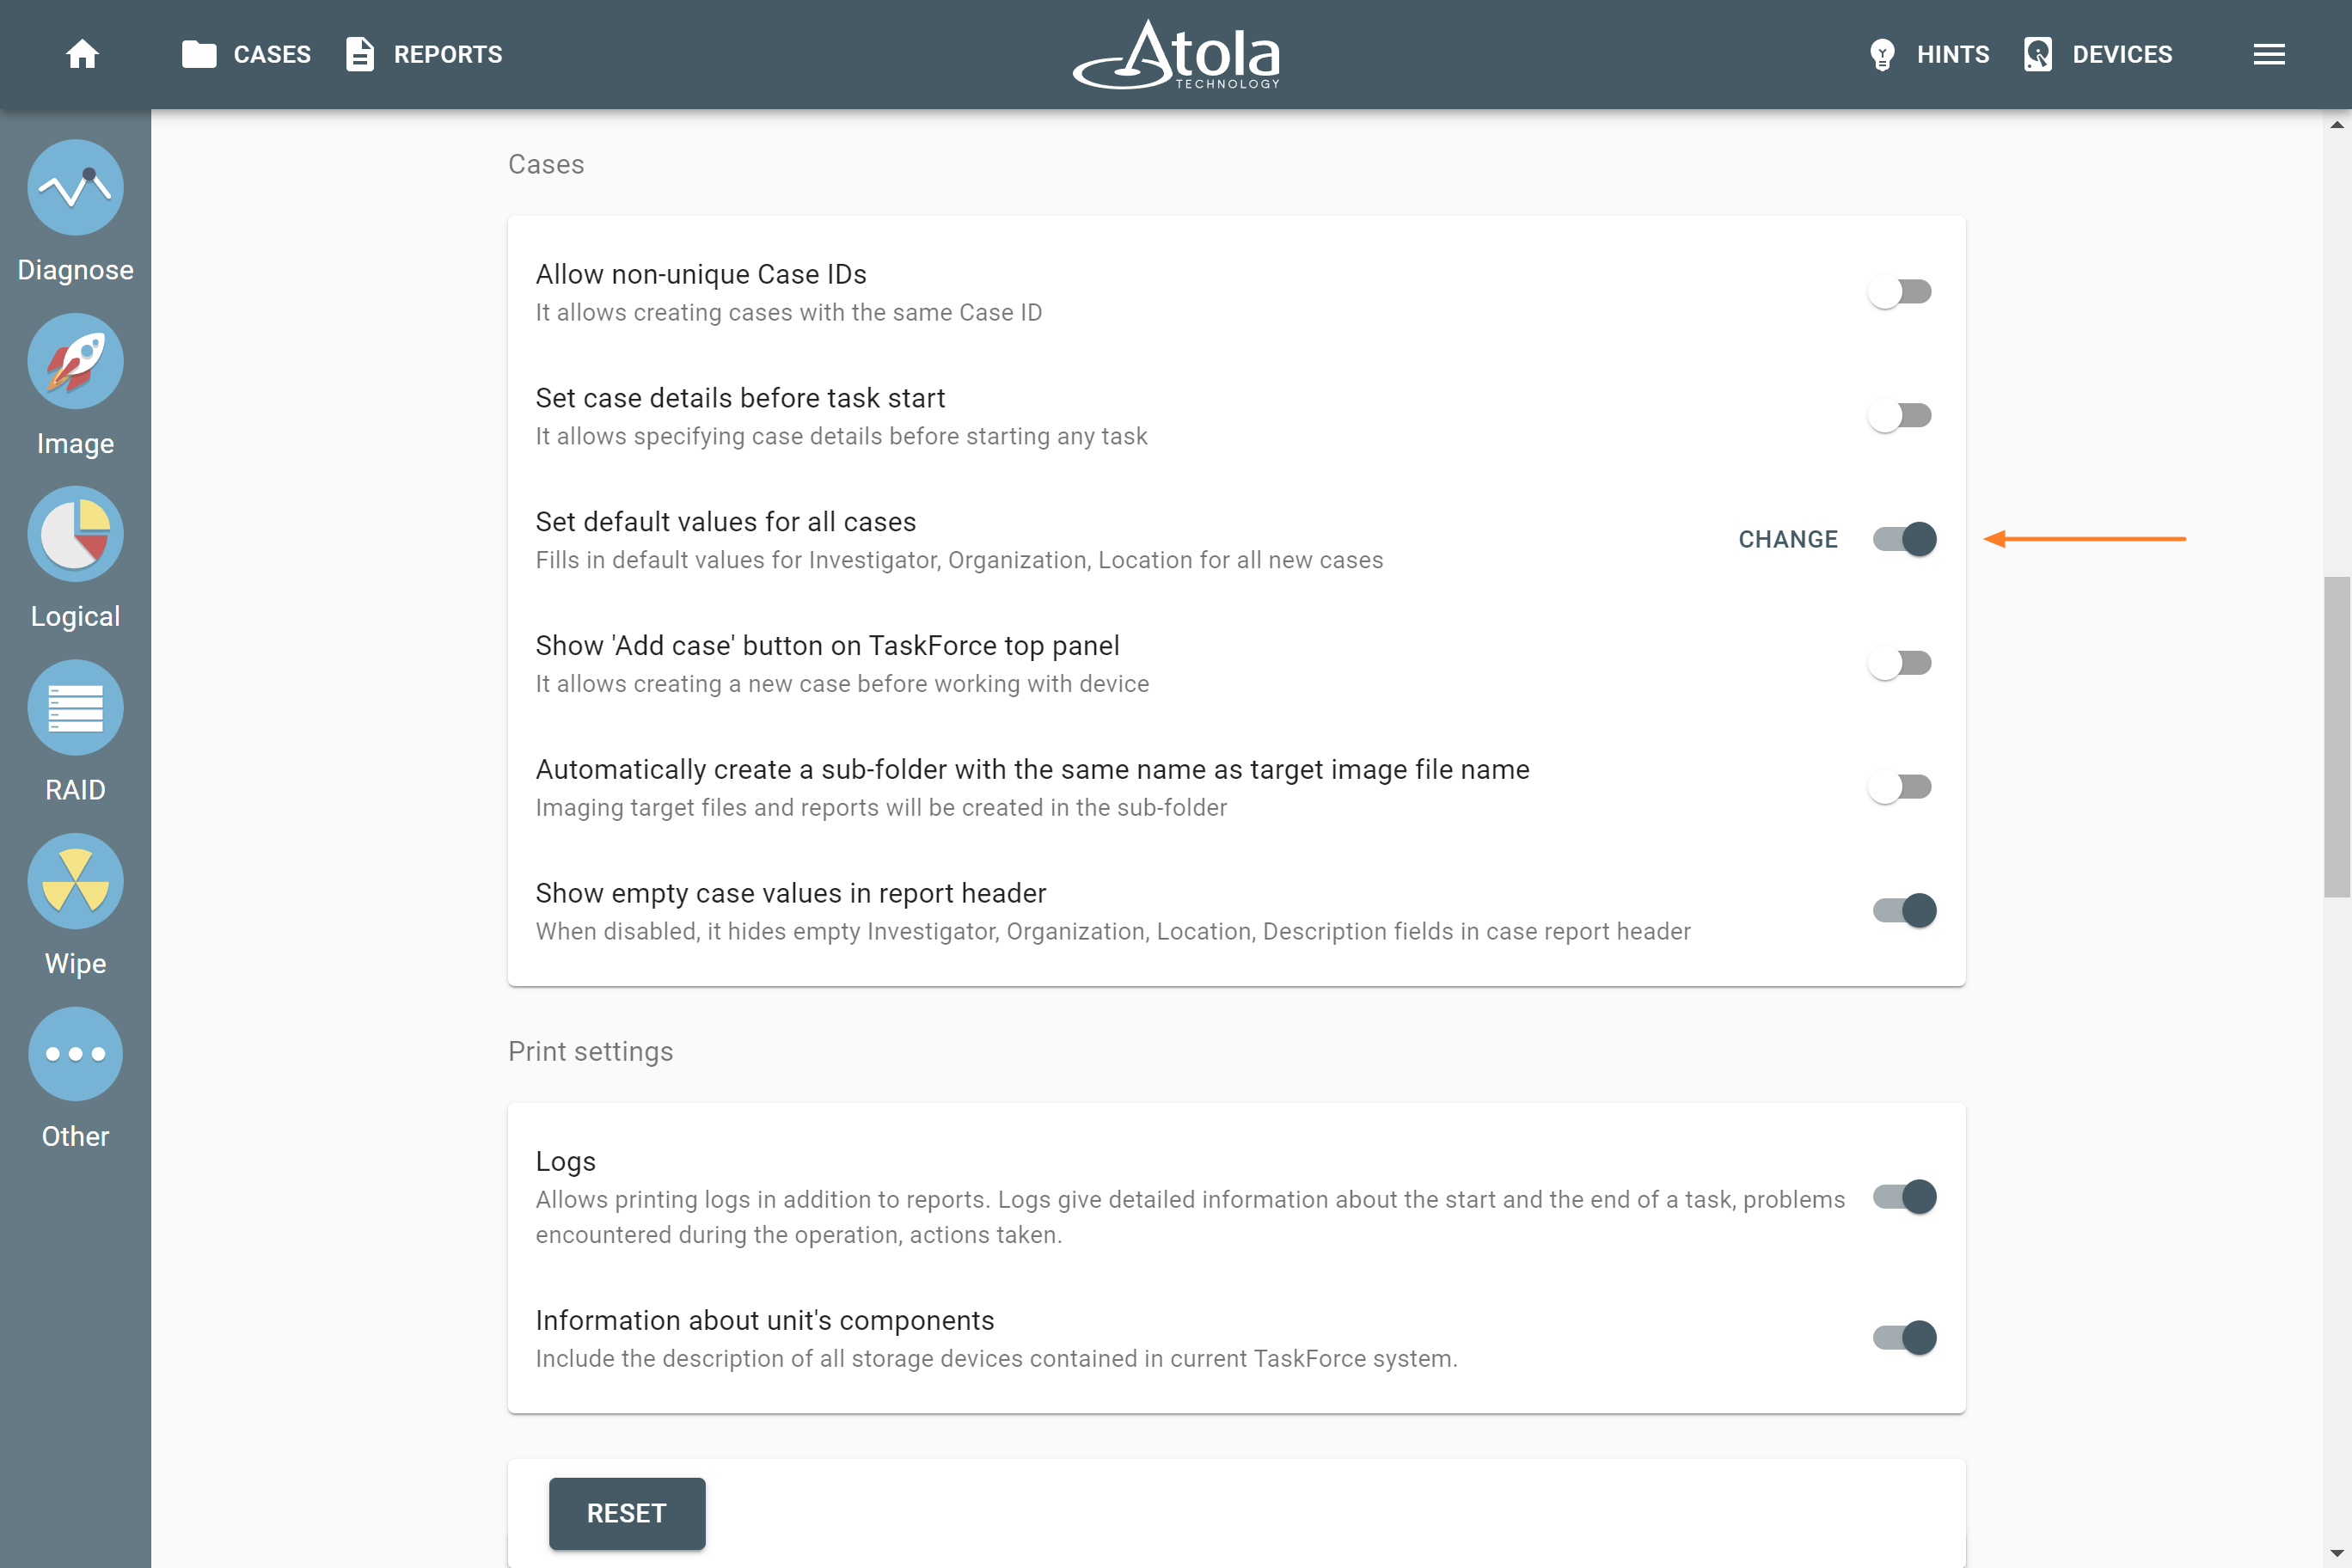
The 'Set default values for all cases' toggle on the Settings page.
- Next to the toggle, click Change.
- Fill in the default values for Case examiner, Organization, or Location and click Save.
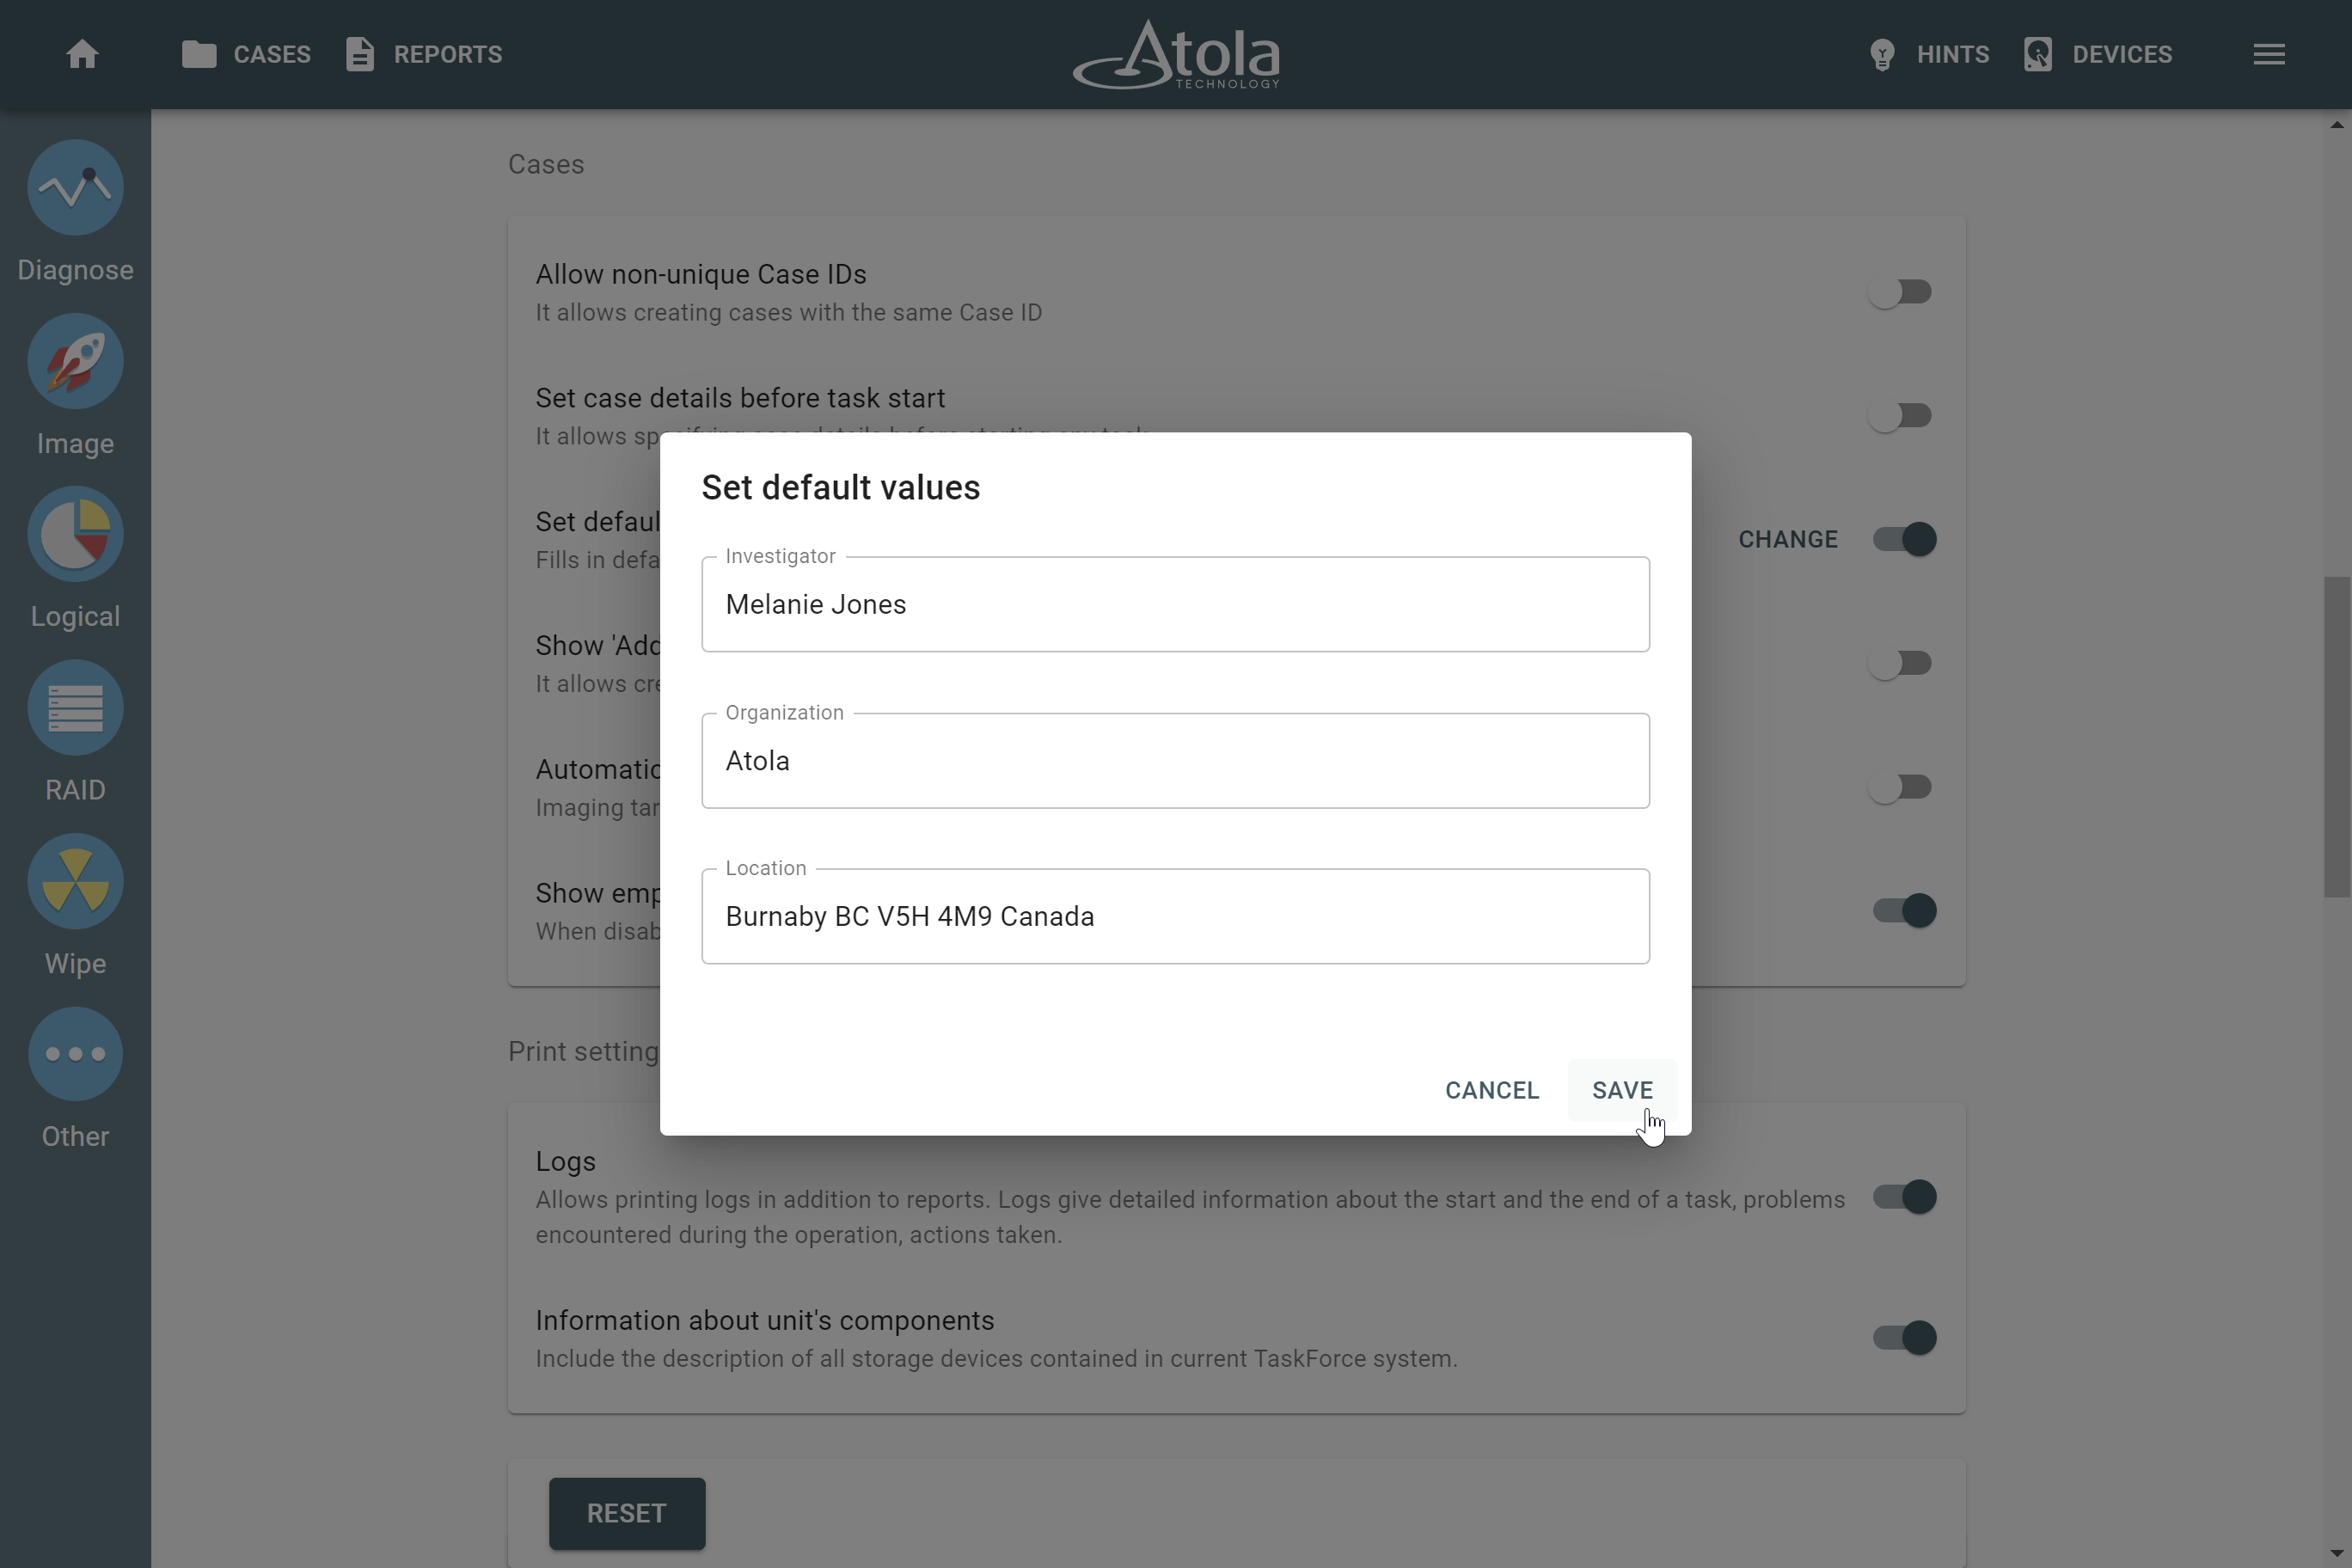
The 'Set default values' dialog.
Automatically synchronize case and image file metadata
To allow TaskForce to autofill empty case fields from entered E01/L01/AFF4 metadata and vice versa:
- In the TaskForce main window, go to the Menu > Settings.
- In the Cases section, toggle Autofill empty case fields from entered E01/L01/AFF4 metadata and vice versa.
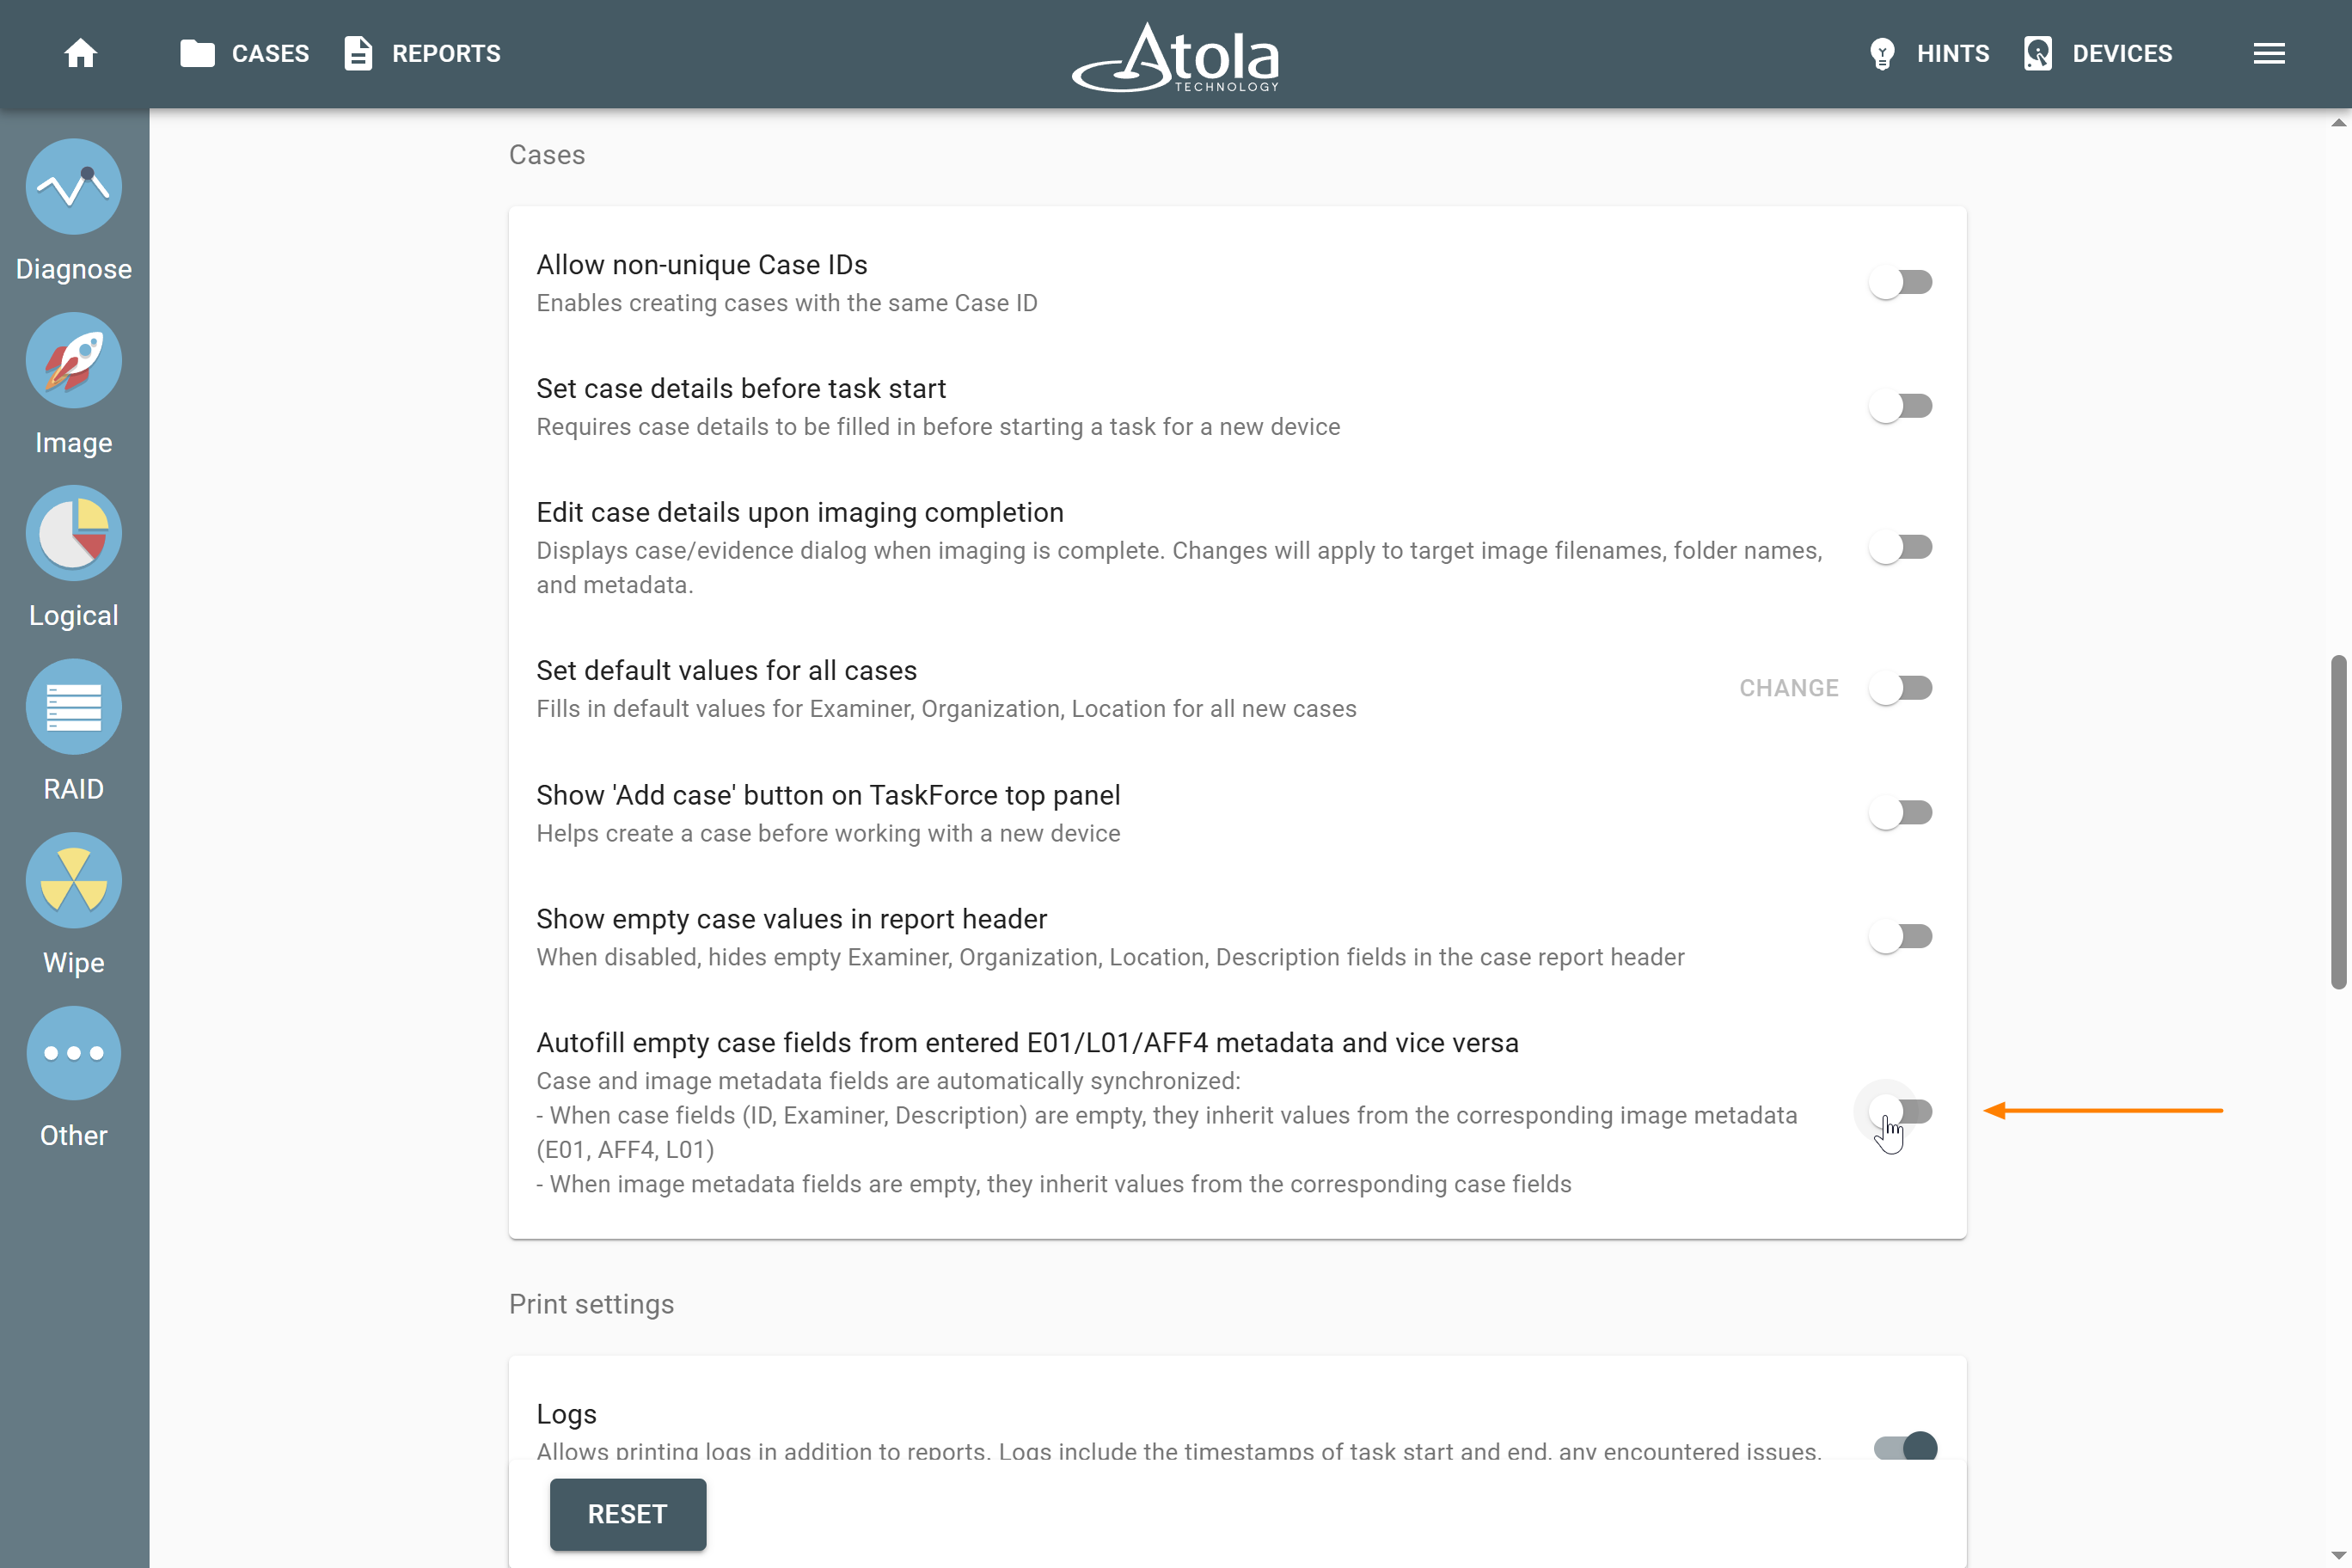
The 'Autofill empty case fields...' toggle on the Settings page.
With this setting, case and image metadata fields are automatically synchronized:
- When case fields (ID, Examiner, Description) are empty, they inherit values from the corresponding image metadata (E01, AFF4, L01).
- When image metadata fields are empty, they inherit values from the corresponding case fields.
Show 'Add case' button
You can add cases right from the TaskForce Home screen before working with the device. To do that, set TaskForce 2 to show Add case button in the top panel:
- In the TaskForce main window, go to the Menu > Settings.
- In the Cases section, toggle Show 'Add case' button on TaskForce top panel.
Now, TaskForce 2 shows the Add case button in the top panel.
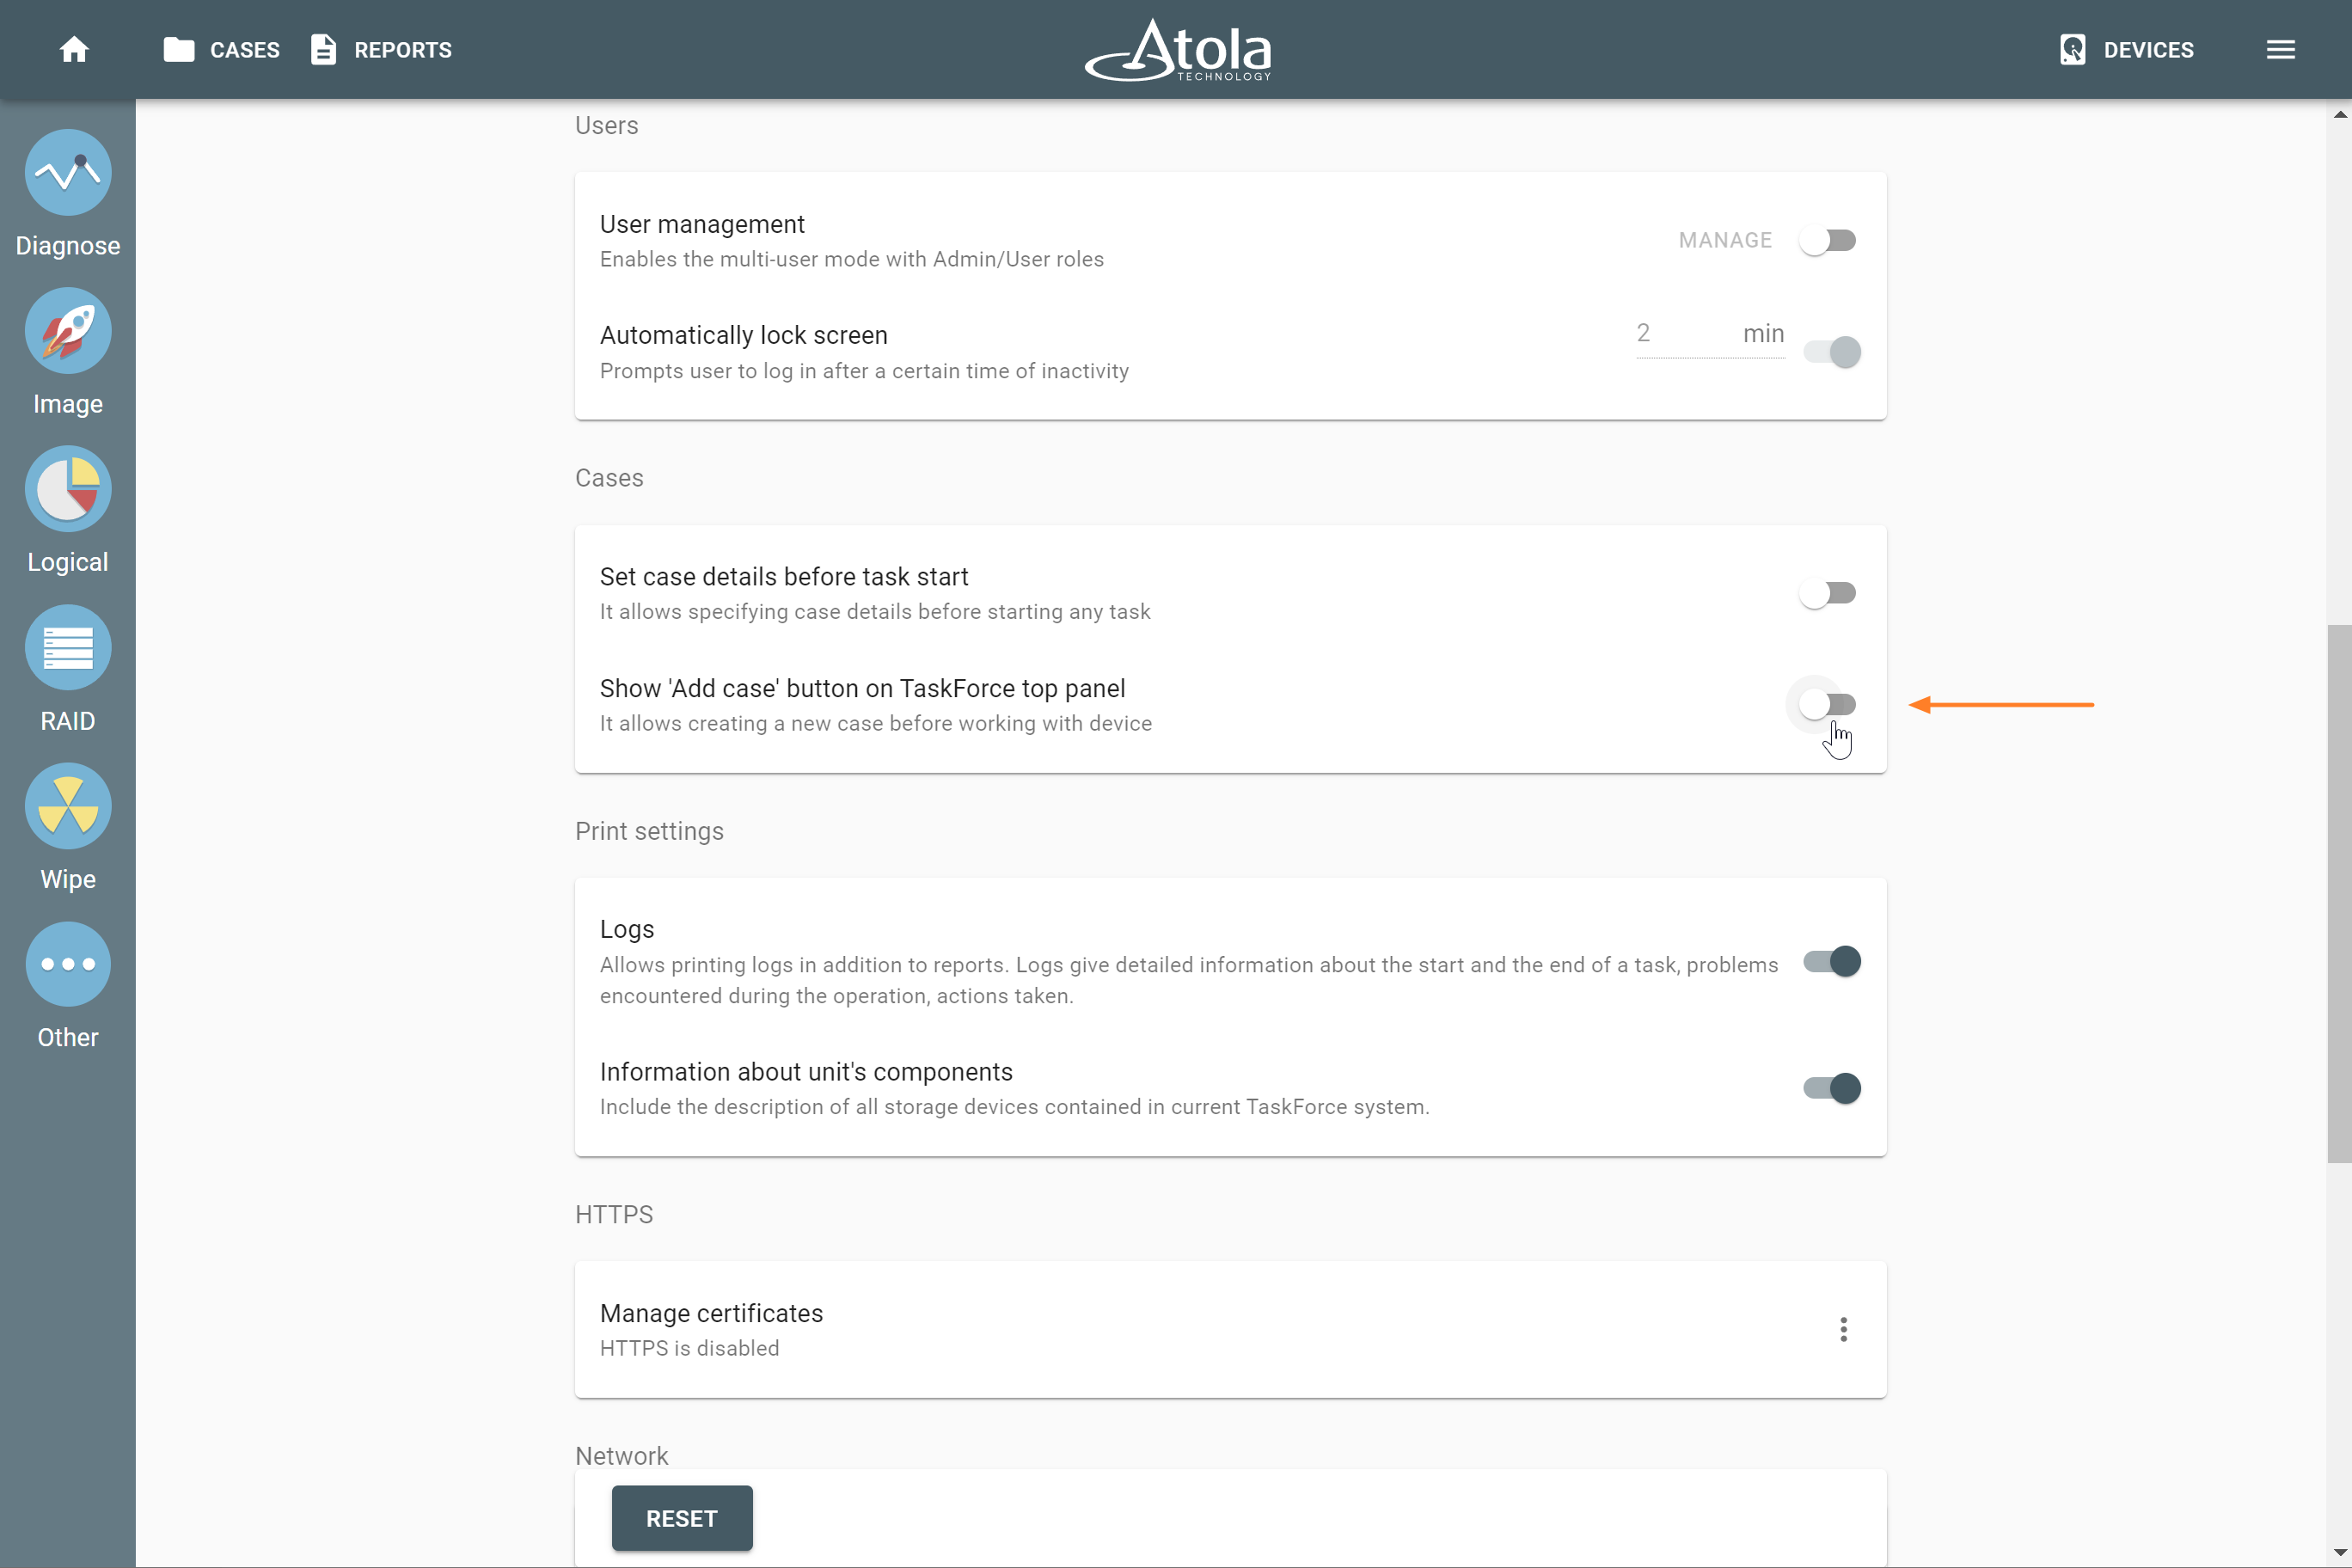
The toggle in the Cases section on the Settings page.
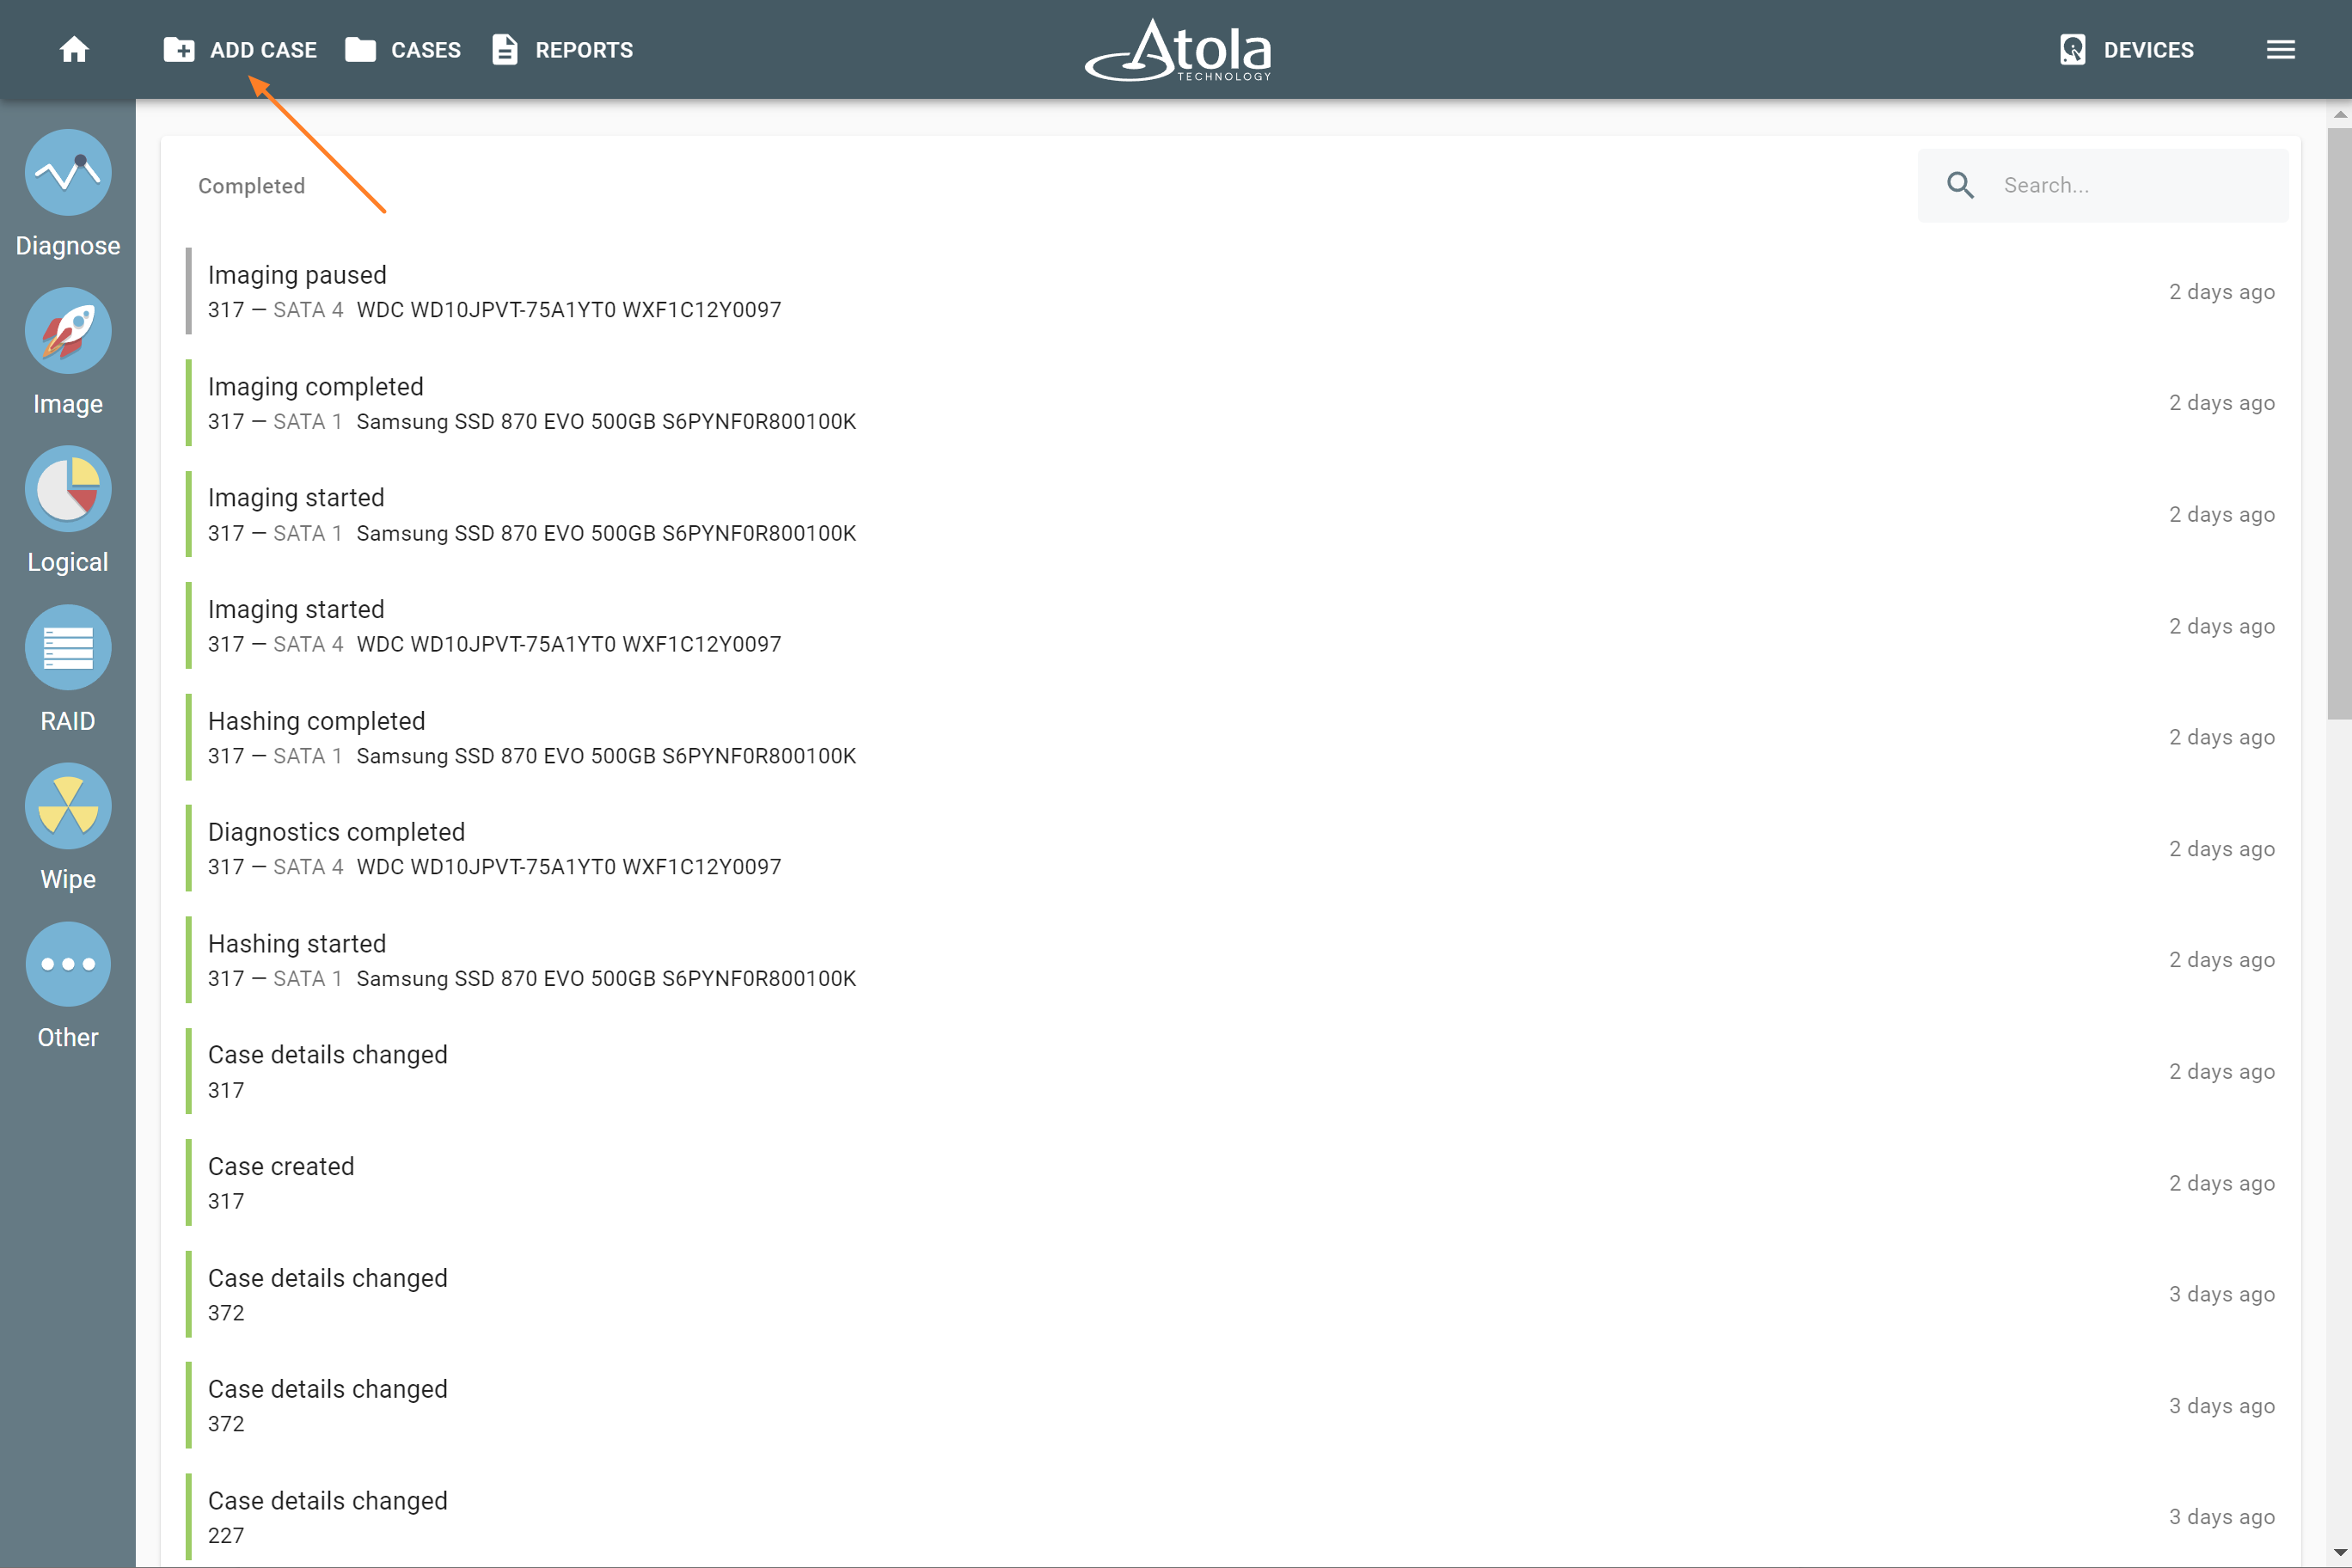
The Add case button in the Atola TaskForce 2 main window.