Manage user profiles remotely using LDAP
When the multi-user mode is on, user credentials for centralized, server-side authentication can be stored and managed remotely using Lightweight Directory Access Protocol (LDAP).
With the LDAP (remote) user management option selected, TaskForce uses an external service (for example, Active Directory) to verify user logins. In this scenario, TaskForce doesn’t keep user passwords locally and only stores the association between a username and their locally assigned role.
This article explains how to set up and manage user profiles remotely using LDAP.
Enable and set up remote User management via LDAP
The first profile, what you create after enabling User management, has an Admin role.
To enable the multi-user mode with the remote user management, do the following steps:
- In the Atola TaskForce window, go to Menu > Settings.
- In the Users section, toggle User management.
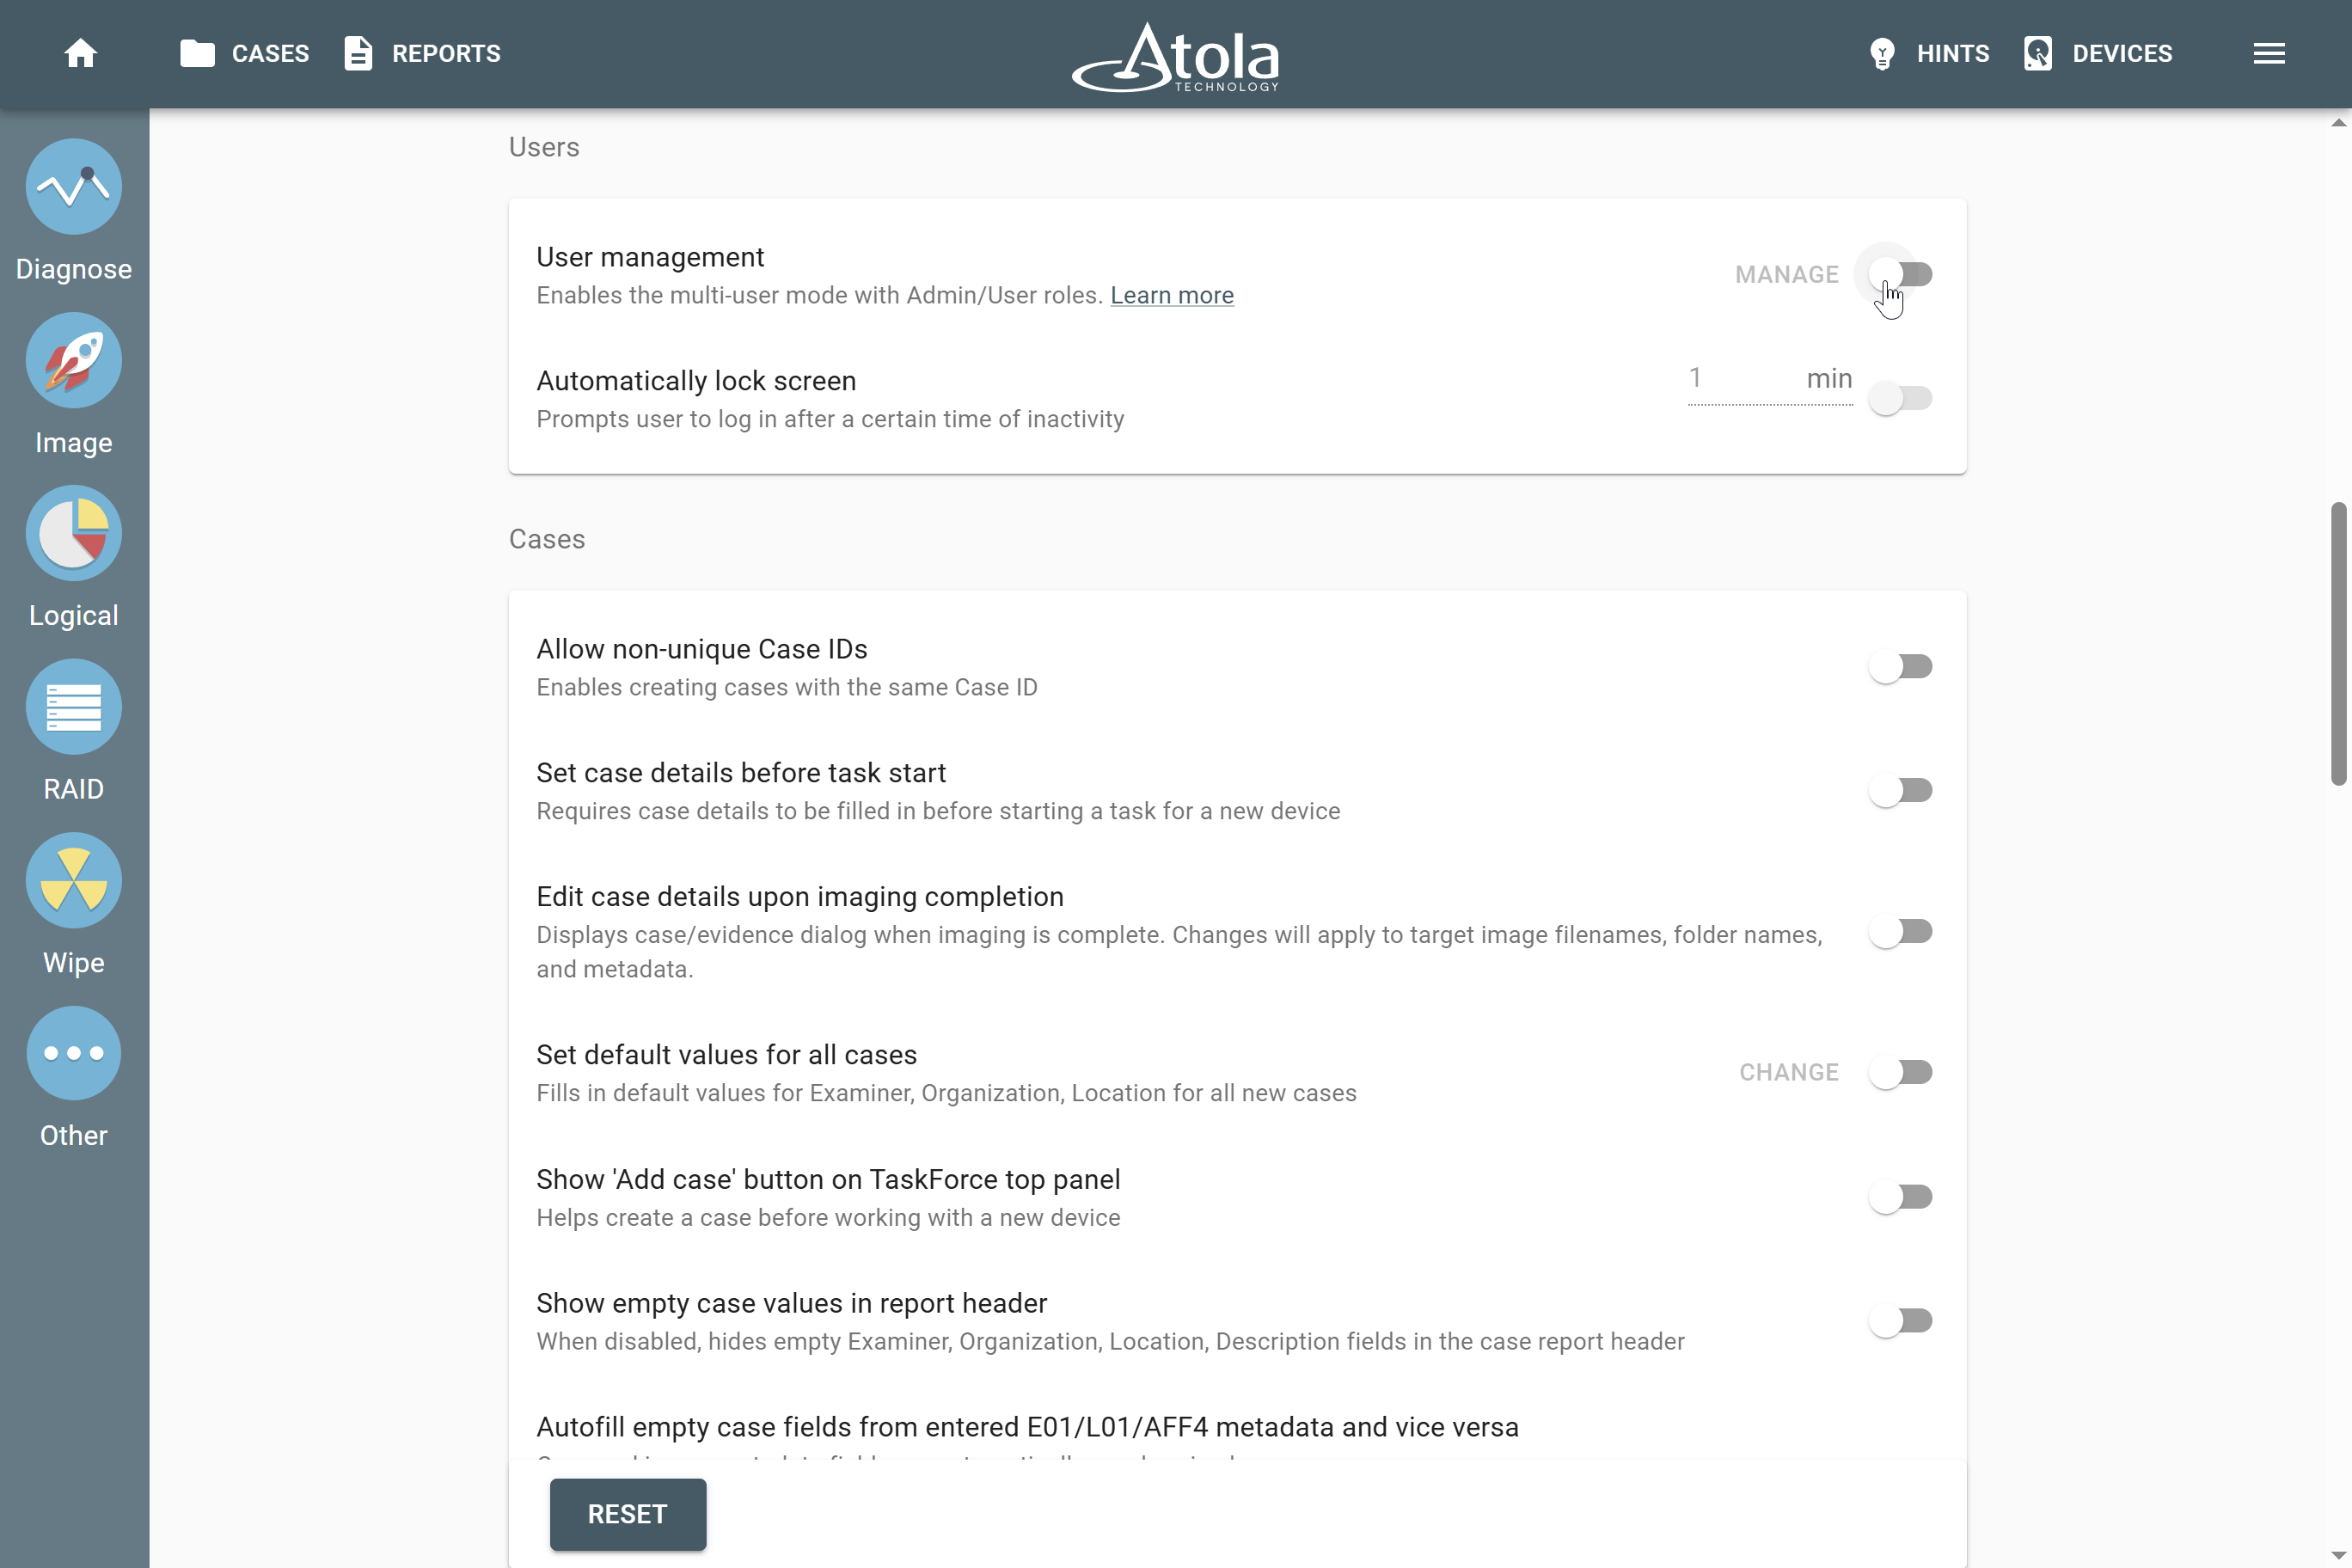
User management toggle in the Users section of the Settings menu.
- Select LDAP.
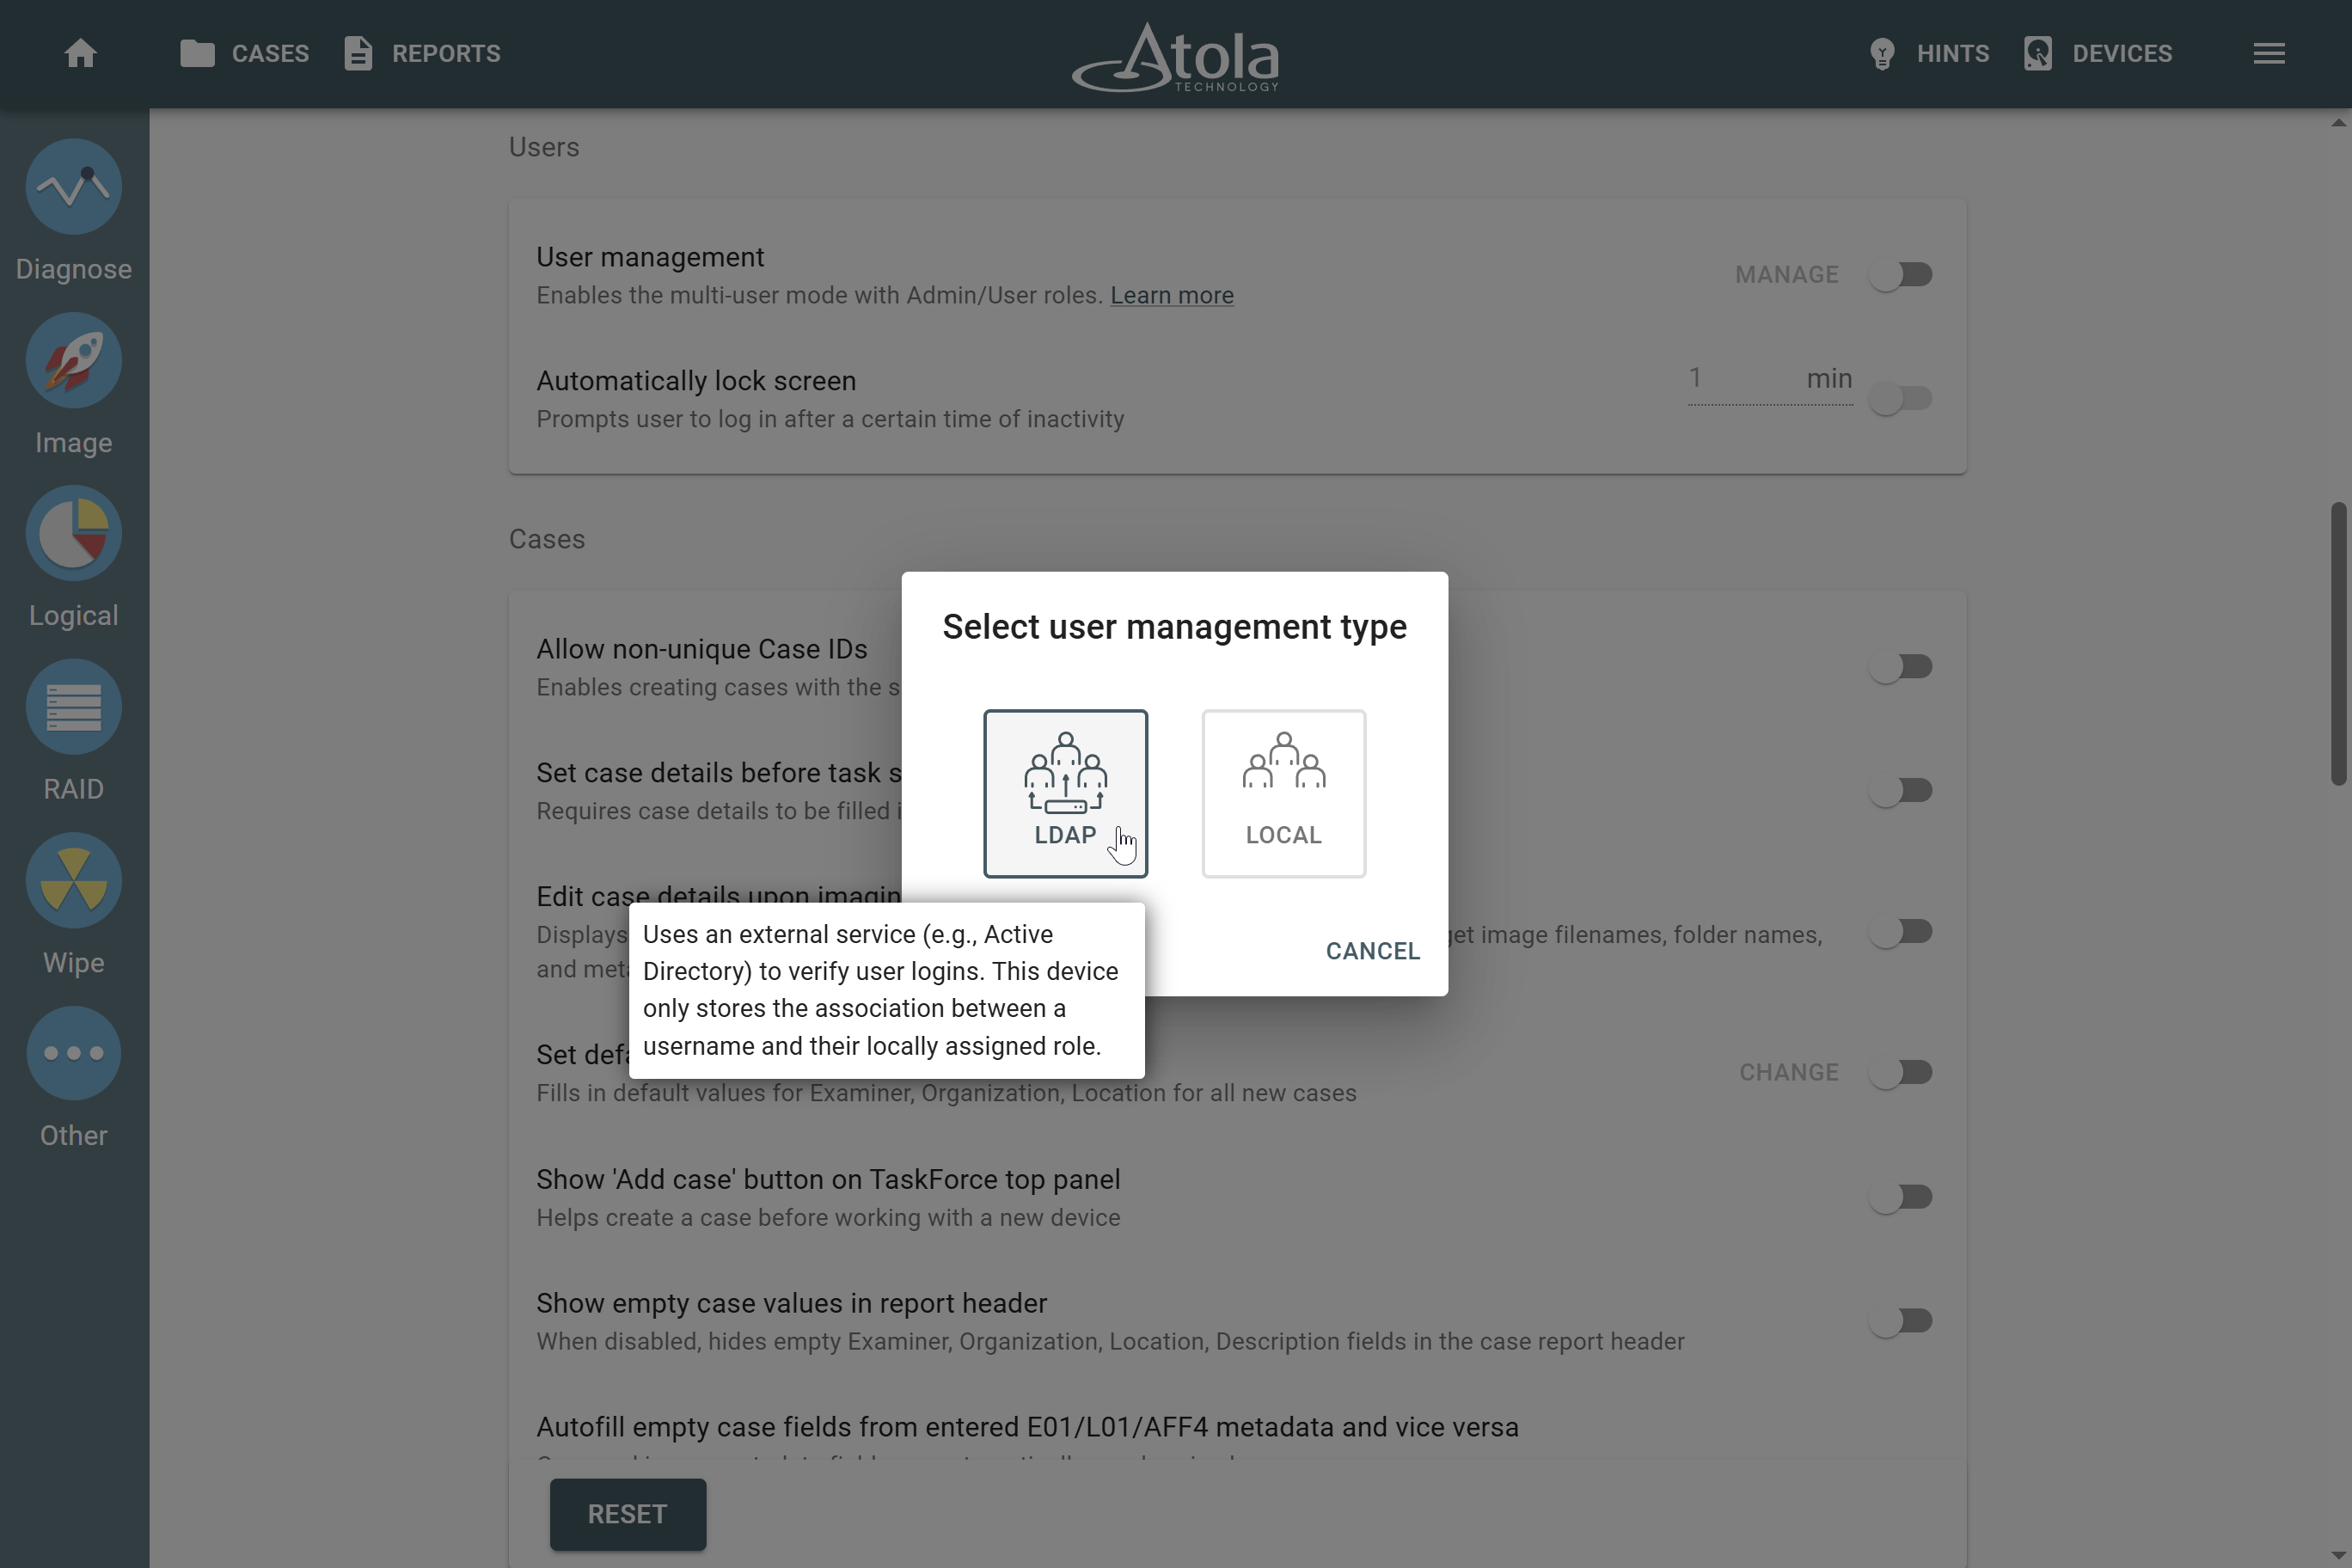
Selecting user management type.
- Enter Host and Port values of your authentication server.
- Optional: To use the secure version of LDAP with encryption, toggle LDAPS.
- Click Next
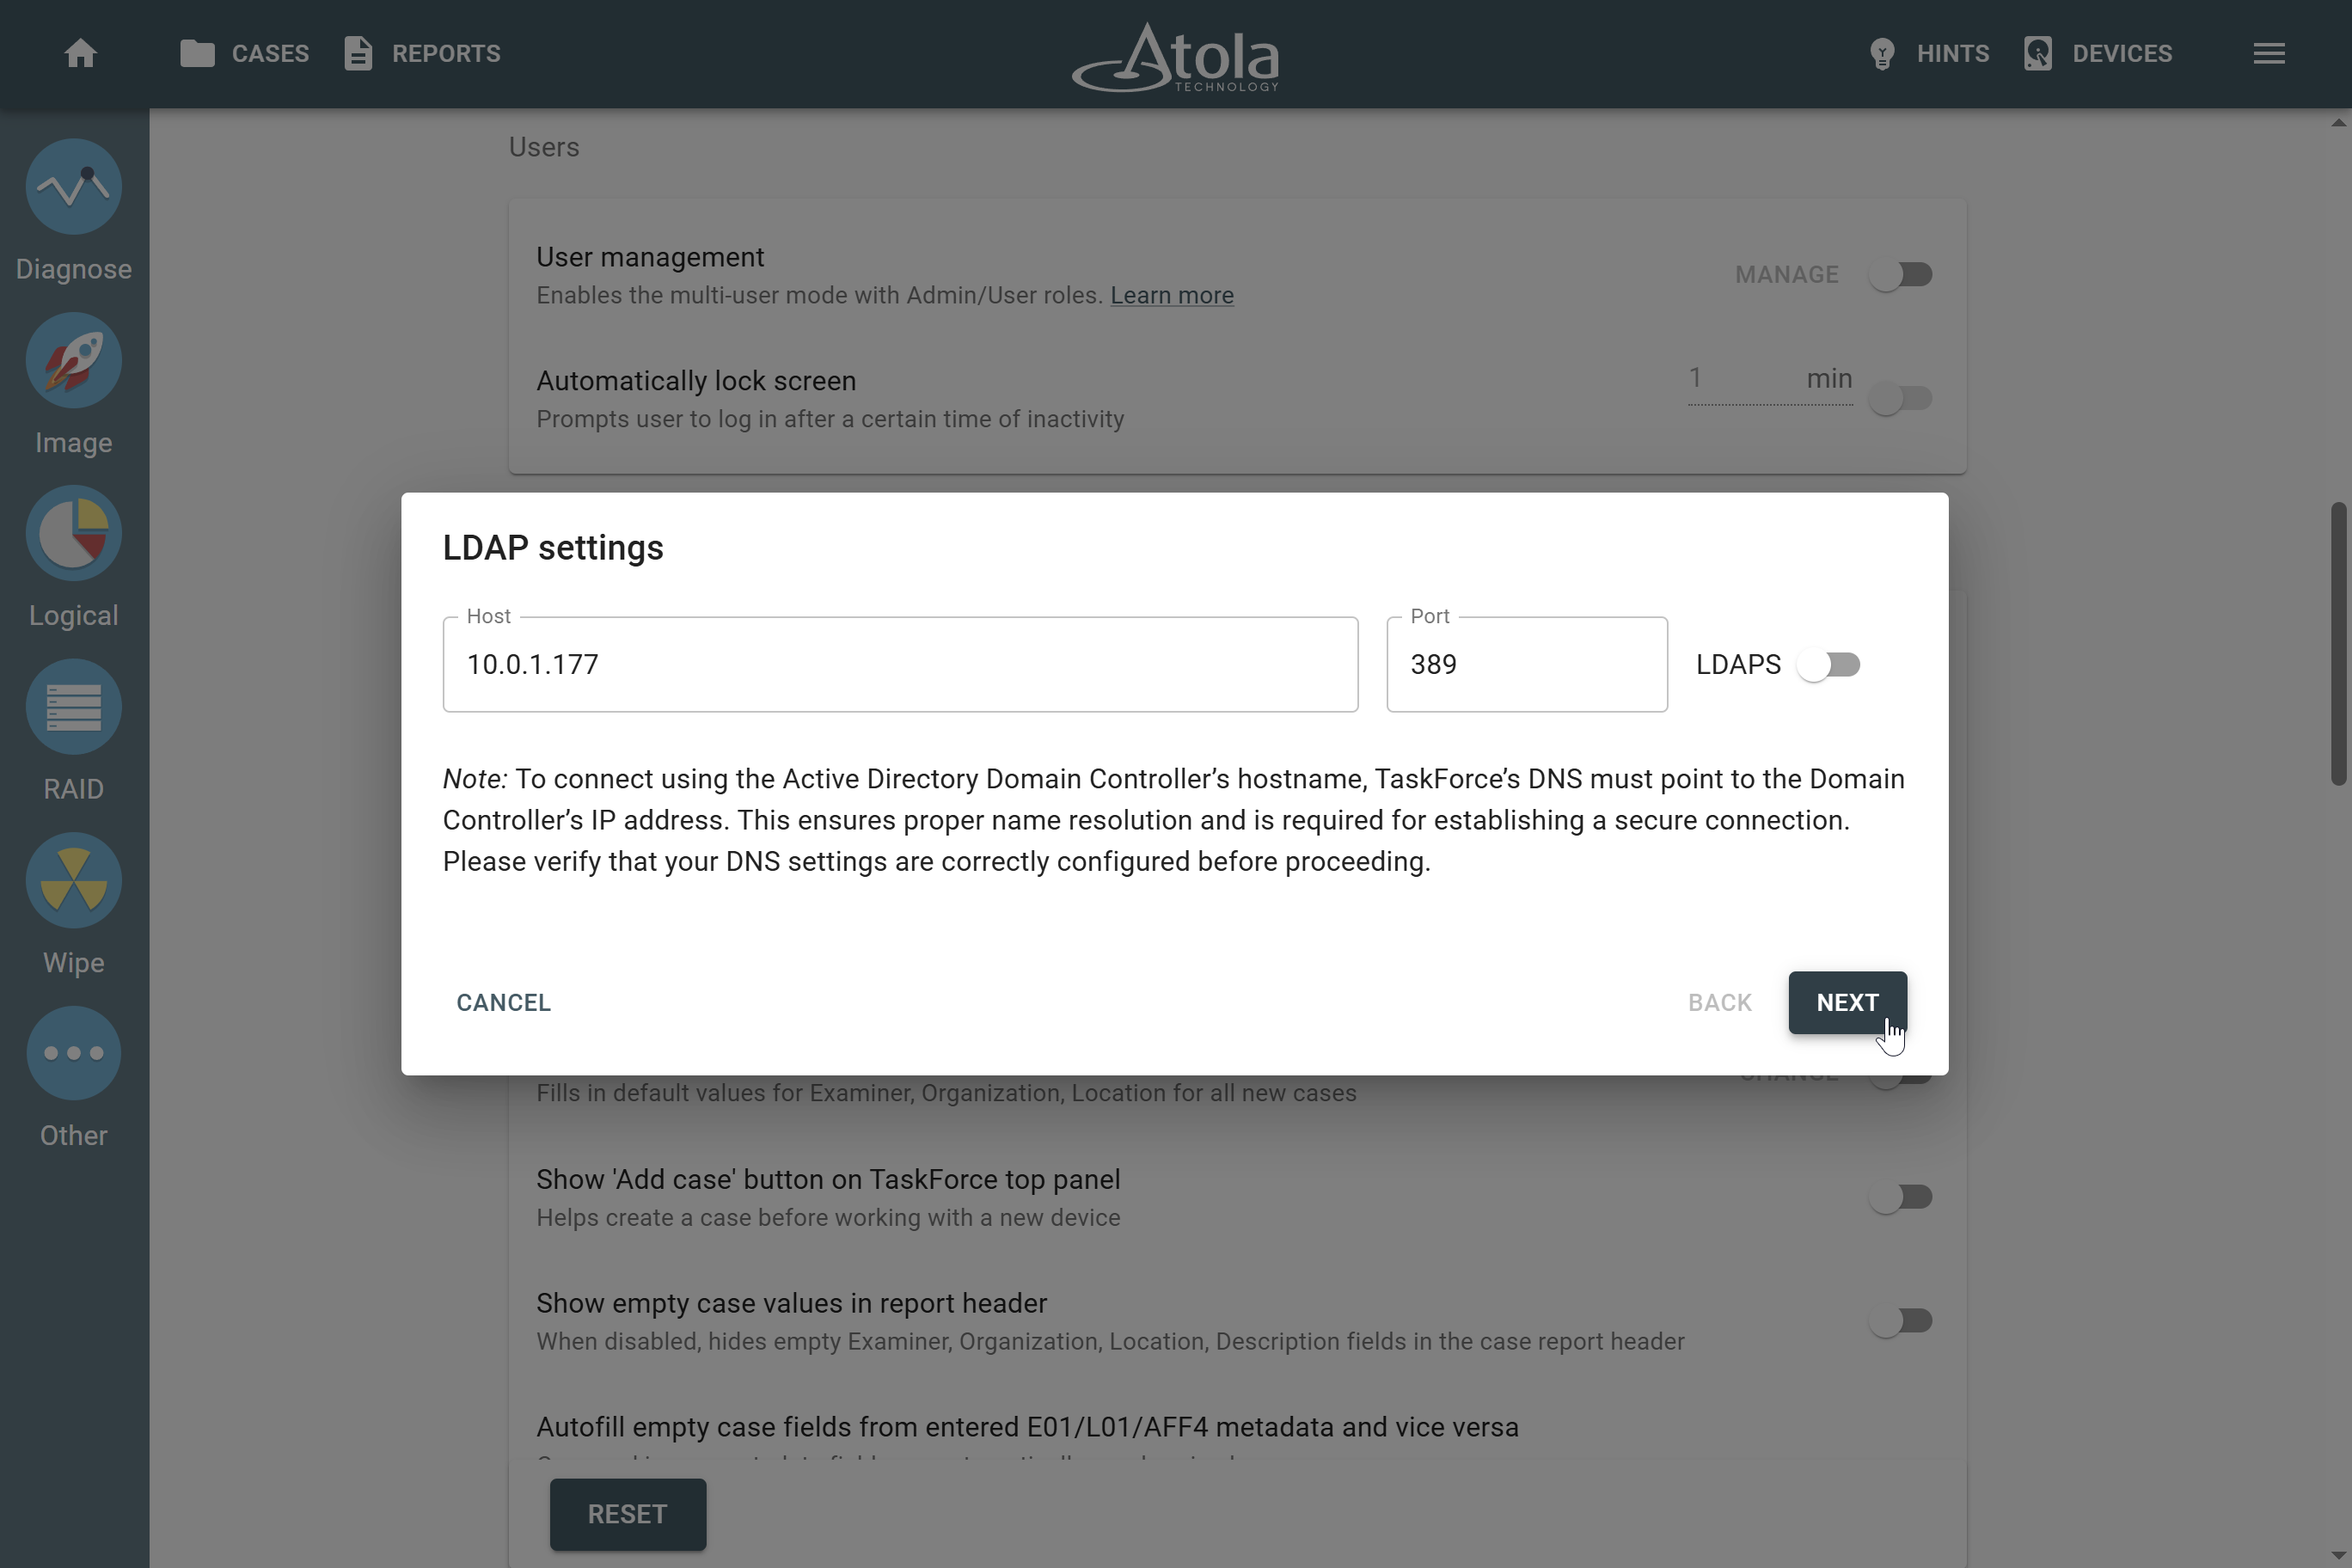
Entering LDAP settings.
- Enter the username (Bind DN or UPN) and password for the administrator’s profile, and then click Apply. The first profile, what you log in to after enabling User management, has an Admin role.

Entering the username and password for the administrator’s profile.
Now you can add, edit, or delete other user profiles.
After you enable User management, Express mode is disabled due to security reasons.
Add, edit, or delete users
Only Admin can add, edit, or delete other user profiles with either Admin or User role.
Inclusive and exclusive modes of user access
TaskForce provides two modes for granting access to the users from Active Directory:
- Inclusive (default): All users from Active Directory are automatically granted access to log in to the system.
- Exclusive: Only users explicitly added to the Users list can log in, even if they exist in Active Directory.
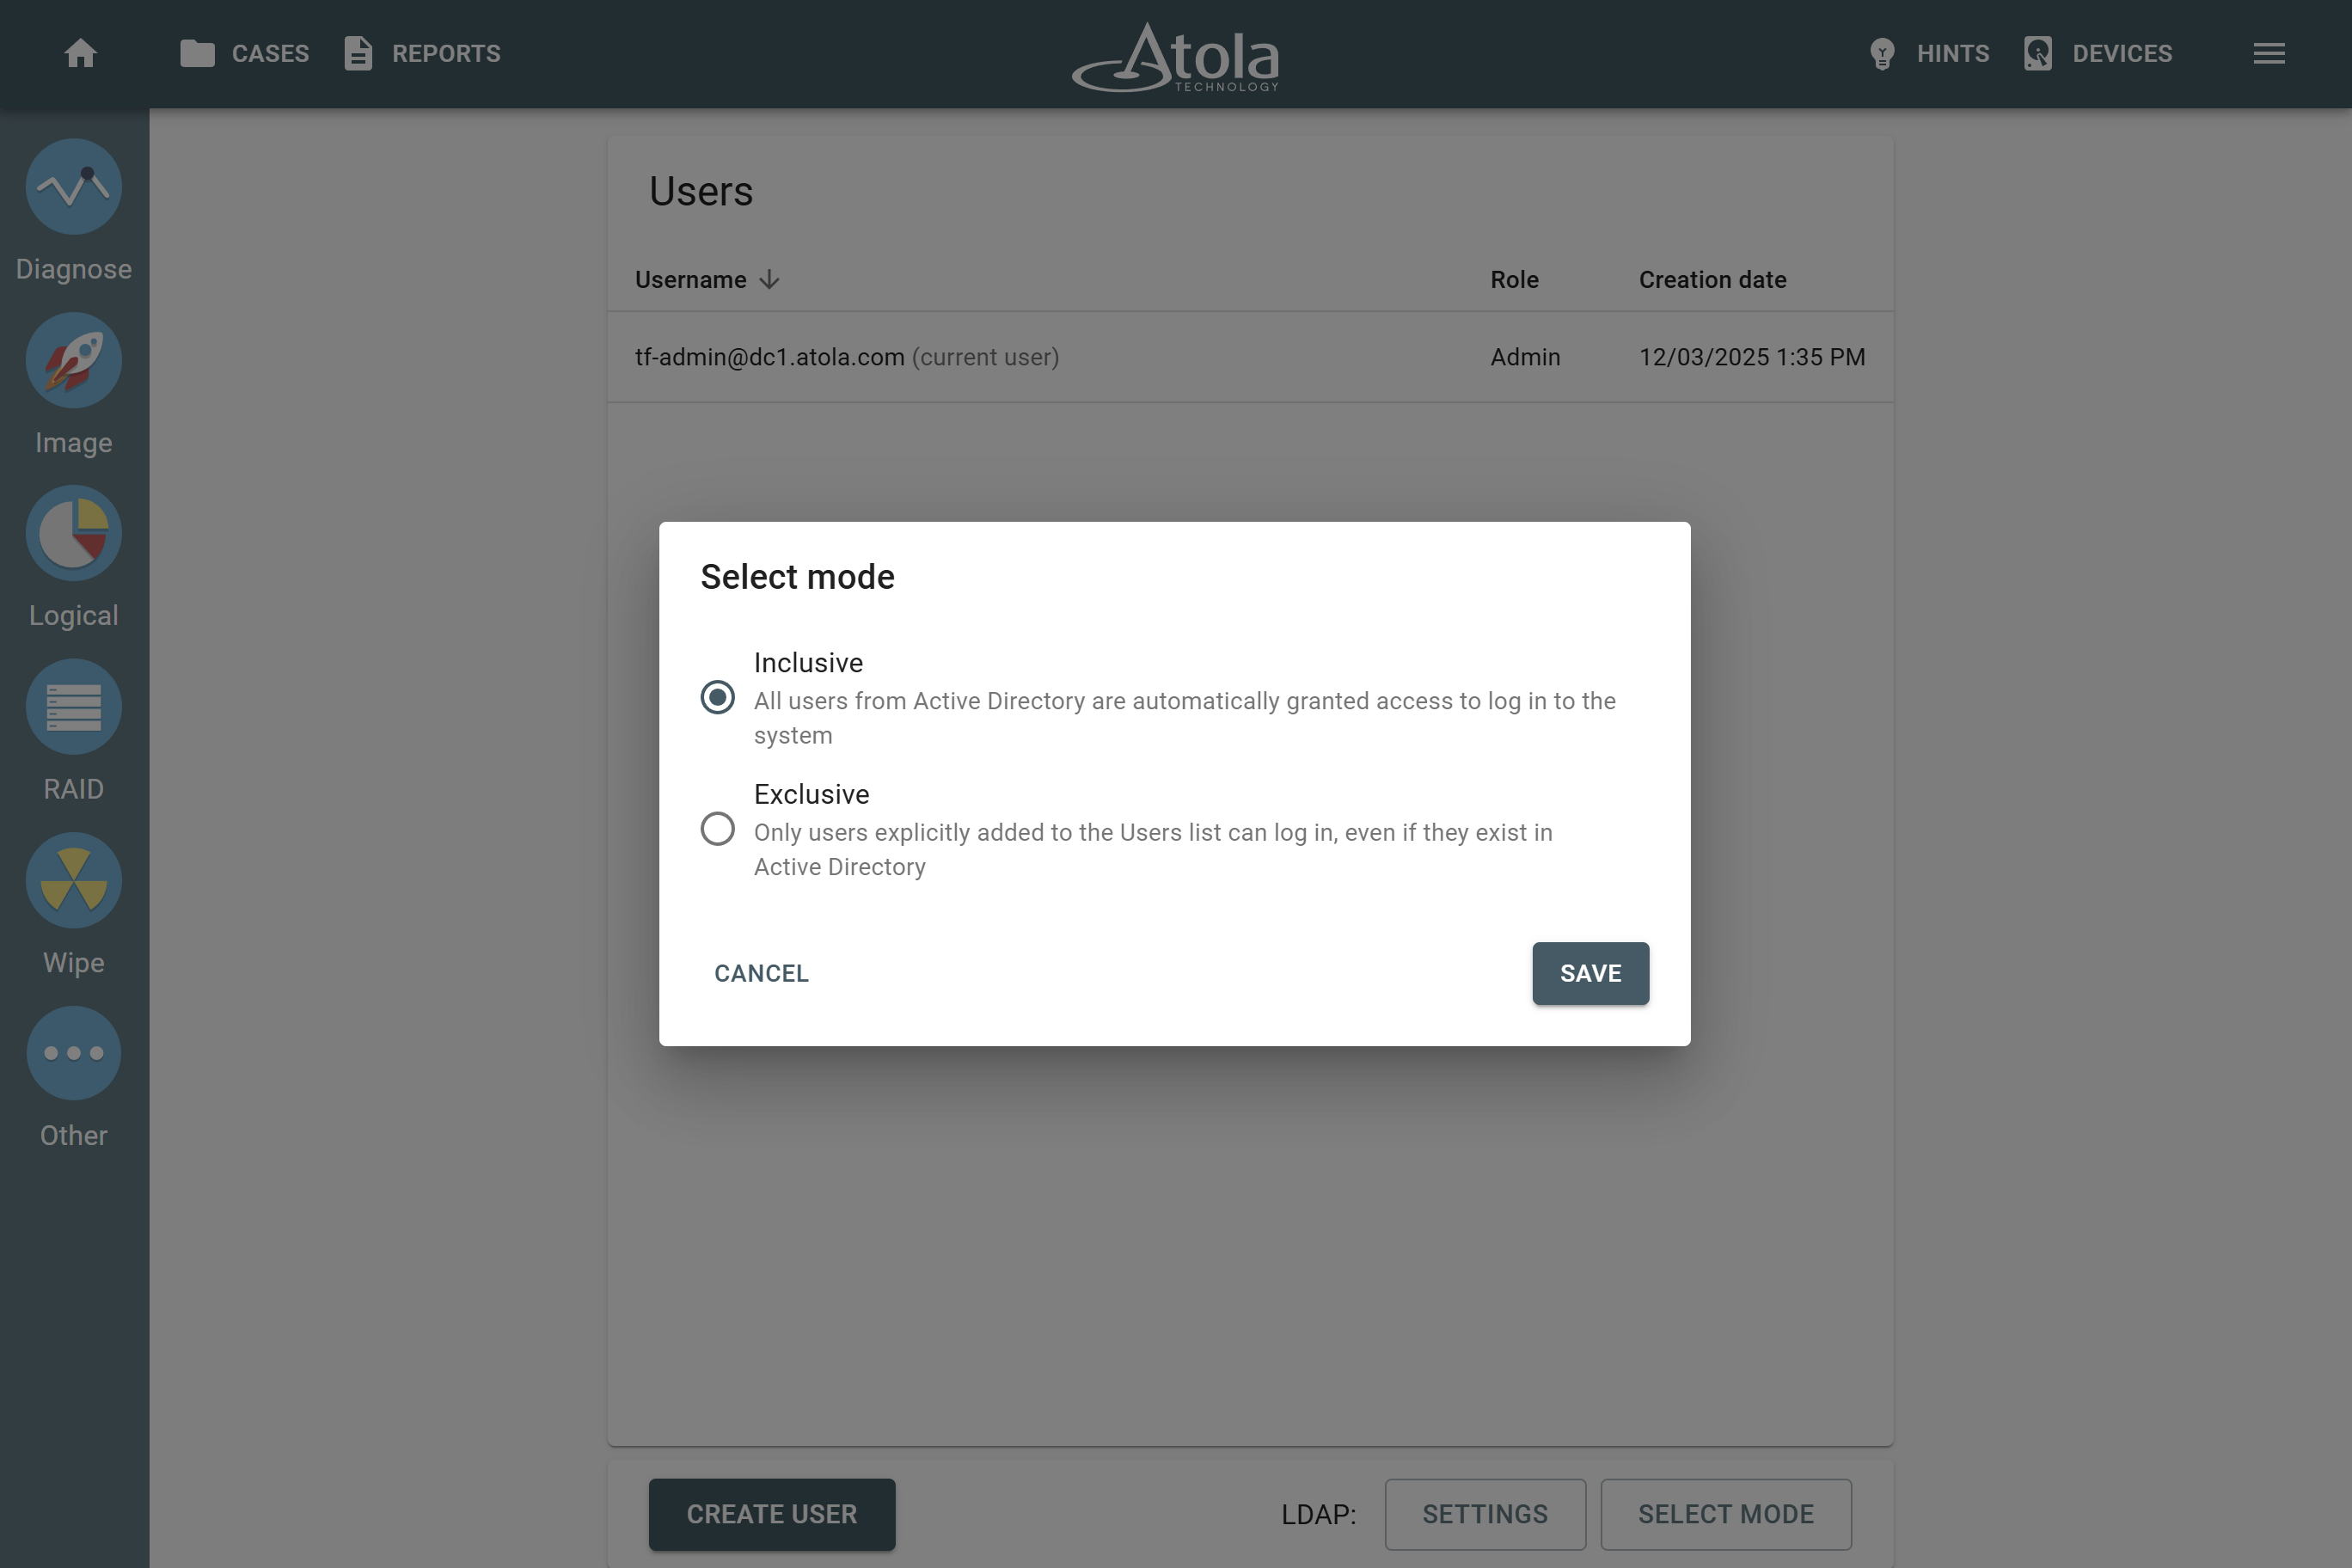
Selecting mode of user access.
To switch between two access modes, do the following:
- Log in to a profile that has the Admin role.
- In the Atola TaskForce window, go to Menu > Settings.
- In the Users section, click Manage.
- On the bottom of the Users page, click Select mode.
- Select either Inclusive or Exclusive mode and click Save.
Add a user
To add a user, do the following steps:
- Log in to a profile that has the Admin role.
- In the Atola TaskForce window, go to Menu > Settings.
- In the Users section, click Manage.
- On the Users page, click Create user.
- Enter user’s Bind DN (format: CN=User1,OU=Sales,DC=mycompany,DC=com) or UPN (format: [email protected]).
- Optional: To grant this user an Admin role, select the Admin checkbox.
- Click Create.
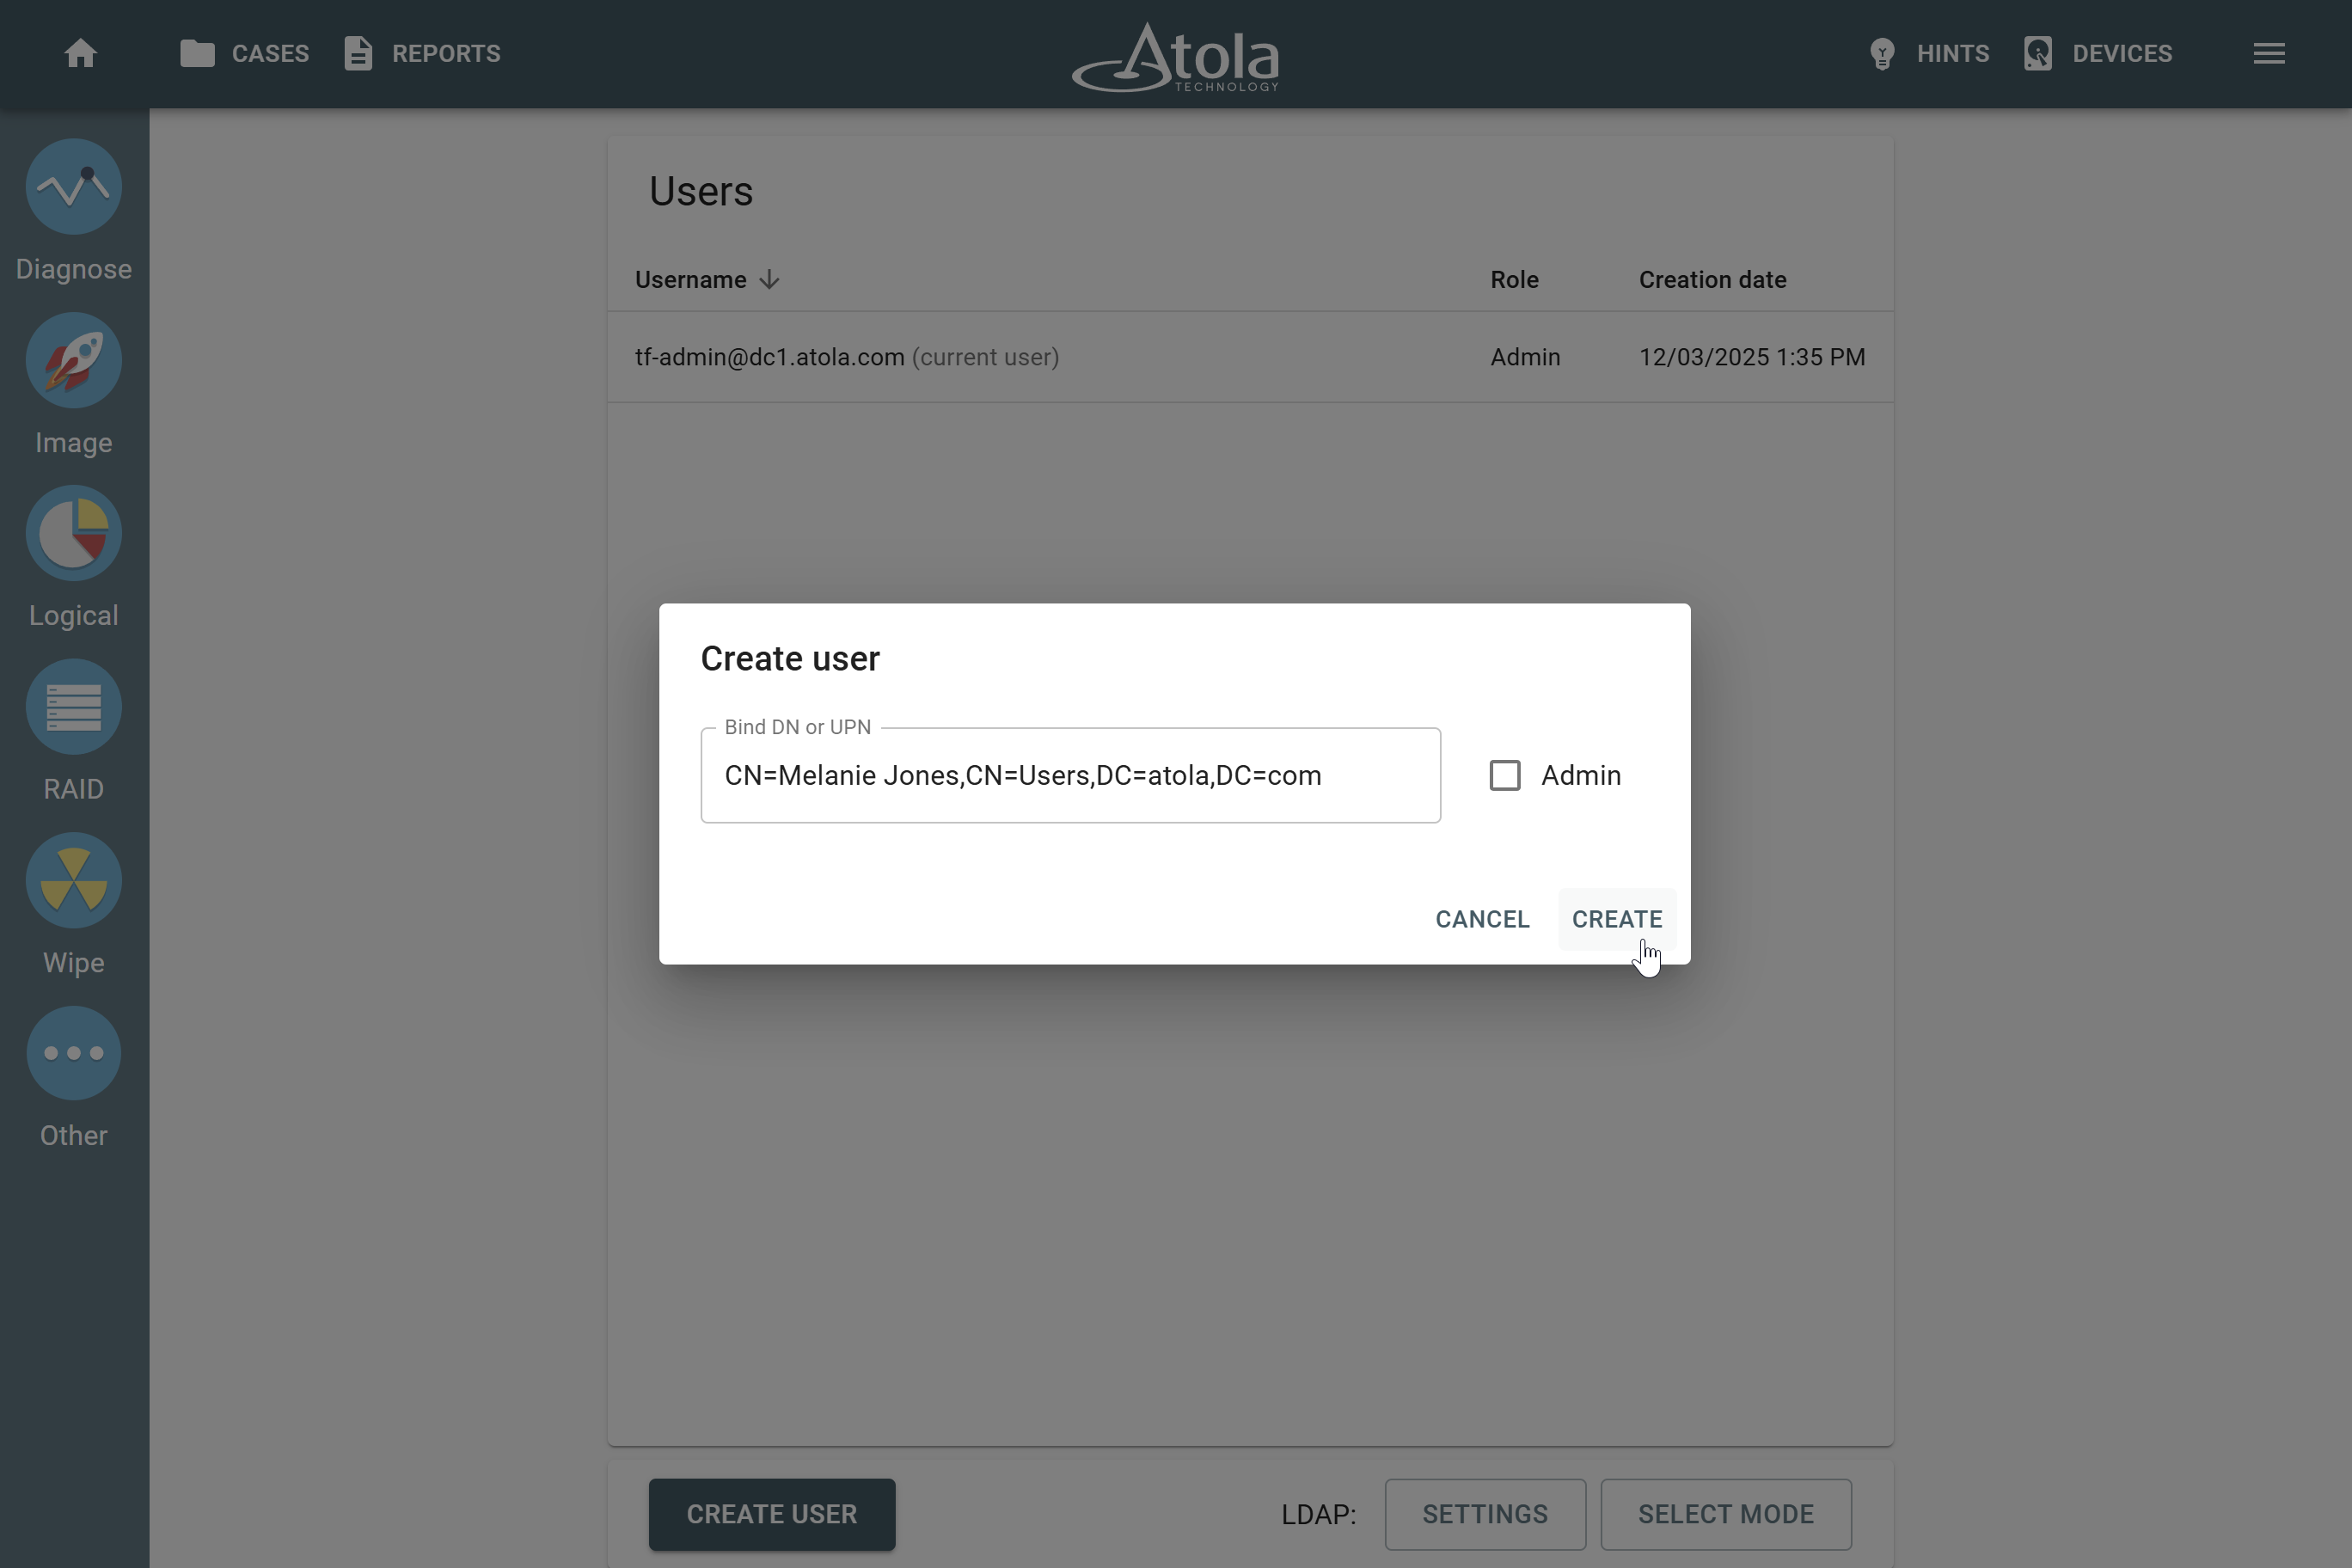
The Create user button and dialog.
Edit a user
To edit a user, do the following:
- Log in to a profile that has the Admin role.
- In the Atola TaskForce window, go to Menu > Settings.
- In the Users section, click Manage.
- On the Users page, select a user you want to edit.
- In the dialog, edit user’s Bind DN (format: CN=User1,OU=Sales,DC=mycompany,DC=com) or UPN (format: [email protected]).
- Optional: To grant this user an Admin role, select the Admin checkbox.
- Click Save.
Delete a user
Deleting a user in the LDAP mode means that it will only be removed from the TaskForce system. User credentials on the remote server stay intact.
After deleting a user, you can still access their cases and reports under a profile with the Admin role.
To delete a user, do the following steps:
- Log in to a profile that has the Admin role.
- In the Atola TaskForce window, go to Menu > Settings.
- In the Users section, click Manage.
- On the Users page, select a user you want to delete.
- In the Edit user dialog, click the Delete icon.
- In the confirmation dialog, enter YES, and then click Delete.