Logical imaging of a RAID array
Imaging of a RAID can potentially take too long. When you are under time constrains, TaskForce's logical imaging module helps you focus on imaging only the data that can make an immediate impact.
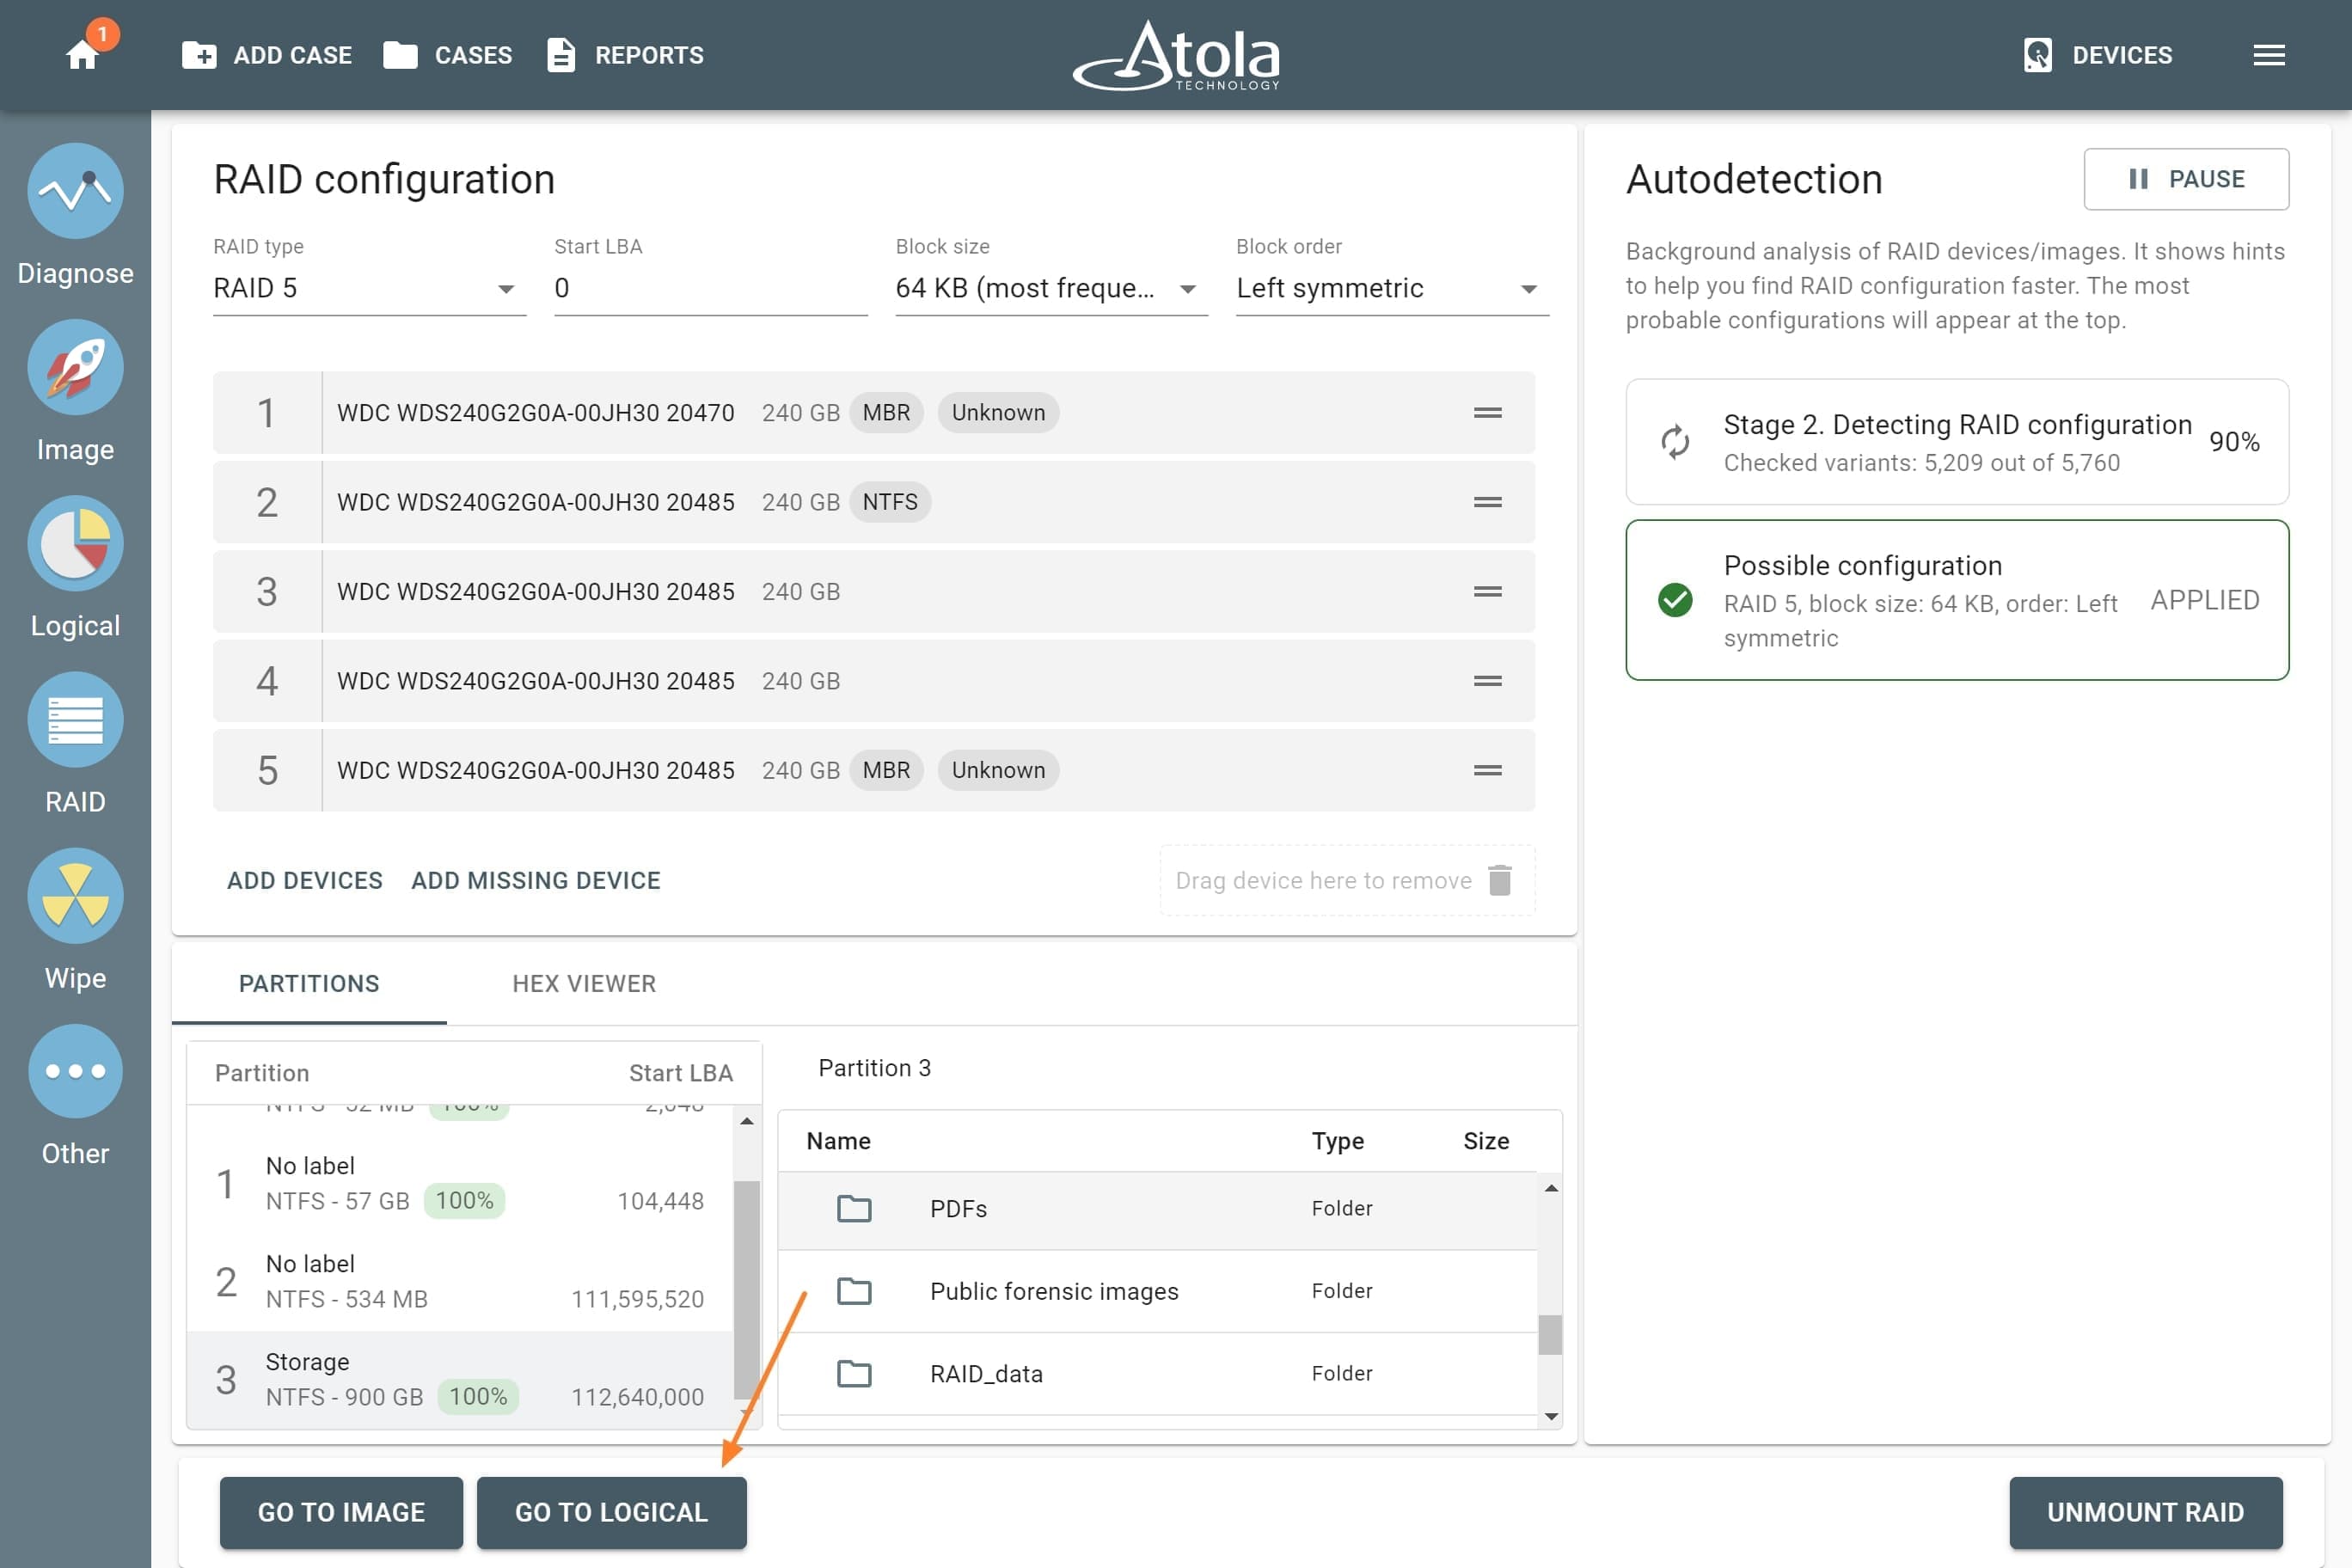
Once a RAID has been reassembled, you have a preview of the RAID's contents in the RAID module. This helps you decide which files or folders you want to image immediately.
Create logical image of a RAID array
- On the RAID Configuration page, click the Go to logical button.
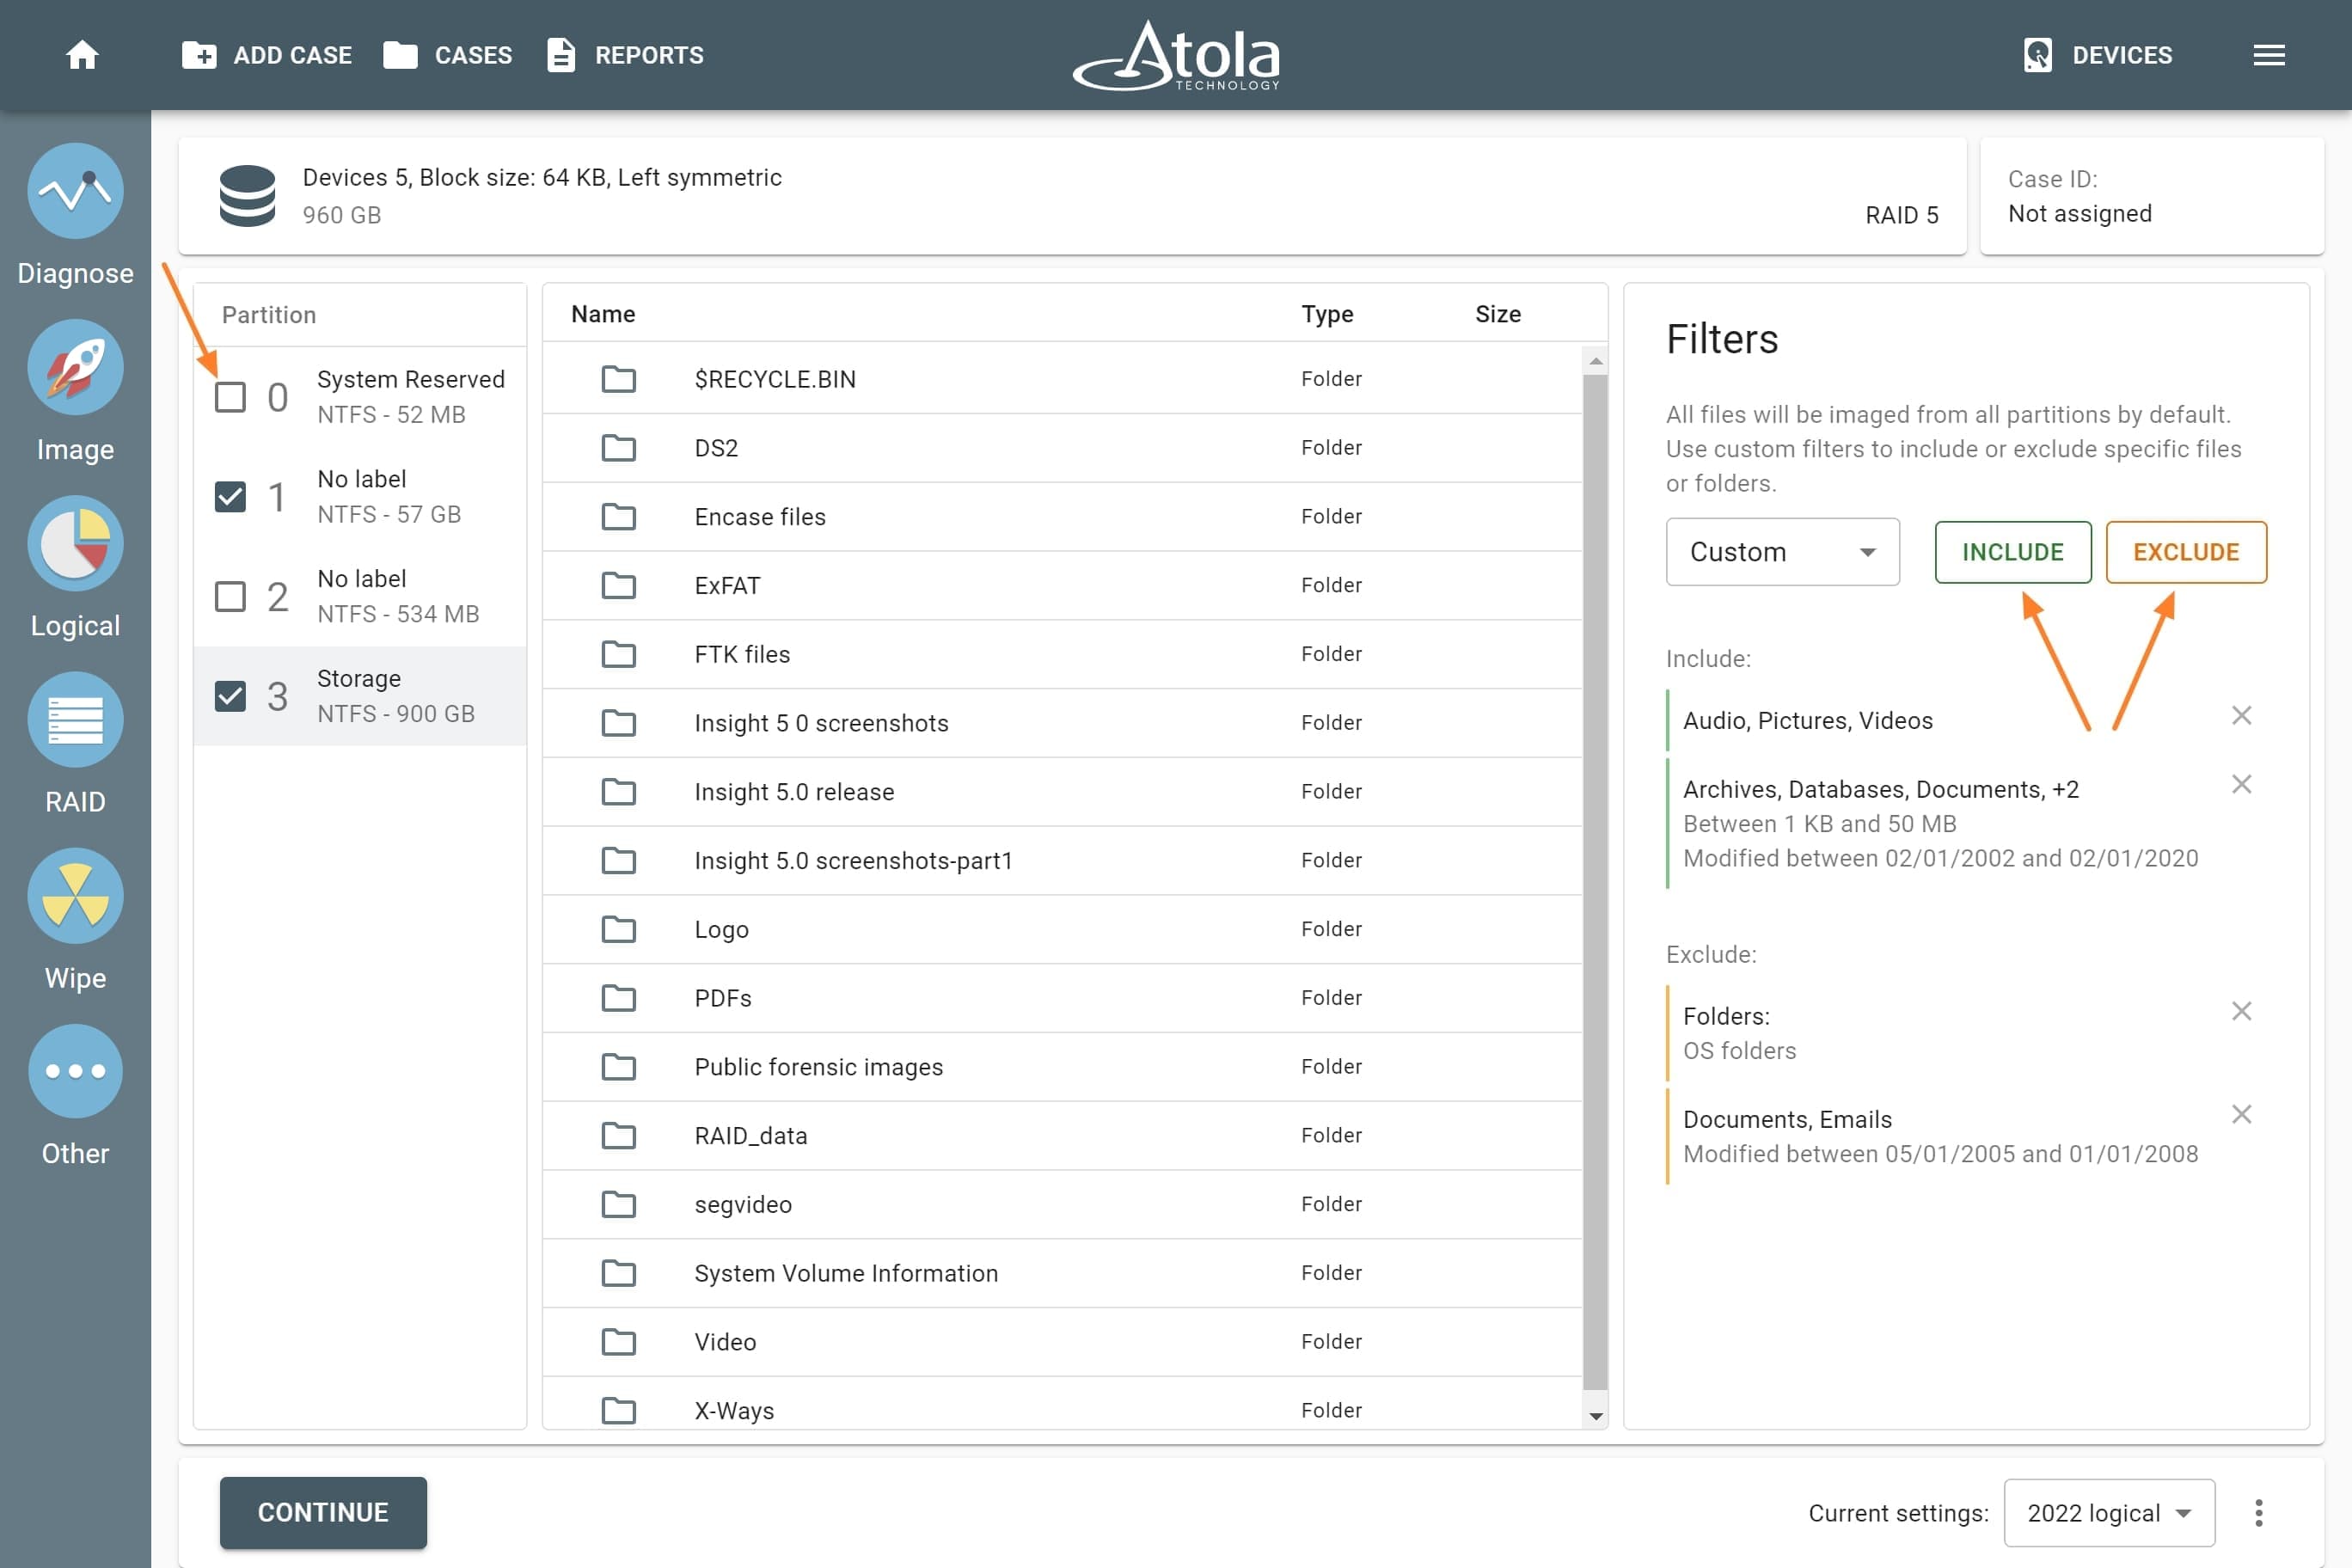
- In the Logical imaging module, adjust your selection if needed.
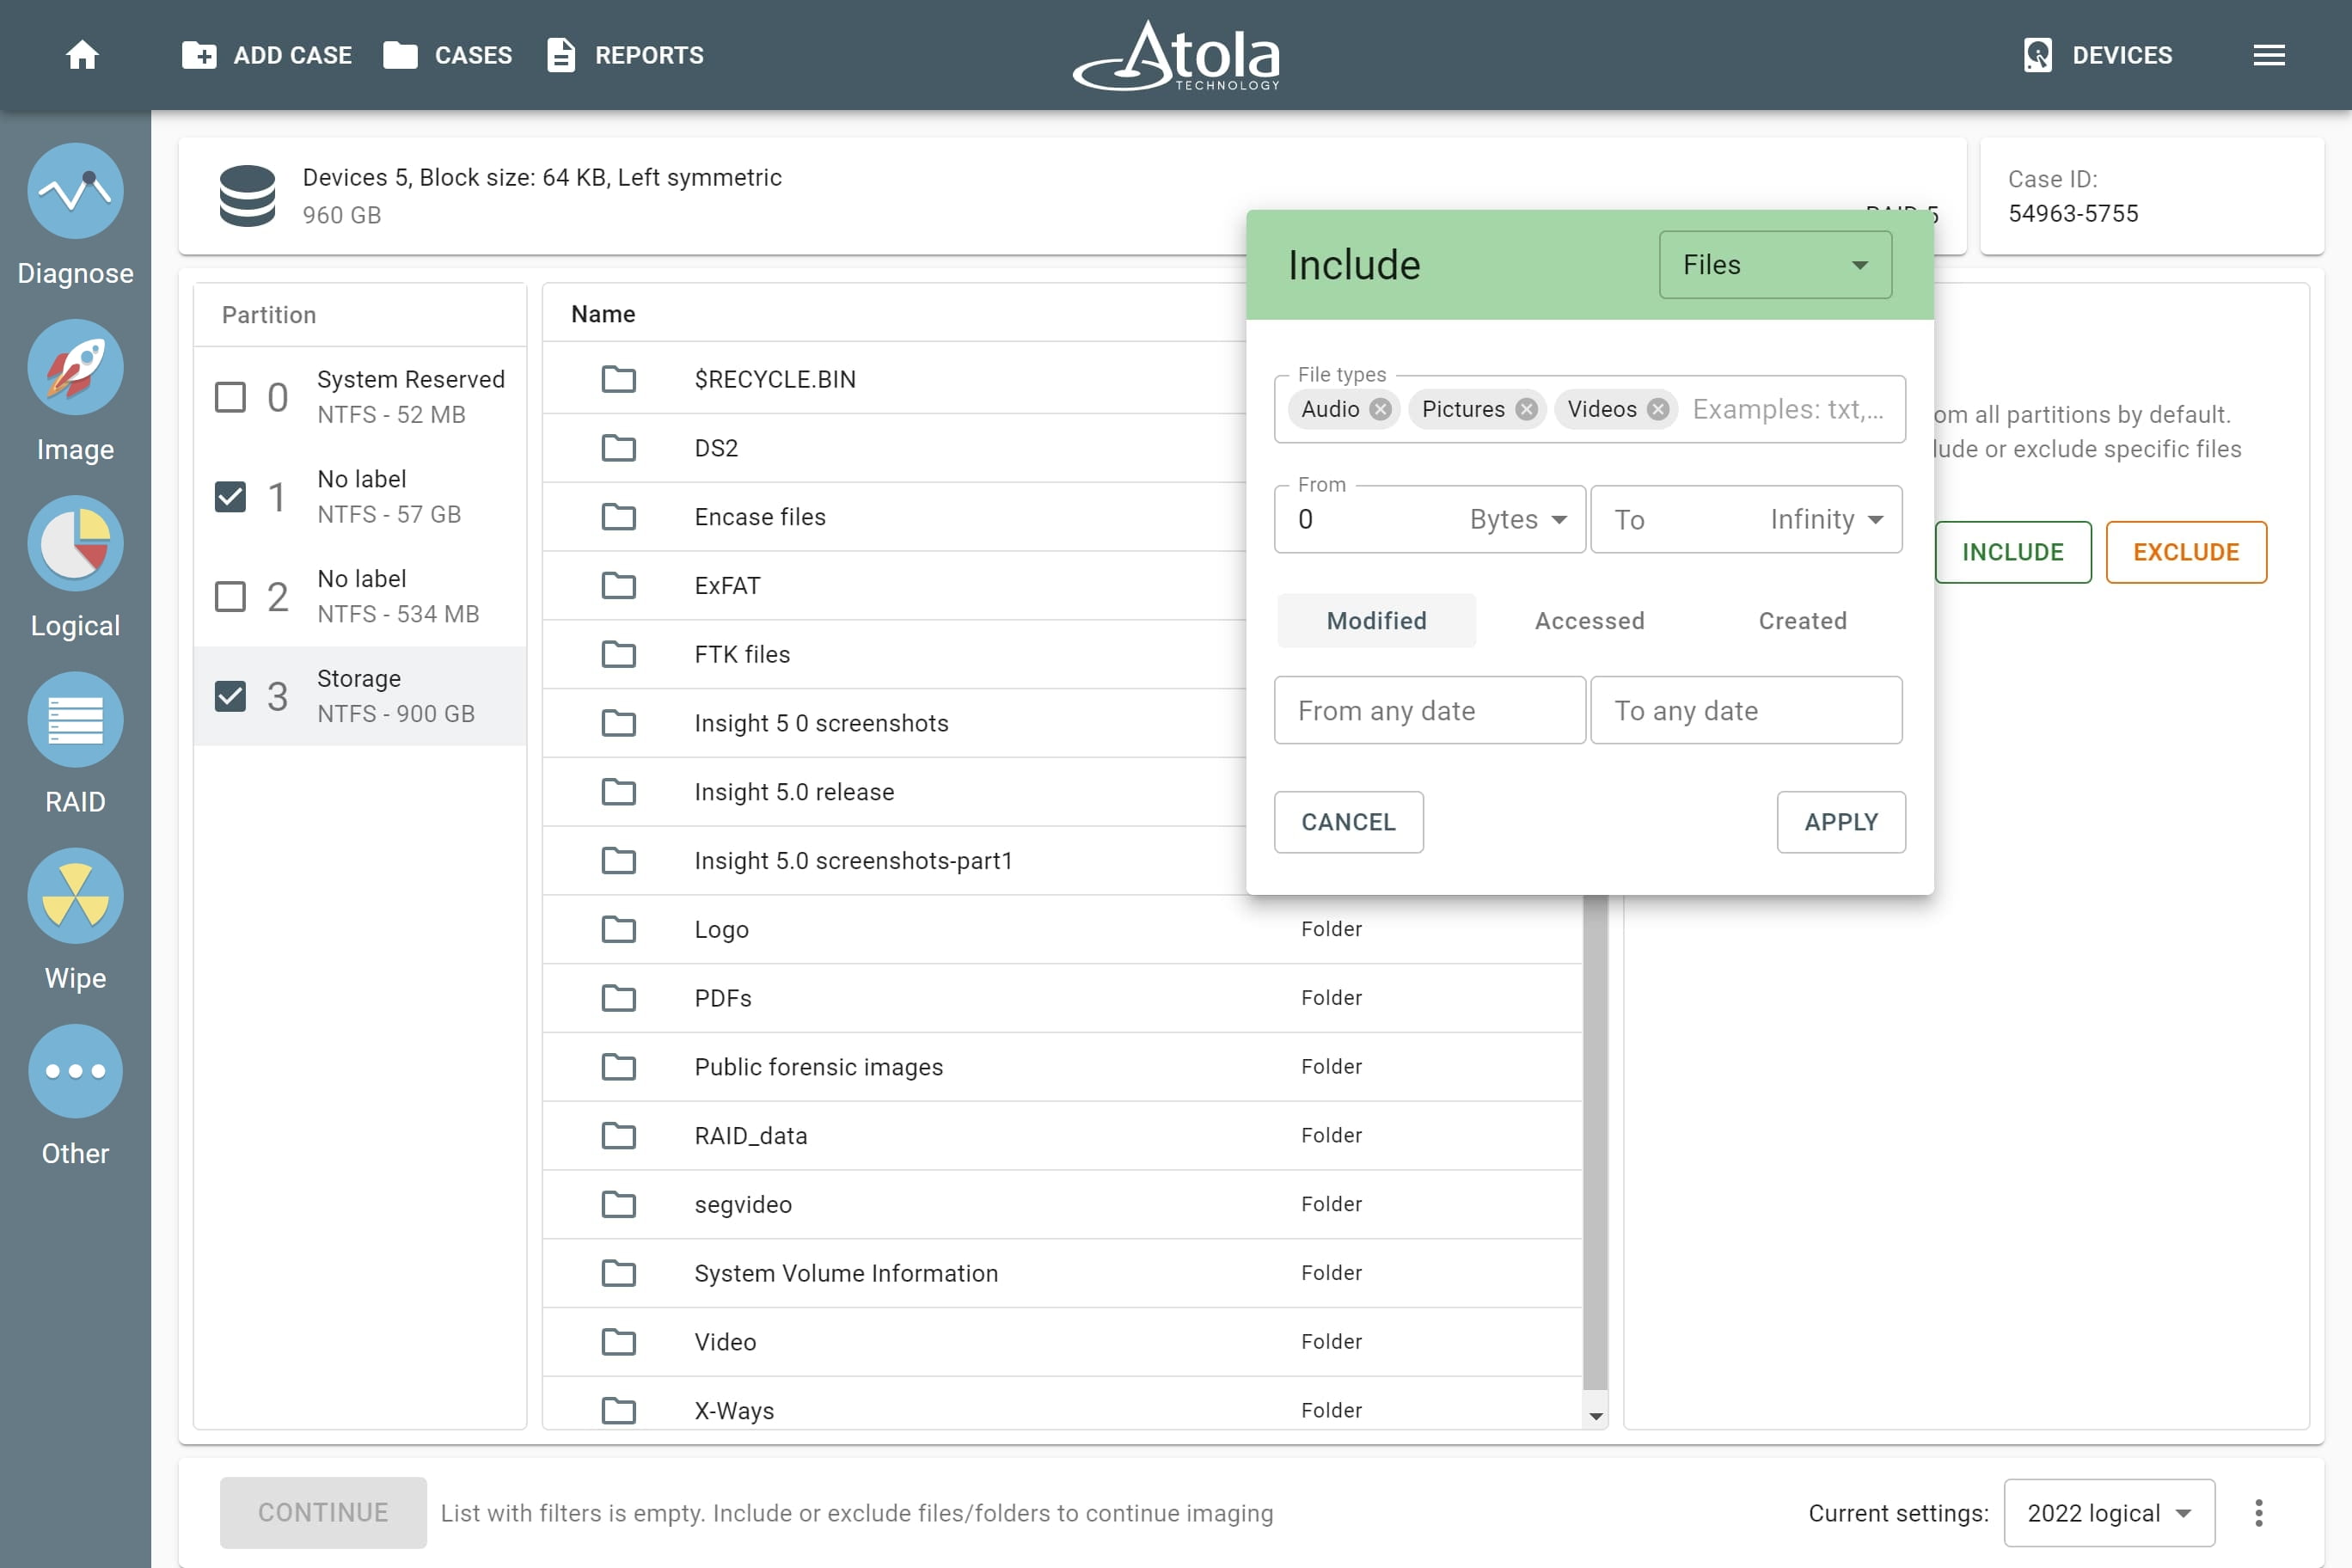
By default, logical imaging is set to image all files from a drive or a RAID. To fine-tune your selection, include or exclude what you need:
- All or selected partitions.
- Manually selected files or folders.
- Specified file types: archives, emails, documents, databases, financial, virtual machine, audio, video, pictures, security keys.
- Folder types: only user or only OS folders.
- Time spans: when files were accessed, created, modified.
- File size: from 1 byte to infinity.
- Once you have adjusted the logical imaging parameters, click Continue.
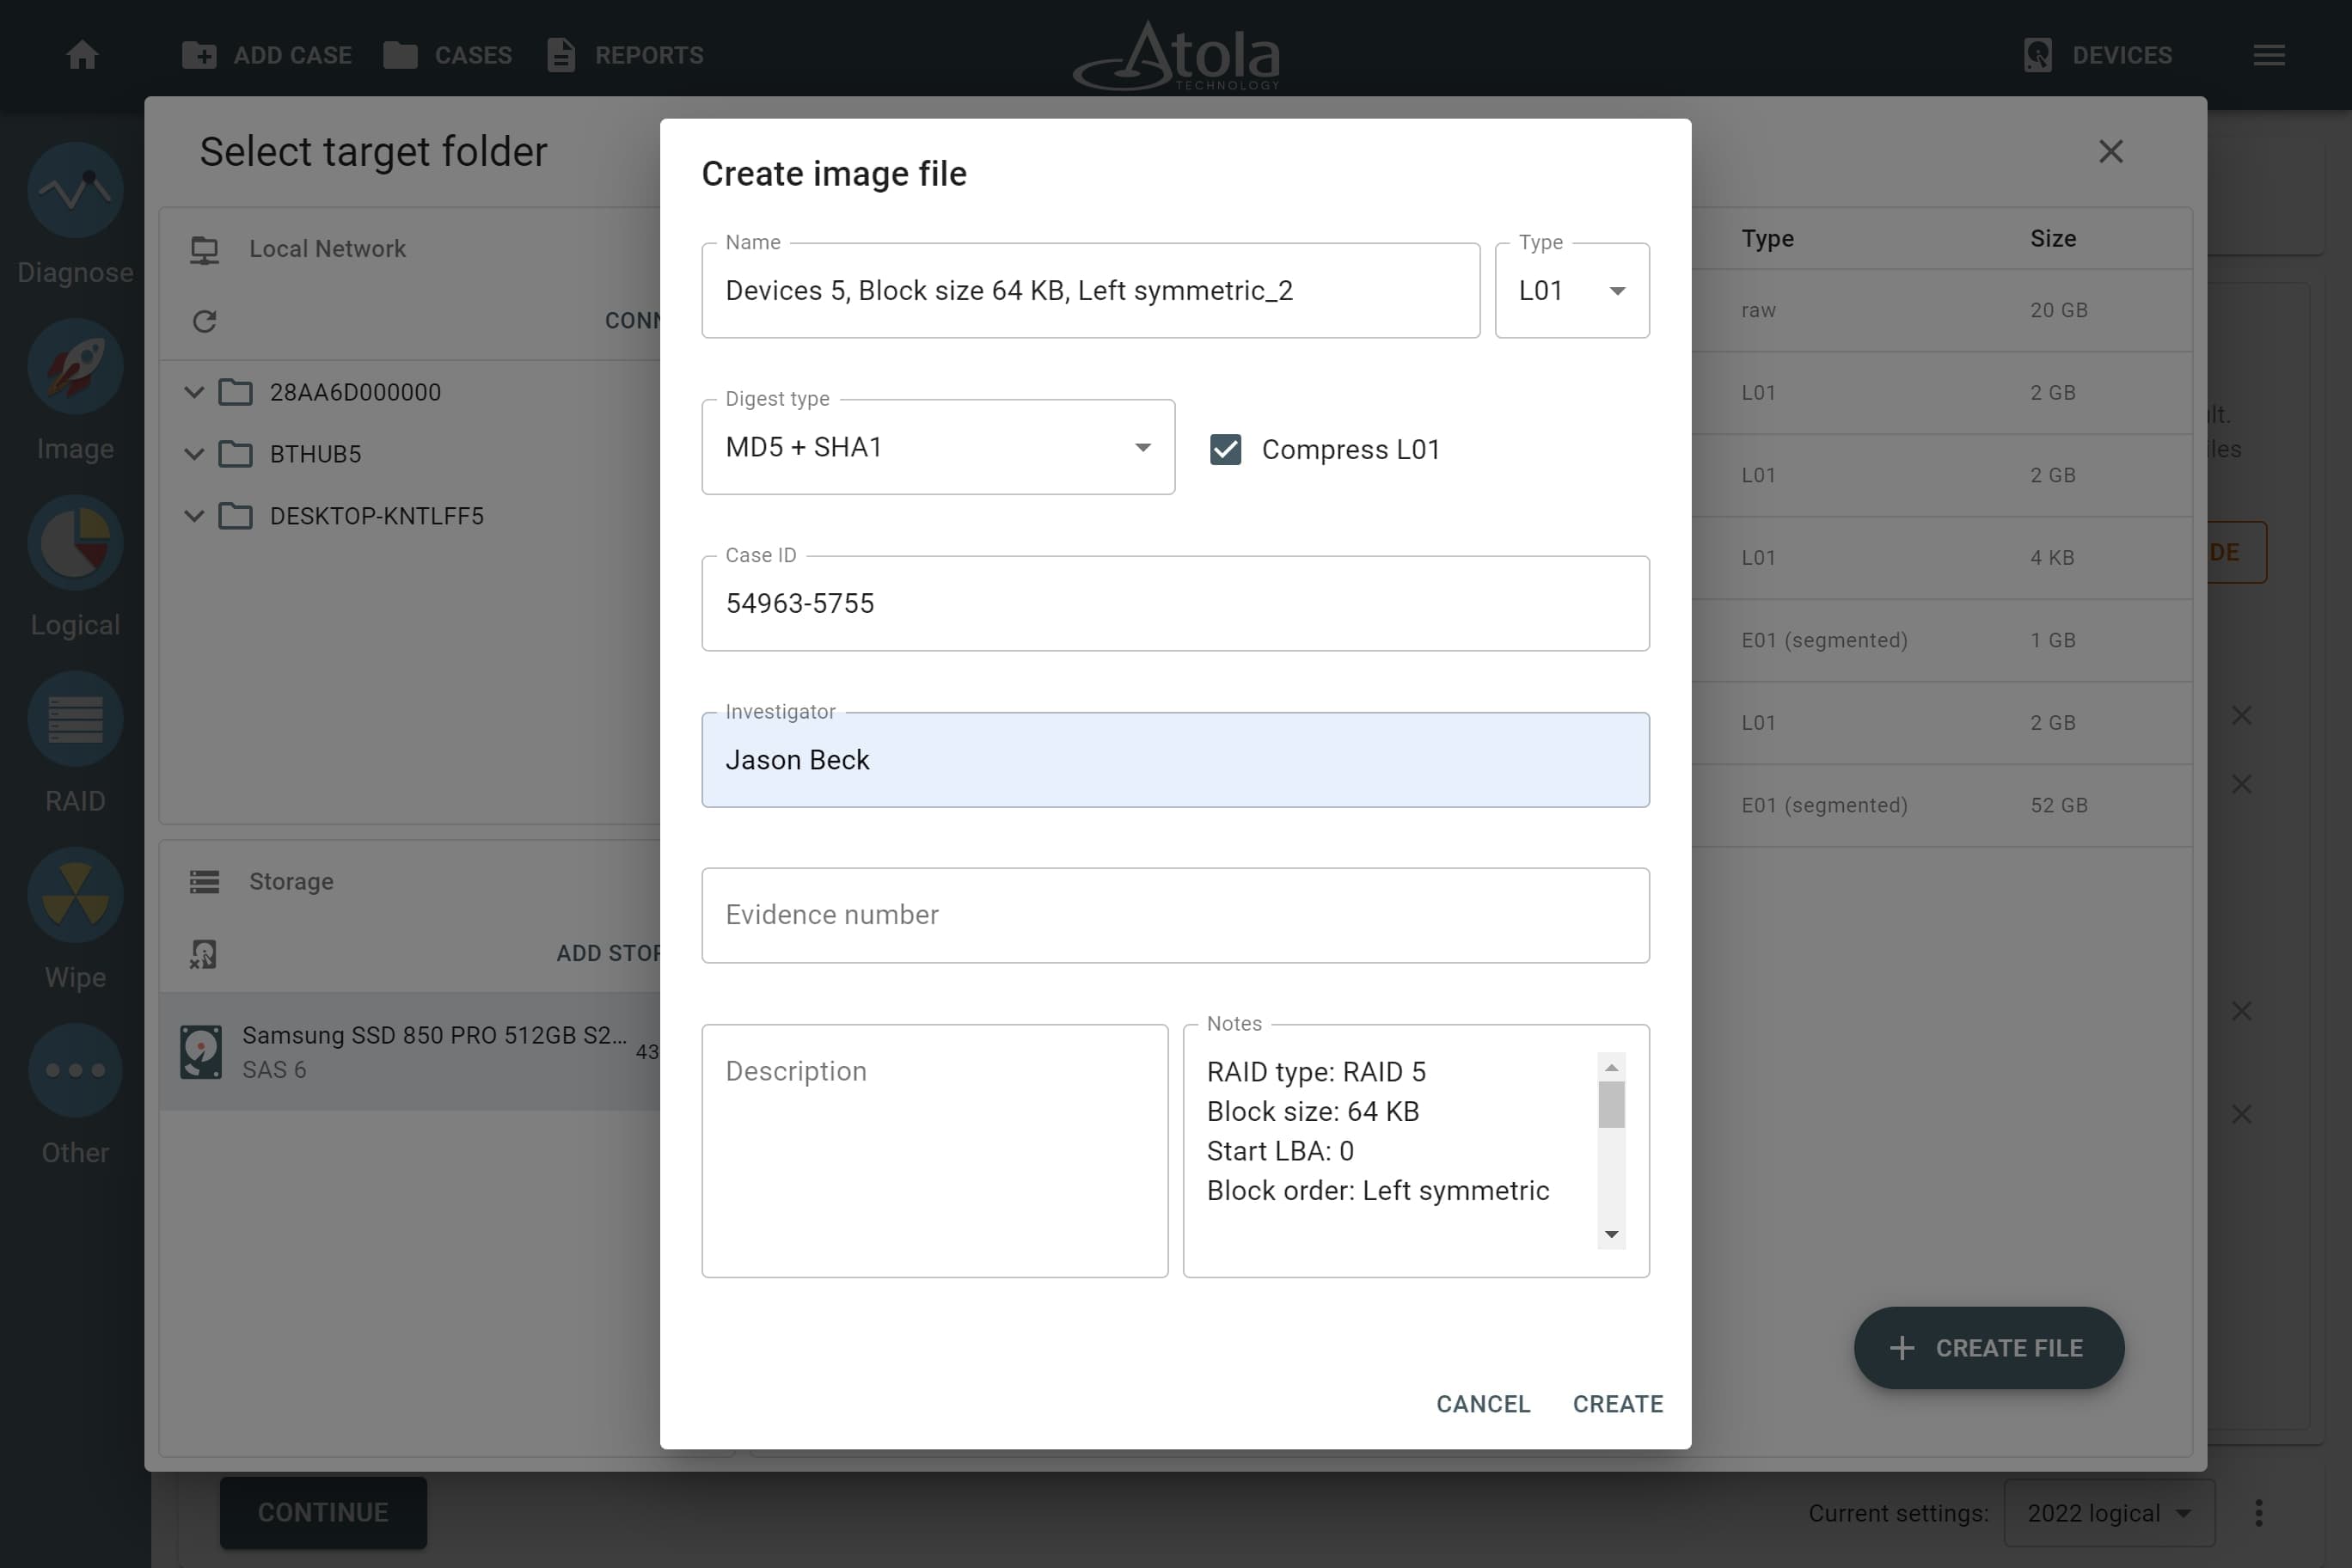
- Select the Target for your L01 file and click Create file.
- Adjust the settings of the L01 file and click Create to start the imaging session.
When the imaging is running, you can track the progress of imaging of the individual files. As for the overall imaging progress, the upper graph indicates the amount of imaged data as related to the whole space of the RAID volume, not to the selected volume.
Imaging report
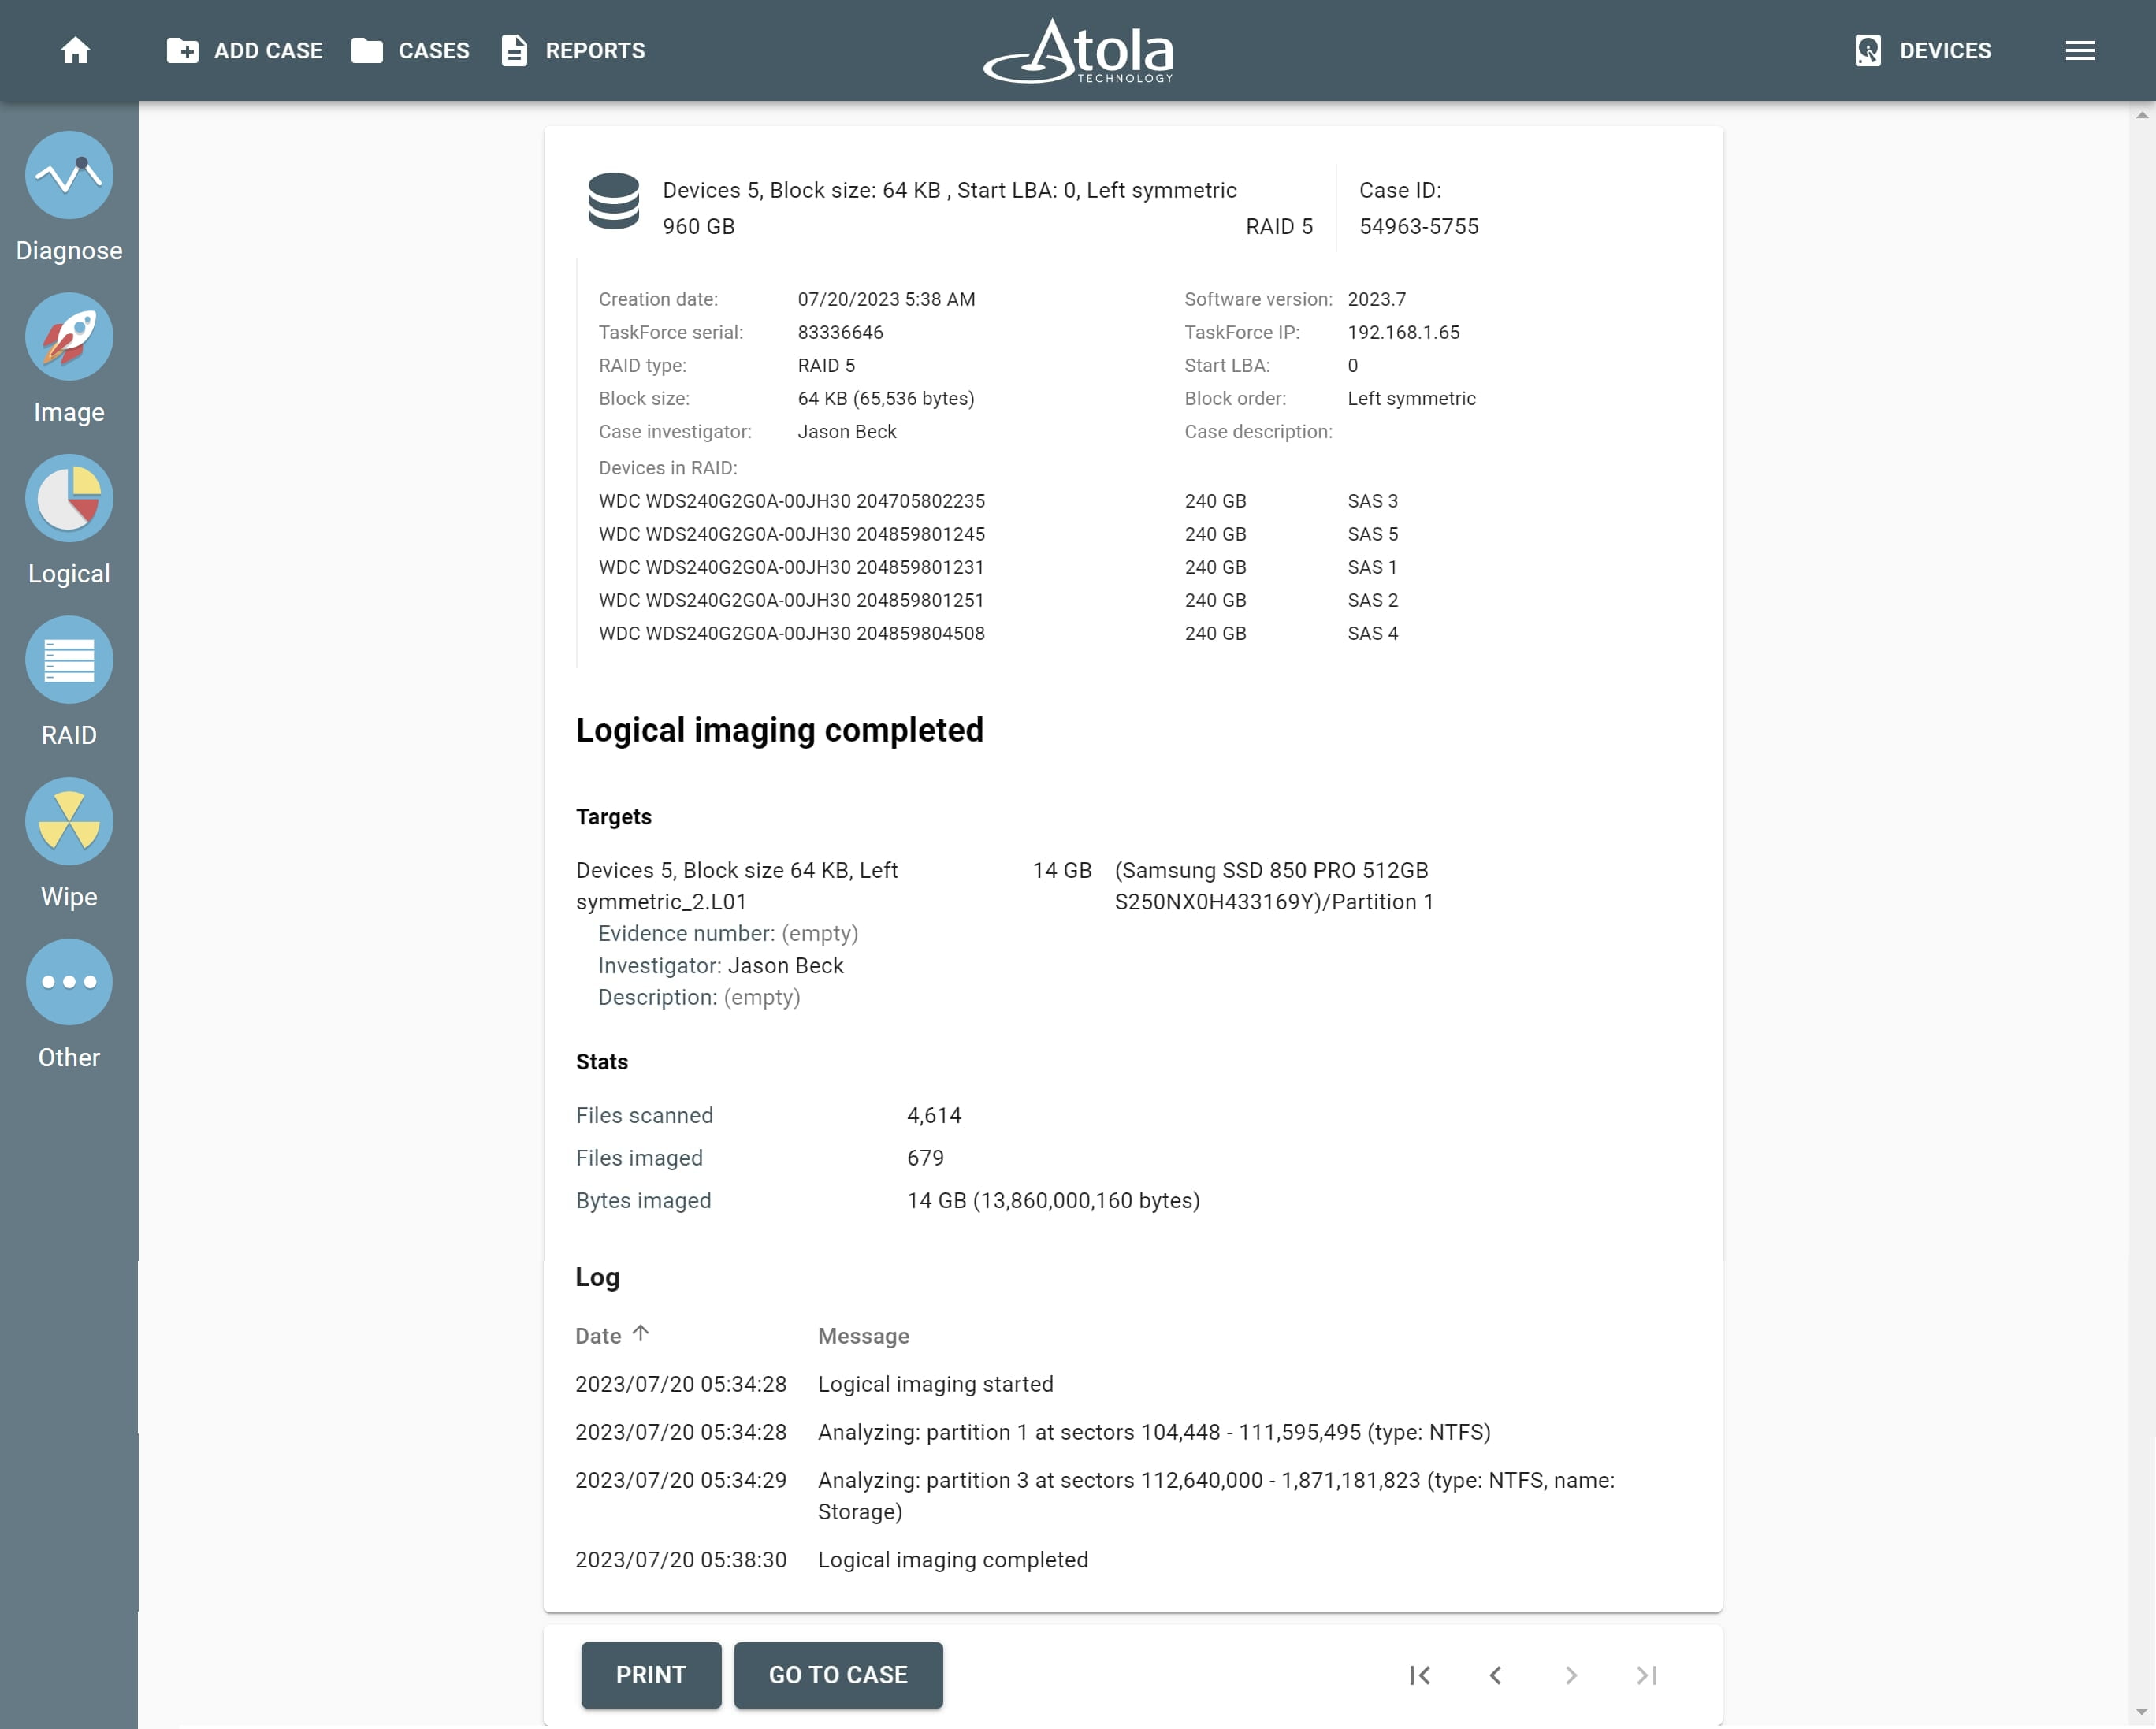
TaskForce generates the Imaging completed report with all the details of the imaged selection from this RAID:
- The number of scanned and imaged files
- The volume of imaged data
- Time stamps
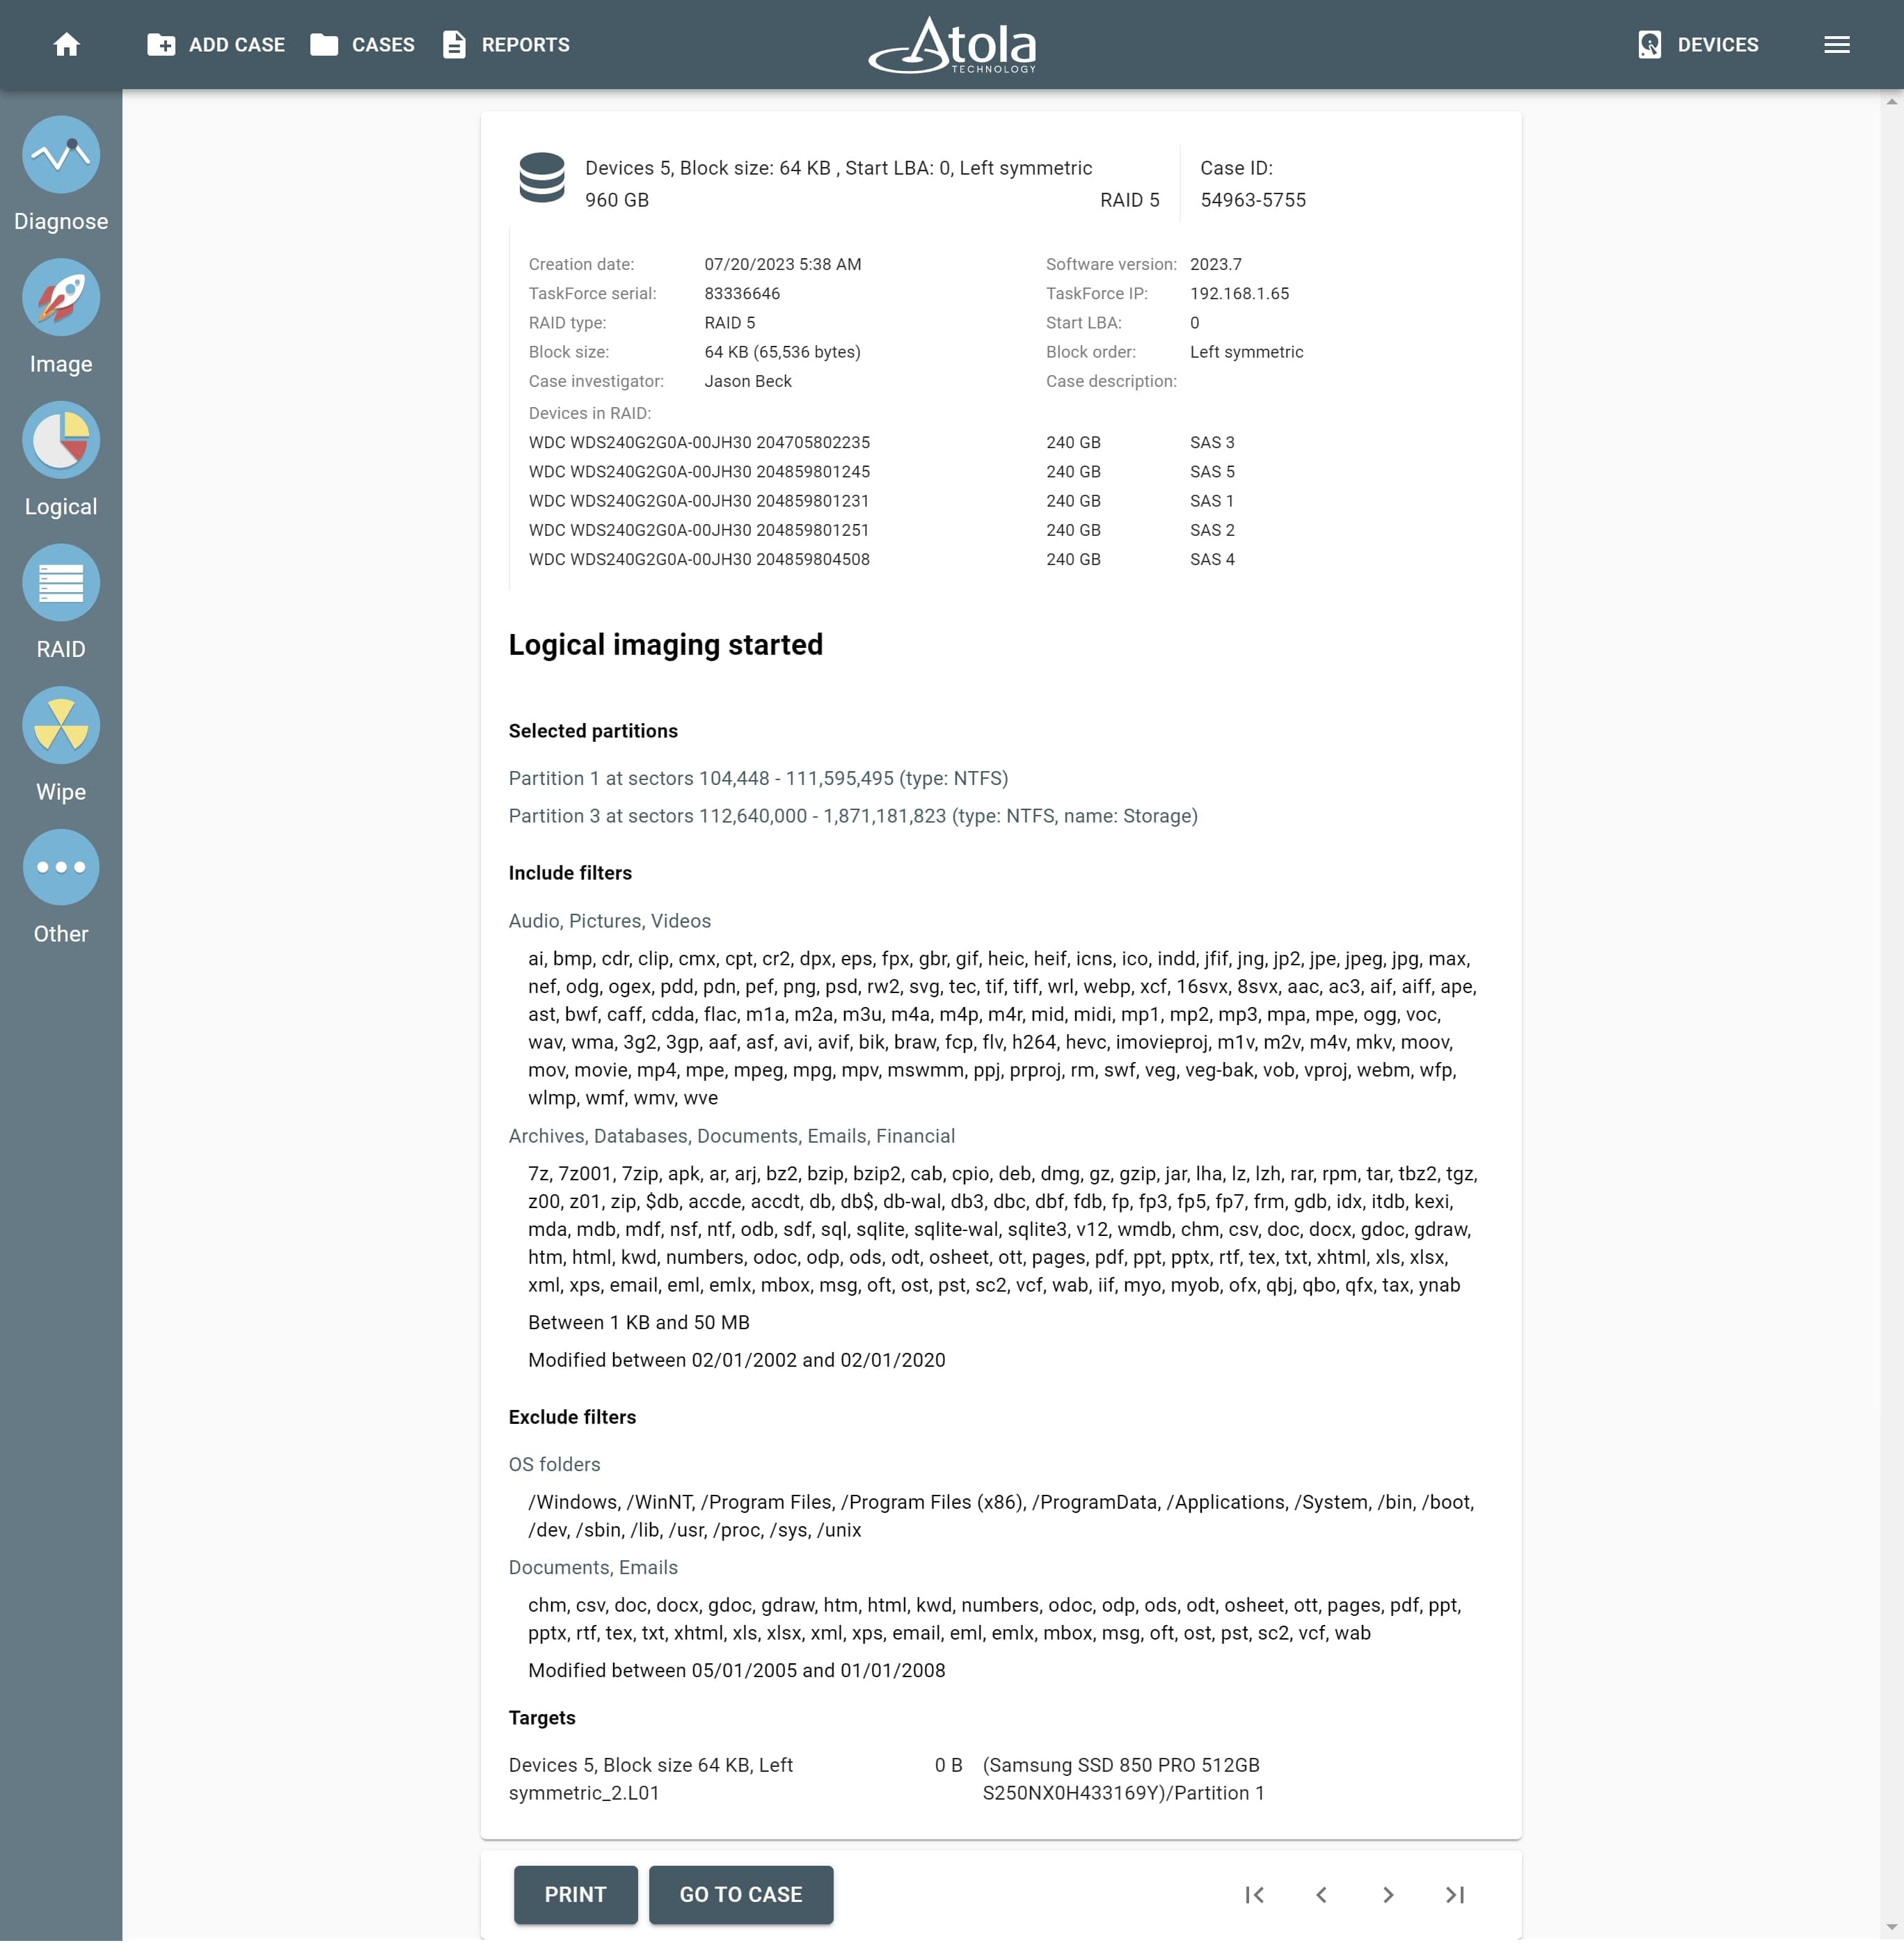
Imaging started report is created the moment the imaging launched: it is a detailed report of all the settings including the elements selected for this acquisition (partitions, files and folders).
