Connecting devices and starting Atola Insight Forensic
The purpose of this page is to provide information on Atola Insight Forensic start up procedure.
Source Device Selection dialog
The Source Device Selection dialog is available from the menu bar (Source > Select Source) or via F3 shortcut key:
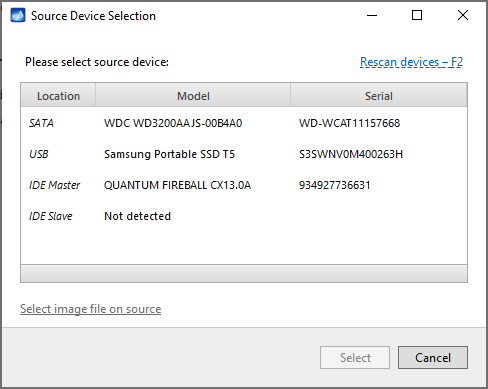
Source device selection
At this point you can select the port you'd like to work with (SATA, USB, IDE Master, IDE Slave).
After you select the device, Atola Insight Forensic switches to the main application window.
Attaching and detaching hard drives
You can attach and remove hard drives at any time without restarting the software or hardware unit.
When replacing hard drives, Atola Insight Forensic detects the change automatically. However, if you'd like to manually re-identify a hard drive, you can do one of the following:
- Use the Source Port Re-Identify button or press F2.
- Use Source > Select Source menu item.
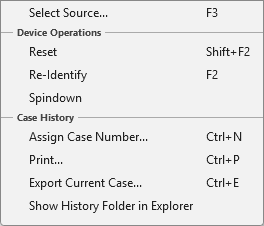
Source device menu
The difference is that re-identification works only when the attached hard drive can return at least some identification data. When the hard drive has significant damage (for example, a burnt PCB) and therefore won't return identification data, Atola Insight Forensic will fail to automatically recognize such hard drive.
In this case you would have to use Source > Select Source menu item to manually select the device. Atola Insight Forensic will still be able to diagnose a hard drive that is "completely dead" by relying on the current sampling.
Before disconnecting hard drives from the unit, we recommend to use the Power Off button in Atola Insight Forensic software to properly shut down the drive:
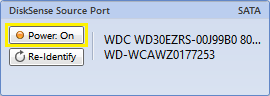
Source power button