Clip target drive to source evidence device size
When you image data from a drive involved in an investigation case, and the target drive will be holding a 1:1 clone of evidence data, in many cases it is critical that the target drive's capacity is identical to that of the source drive. Should there be a difference in size between the source and the target devices, their hashes will be different too.
However, if your SATA target drive has a larger capacity, you can limit its size to that of the source drive using Host Protected Area (HPA). It will make the sectors beyond this limit inaccessible to the hashing tools as well as the end user.
To clip target drive to source evidence device size, do the following:
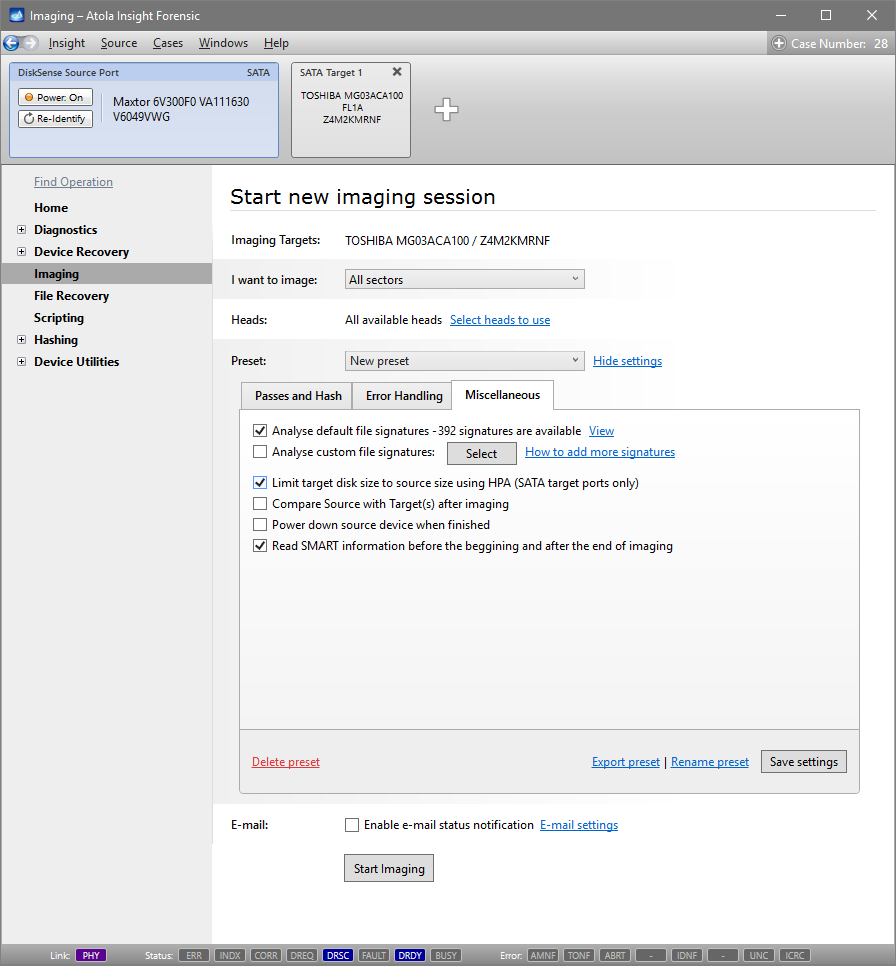
- In the sidebar, click Imaging.
- Click Create New Session.
- In the Preset line, click the Show settings link.
- On the Miscellaneous tab, select the Limit target disk size to source size using HPA (SATA target ports only) option.
- Click the Start Imaging button.
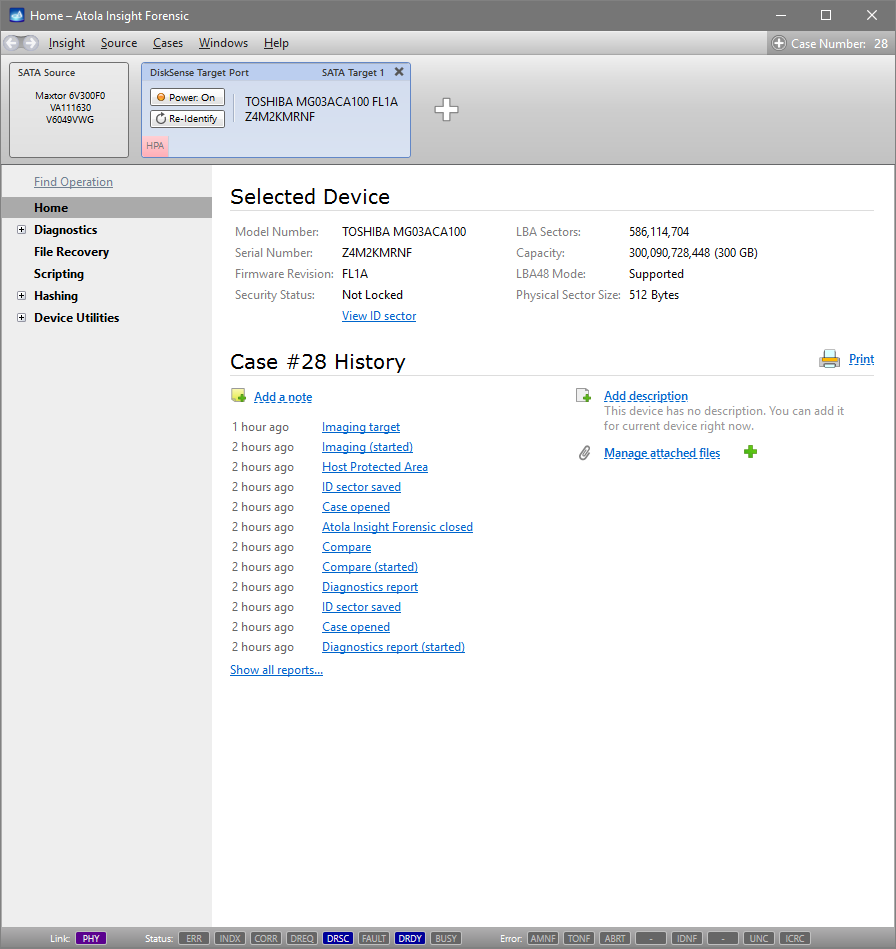
- To indicate that HPA has been enabled on the target drive, Insight displays an HPA tag on the target drive port.
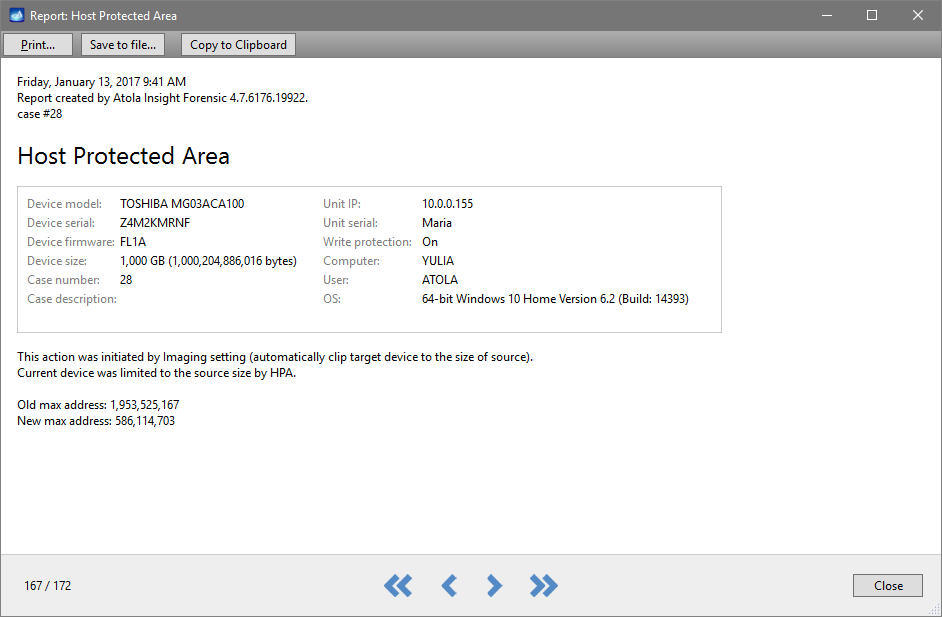
- In the Case History, Insight creates a report with the information about the time when HPA was enabled, a detailed device description and how this action was initiated. The report also indicates the initial max address as well as the current one.
Enabling HPA restriction for target
To make sure that source and target are identical after enabling HPA, calculate hashes on both drives.