
- Image 25+ drives simultaneously at 25 TB per hour.
- Automatically reassemble and image RAIDs.
- Acquire data even from damaged drives.
- Get the full power of the server-grade hardware and two 10Gb network ports (upgradeable to 25Gb).
Questions and answers
What is Atola TaskForce 2 designed for?
TaskForce 2 is designed for high-volume forensic laboratories. It has 26 configurable ports, supports 25+ simultaneous imaging sessions, automated RAID reassembly, damaged-drive acquisition, and Web API automation. It can be managed through a web browser or in standalone Kiosk mode with a monitor, keyboard, and mouse.
What does up to 25 TB/hour imaging performance mean?
Up to 25 TB/hour is aggregate imaging throughput across simultaneous sessions, not the speed of a single drive or network connection. The documented QA setup combines SSD-to-SSD imaging on SAS/SATA and NVMe ports with USB and IDE imaging, including network targets. Actual throughput depends on the source and target drives, imaging settings, and network bandwidth.
26 ports to maximize imaging capacity
Image dozens of individual evidence devices, automatically reassemble RAIDs with an unknown configuration consisting of an unlimited number of members (drives and/or images), or securely wipe a whole bunch of drives for future use – all at once, at top native speeds.
To simultaneously image 25+ evidence devices and run other forensic tasks at 25 TB/hour, TaskForce 2 is equipped with 26 ports of all popular types
- 8 SATA
- 8 SAS/SATA
- 4 NVMe M.2/U.2 PCIe 4.0
- 4 USB
- 1 IDE
- 1 Extension slot for pluggable M.2 SSD, Apple PCIe SSD, Thunderbolt extension modules
All respective drive interfaces are supported: M.2 / U.2 NVMe, SATA I/II/III, SAS3 (12 Gb), USB 2.0/3.x, IDE. Flash cards are supported via a USB card reader.

16 ports for SATA drives
TaskForce 2 has eight SATA ports and eight SAS/SATA ports.
Plug in up to 16 SATA drives and image them in parallel to a network server
through two
superfast 10Gb Ethernet ports (or 25Gb with an extension).
Four M.2/U.2 ports for NVMe drives
To help you with the ever-growing number of NVMe M.2 drives in forensic cases, TaskForce 2 has four M.2/U.2 ports:
- PCIe 4.0 interface
- Support for both M.2 and U.2 drives.
- Fast & convenient hot-swap of drives.
With M.2 extension connected to the extensions slot, you can image 5 NVMe drives simultaneously.


Clear indication for maximum control
At a glance, get an instant understanding of what’s happening with TaskForce 2
and your tasks
thanks to LED status indicators on the front panel.

Power LED indicator
Signals that hardware is up and running.

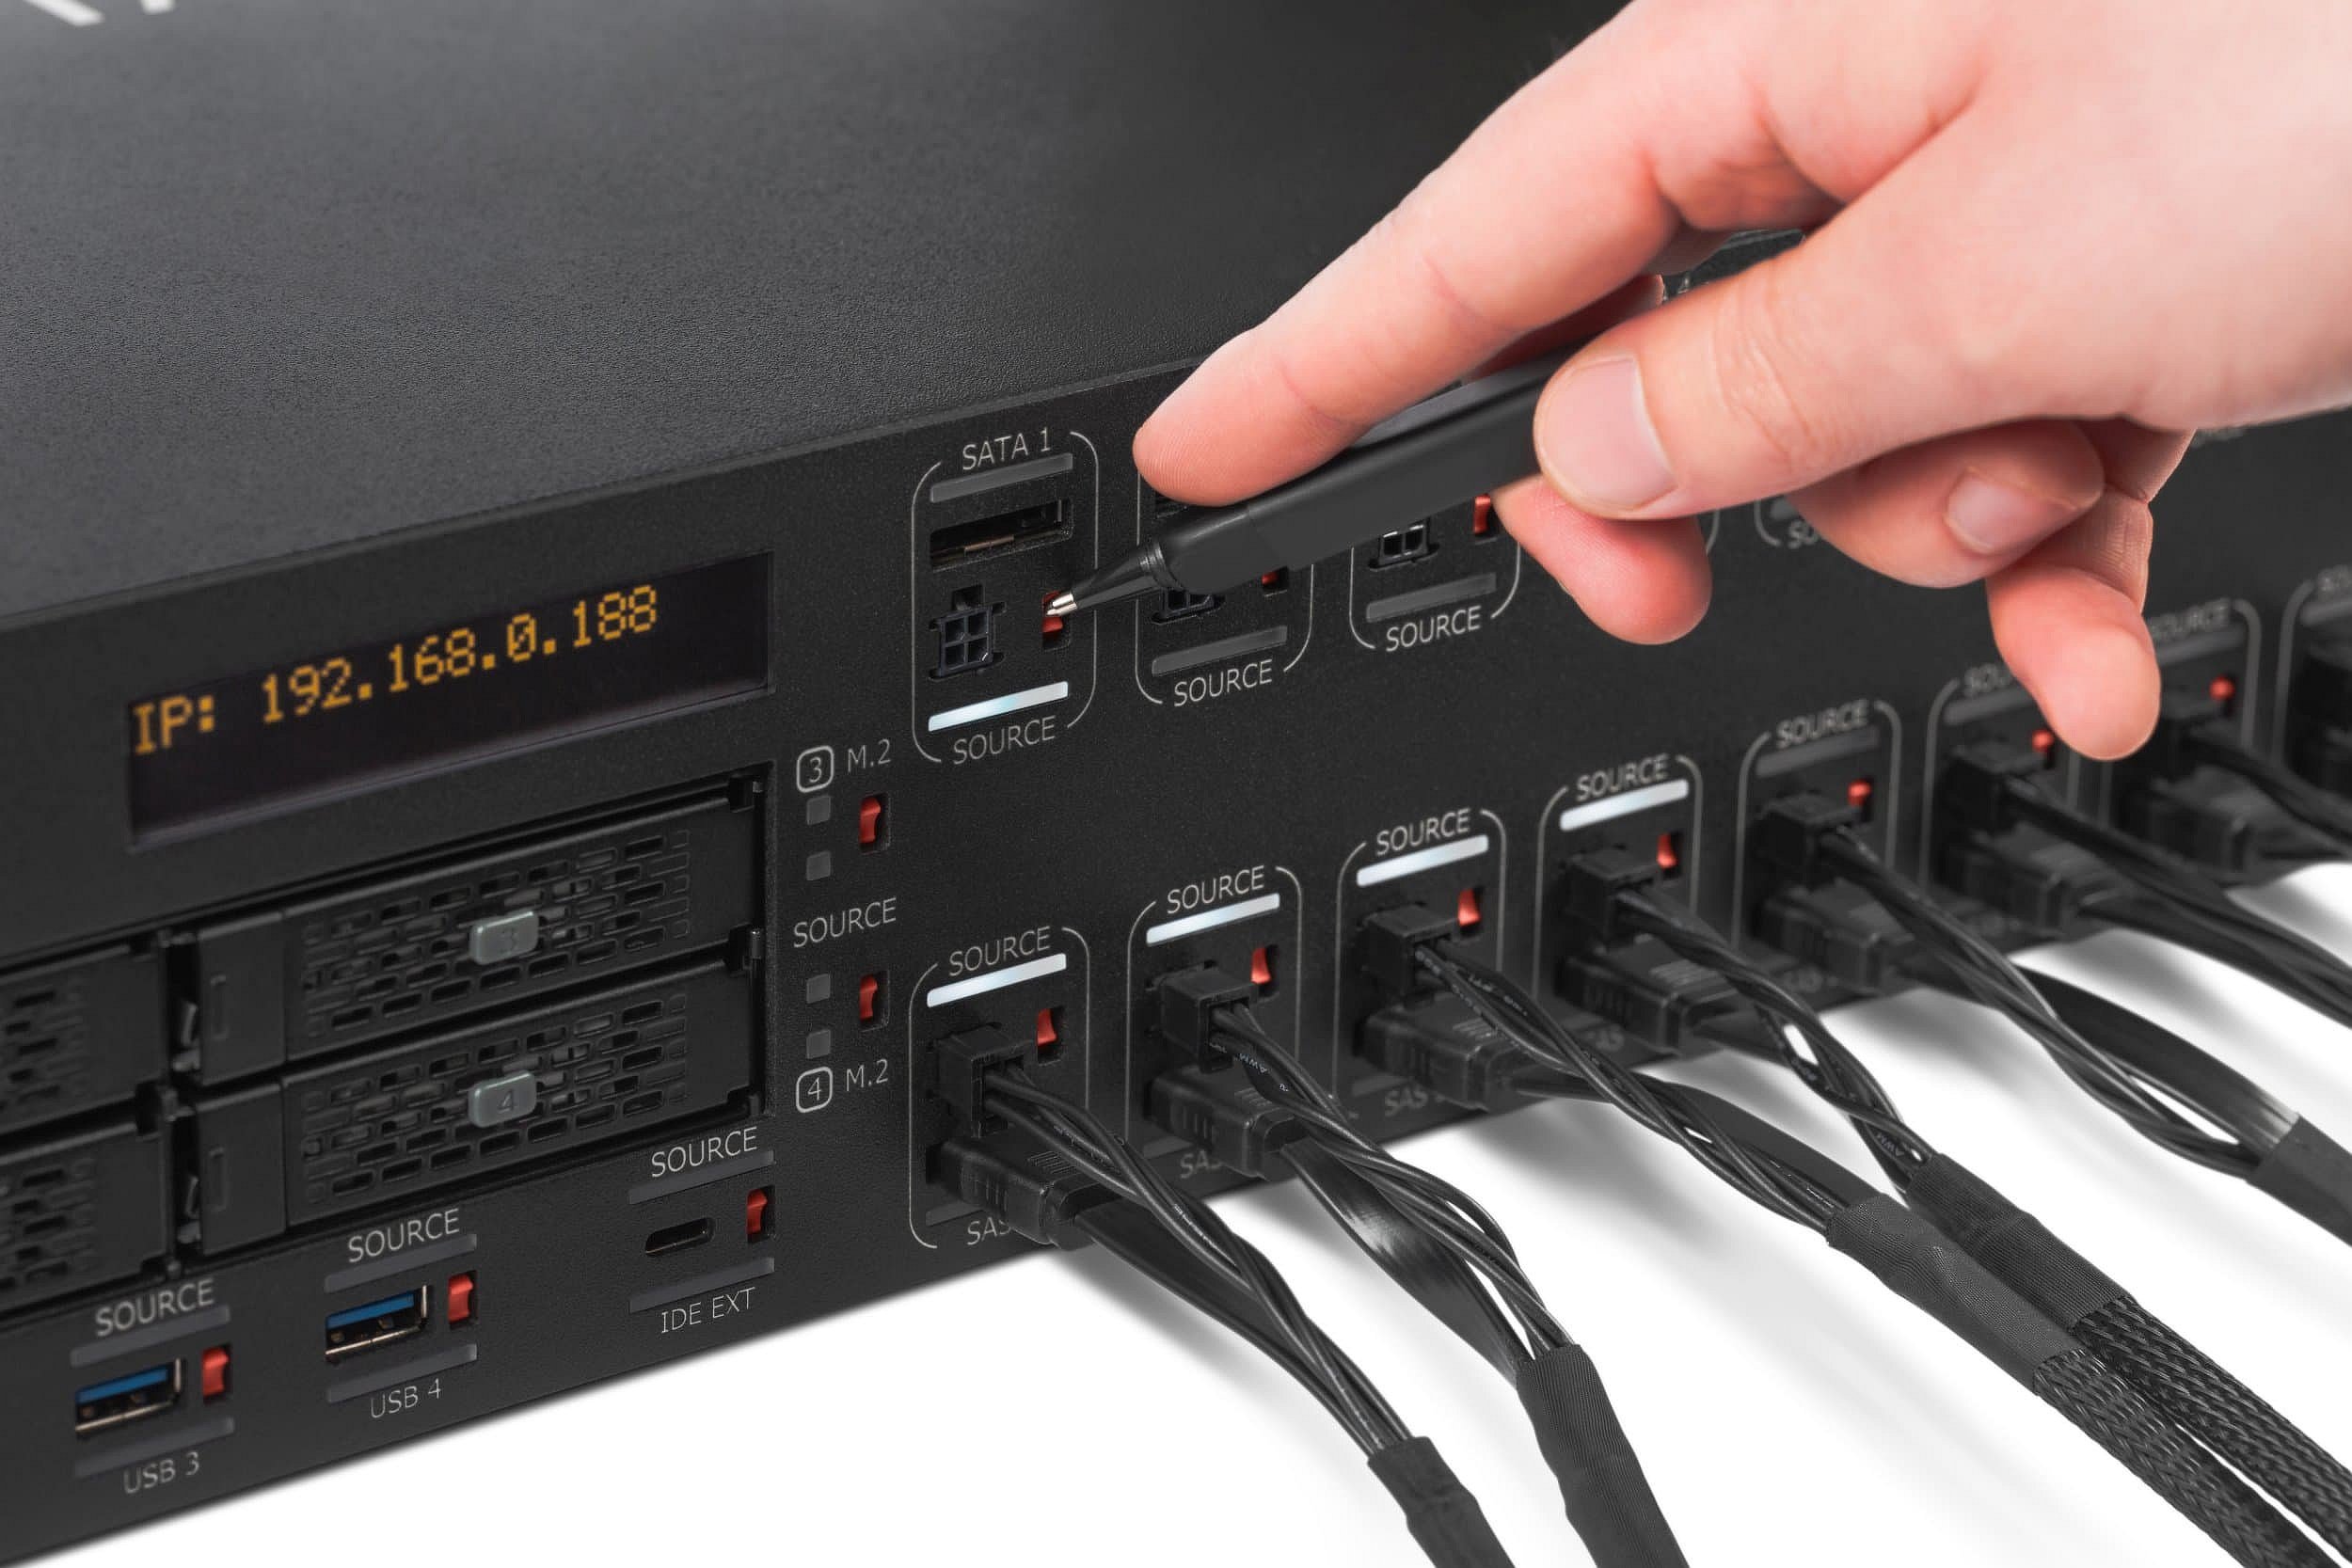
Color-coded port LEDs
Indicate that a task is running or finished, a process is OK or there are issues.

IP display
Shows an IP address to connect to the TaskForce 2 user interface or Kiosk mode.
Configurable hardware write protection
Configure all 26 ports according to your needs, as each of them can be set either to the source or target mode.
The source mode turns on a dedicated hardware write blocker to eliminate any possibility of altering your digital evidence.
A dedicated LED indicator next to each port signals that the source mode on this particular port is enabled.
To use a drive as an imaging target, alter or securely erase its contents, switch its port to a target mode.
25+ parallel imaging sessions
Image at 25 TB/hour cumulative speed when running 25+ simultaneous sessions at the top native speeds of the drives.
Image to the network via two 10Gb (or 25Gb ports with Fiber extension), to another drive, or a forensic file on an encrypted storage drive.
For distributed labs, remote forensic drive acquisition is supported via iSCSI while keeping TaskForce 2 in the same high-throughput workflow.
Image every single bit of an evidence drive or use smart filters to image only selected partitions, folders, or files.
Pause an imaging session and resume it later.
RAID: automated detection and reassembly
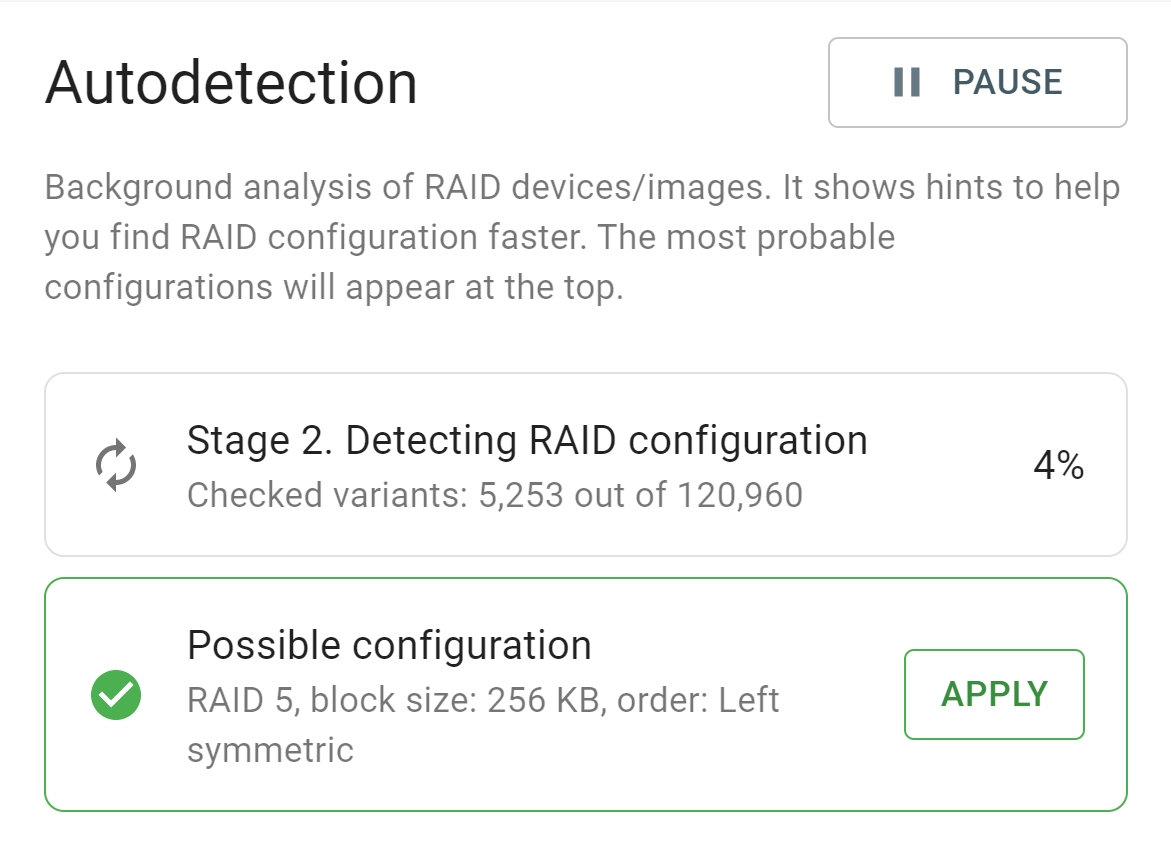
Automatically identify unknown configurations of RAID arrays.
Reassemble RAID 0, 1, 5, 6, 10, JBOD, Synology NAS RAID.
Rebuild RAID 5 with a missing or damaged device.
Rebuild RAID 6 with two missing or damaged devices.
Preview RAID contents. Image the whole array or only selected partitions, folders, and files.
Workflow automation
Streamline and automate your workflow with Express mode and Web API.
Express mode
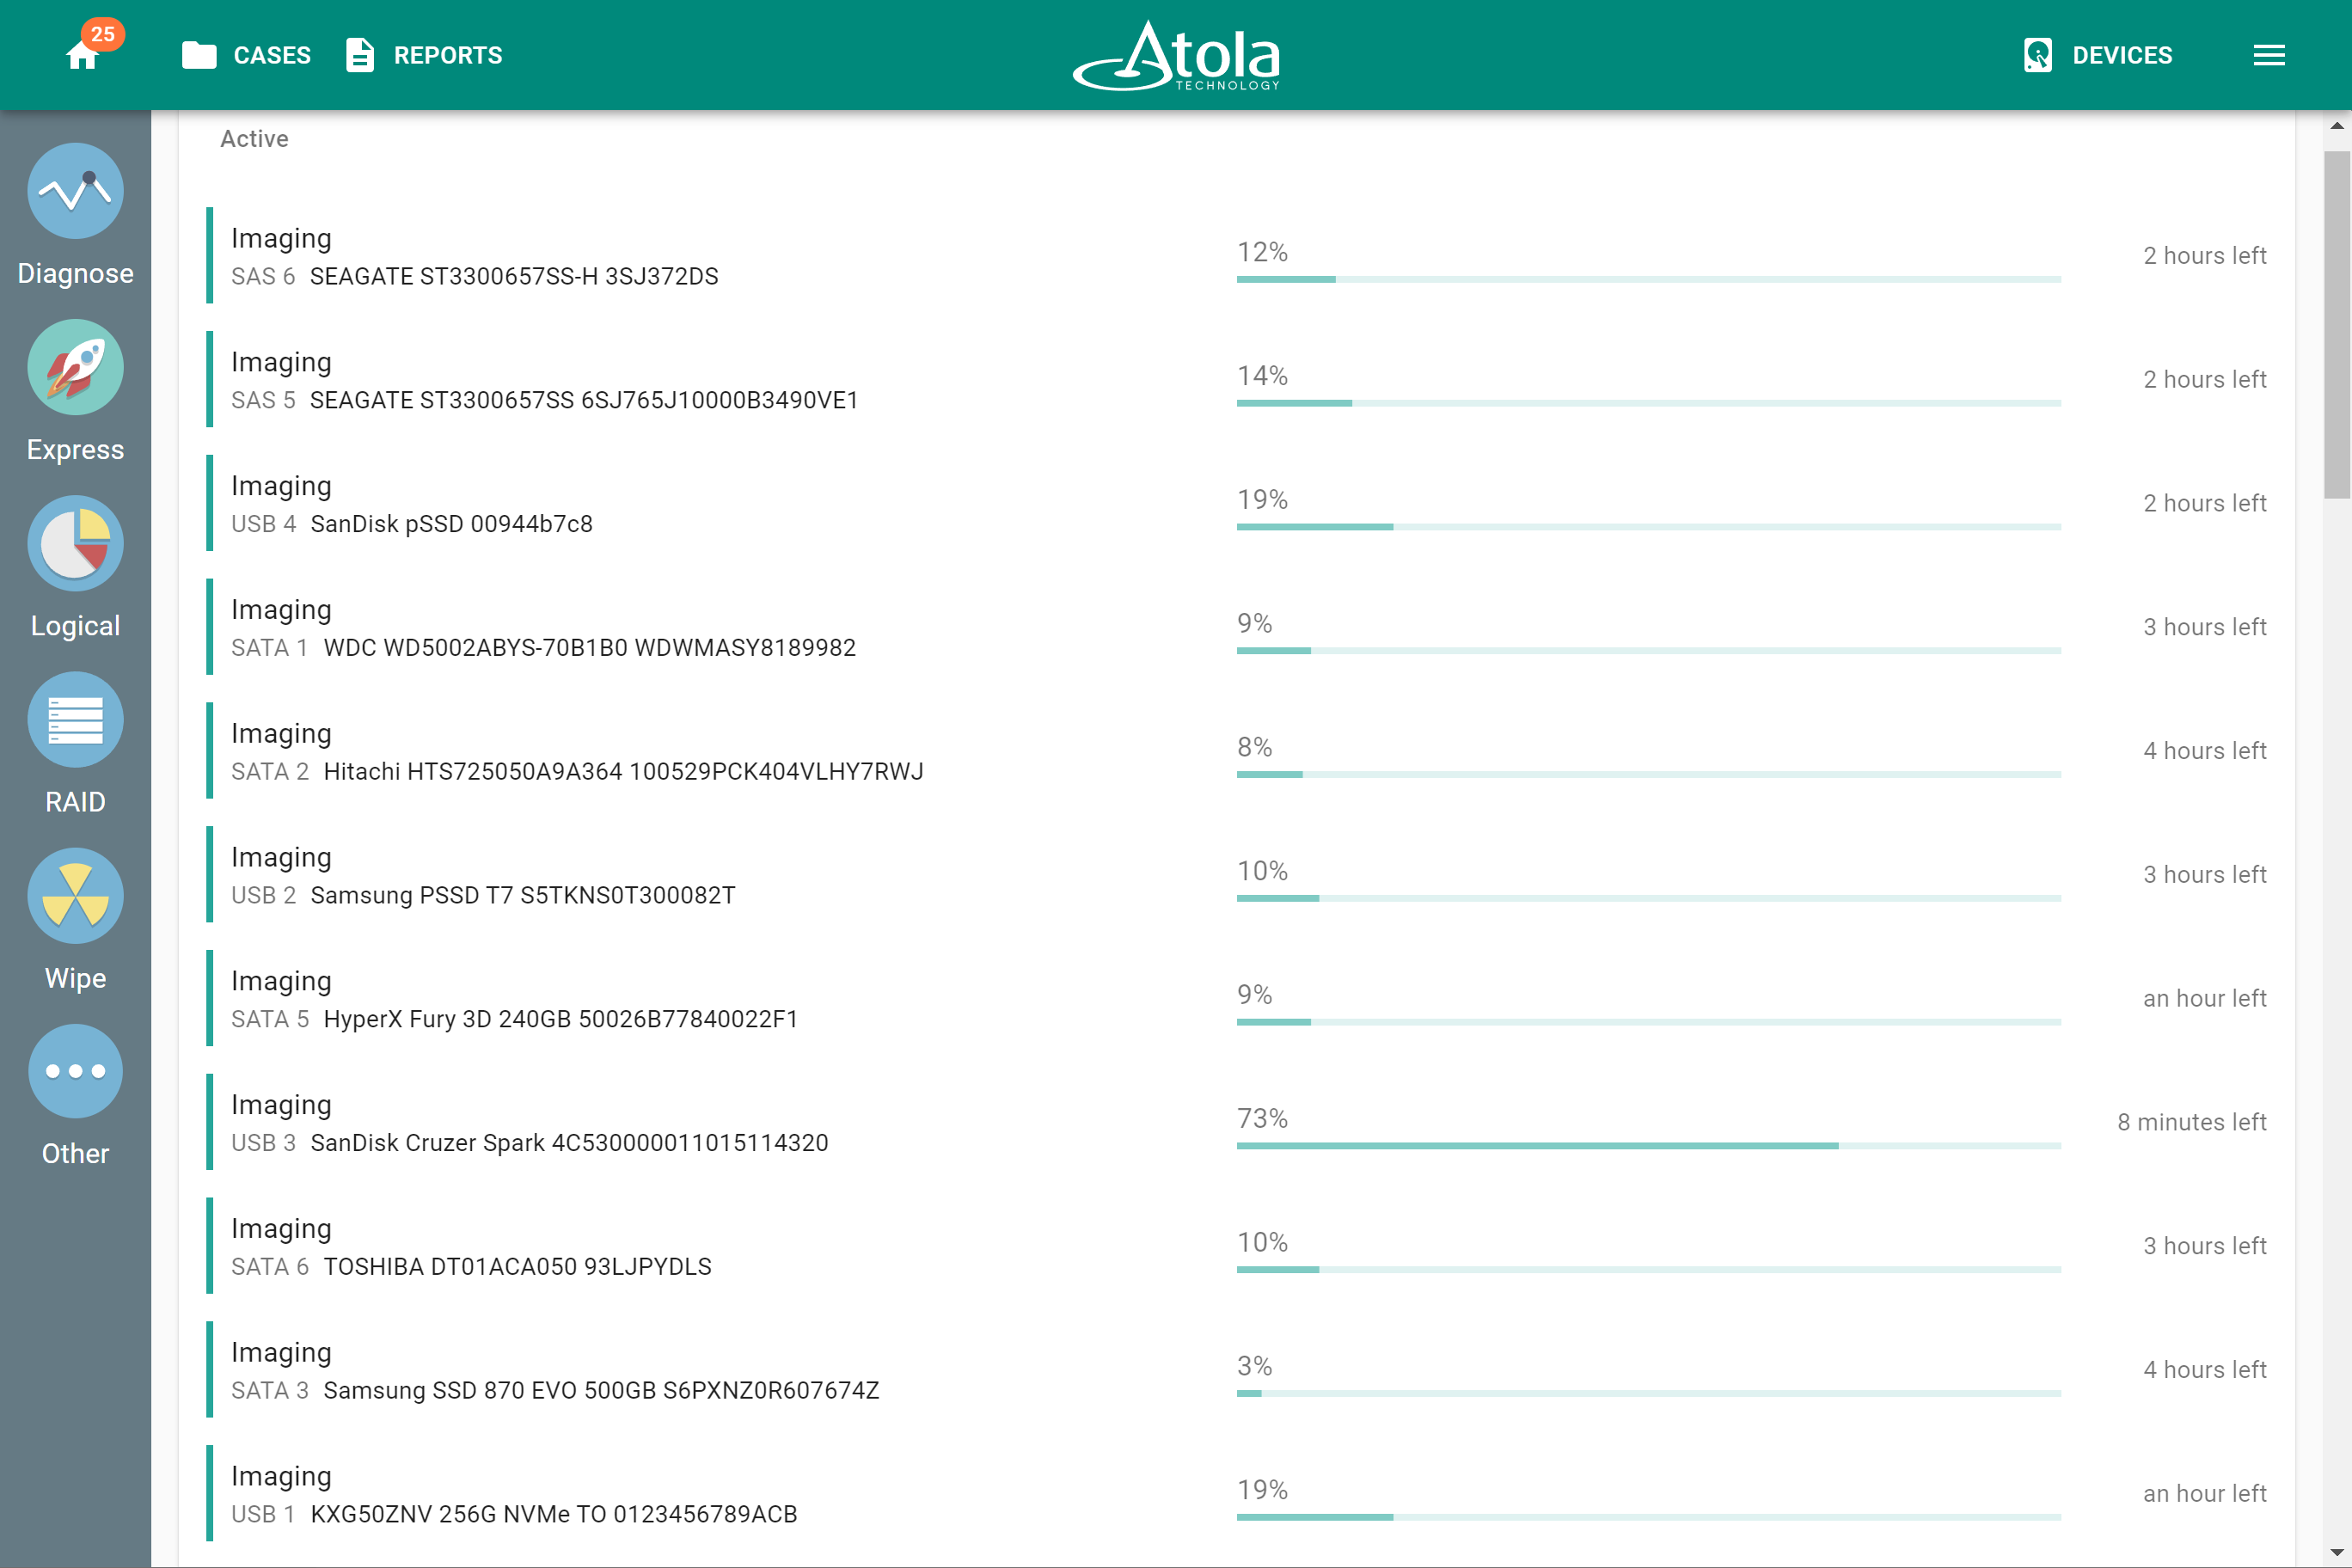
Autostart up to 25 imaging sessions in parallel.
Specify the destination and imaging settings for the Express mode only once.
Then, simply plug in the drives one by one and watch the sessions start automatically with predefined parameters.

Web API
Integrate drive imaging into an automated evidence processing sequence, and reduce downtime between its stages using the built-in Web API.
Use API requests in scripts, via command-line interface tools, or by typing commands in the browser address bar.
Learn more about Web API →
Damaged drives support
- Retrieve data even from physically damaged evidence drives while avoiding further deterioration of the media.
- Detect any drive issues during automated diagnostics.
- Image bad drives in the most gentle yet thorough way thanks to the proprietary multipass imaging algorithm.
Maximize data acquisition
- Use a preset for bad drives to apply a multipass imaging algorithm.
- Fine-tune the imaging process for the toughest cases: apply reverse direction, manage block sizes and timeouts.
Prevent drive damage
- Protect drives from short circuits.
- Handle freezing drives automatically.
- Image data from the good heads only.
- Disable the read look-ahead mode.
Monitor the drive's condition
- Base your imaging strategy on diagnostics reports.
- Track changes in a drive's health using the SMART table.
Ensure data integrity
- Use segmented hashing during the imaging of damaged drives.
Logical imaging
Save time and resources by acquiring only selected partitions, folders, and files in a forensically sound manner.
Use smart built-in filters to narrow your selection.
Get an image file in the forensic L01 format with MD5/SHA1 hashes calculated during the imaging process. Compress it if needed.
Save an image file in a network folder or on a storage drive.
Pause an acquisition process and resume it later.


Team access and user interface
- Control the user-friendly interface of TaskForce 2 in the Chrome browser on any device: a computer, tablet, or phone.
- Collaborate as a team using a single hardware unit to perform all acquisition tasks simultaneously.
- Create user profiles and protect them with passwords to keep each user’s processes, reports, and cases separate and confidential.
Three ways to manage TaskForce 2
Each forensic lab is different. Choose an option that suits your workflow best.
10Gb Ethernet
Access TaskForce 2 from any device within the same local network using the IP address displayed on the front panel.
Use either dynamic or static IP addresses. Benefit from two 10Gb or 25Gb Ethernet ports.
Use HTTPS for extra protection. Configure DNS nameserver, default gateway, and Jumbo frames.
Kiosk mode
Use TaskForce without a network connection in the Kiosk mode by plugging in a VGA monitor, keyboard, and mouse.
Once a monitor is plugged in, it displays the Taskforce user interface, and you can operate the system using a keyboard and mouse.Wi-Fi
Access TaskForce 2 via an external Wi-Fi adapter. Connect from a computer, tablet, or phone. Use the whole TaskForce 2 functionality without any limitations.

One rack to store them all
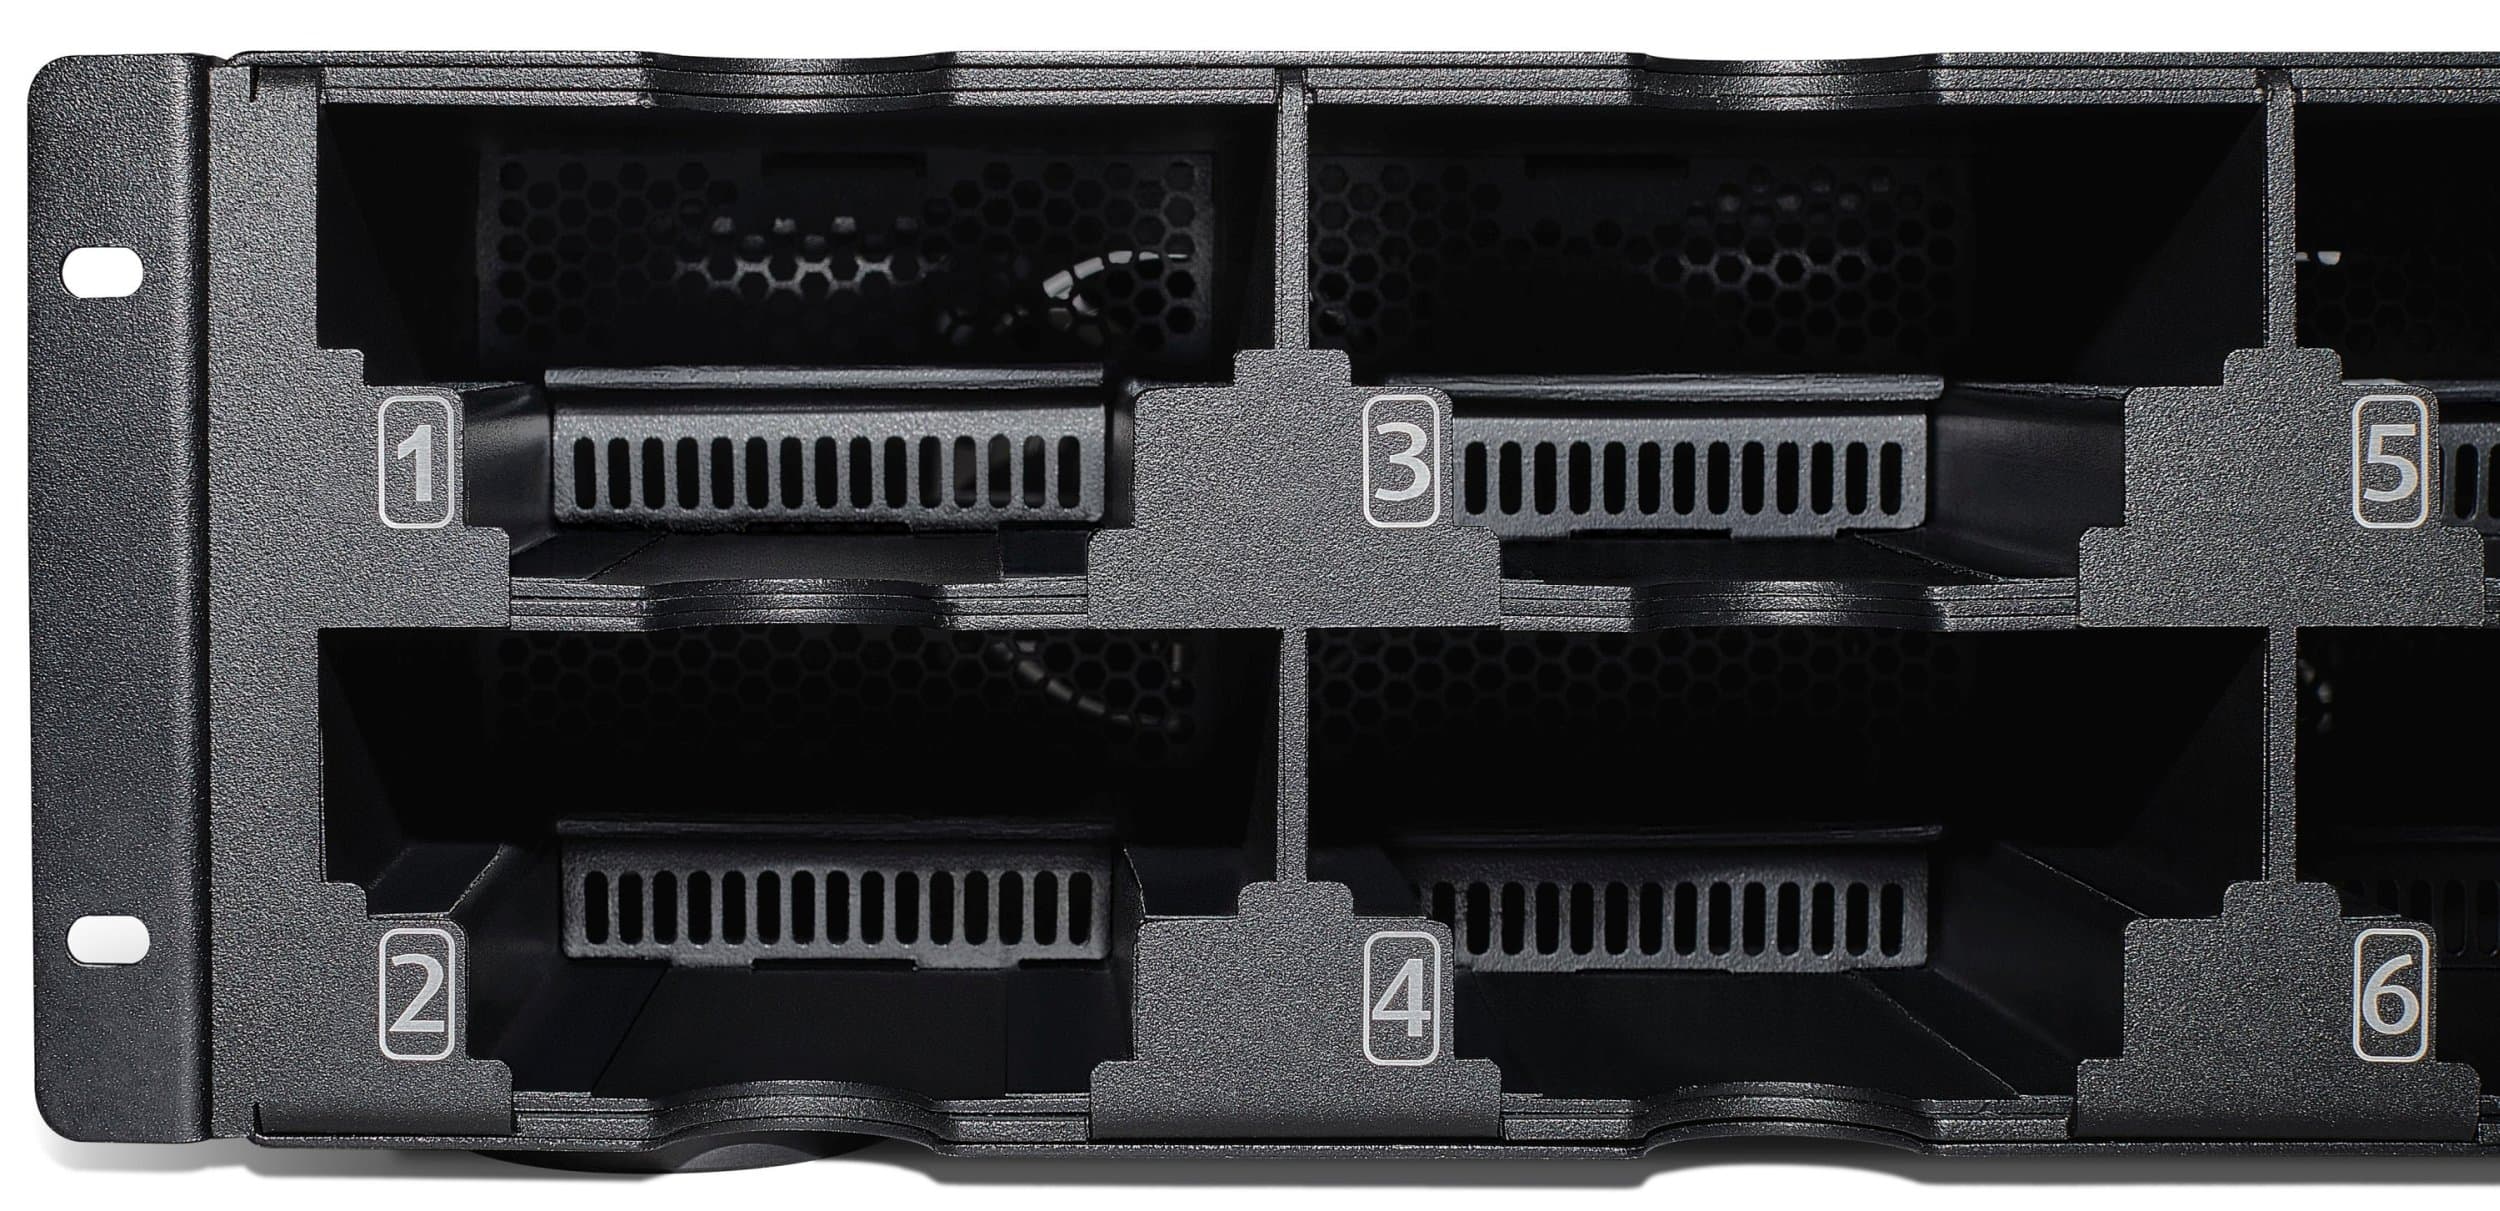
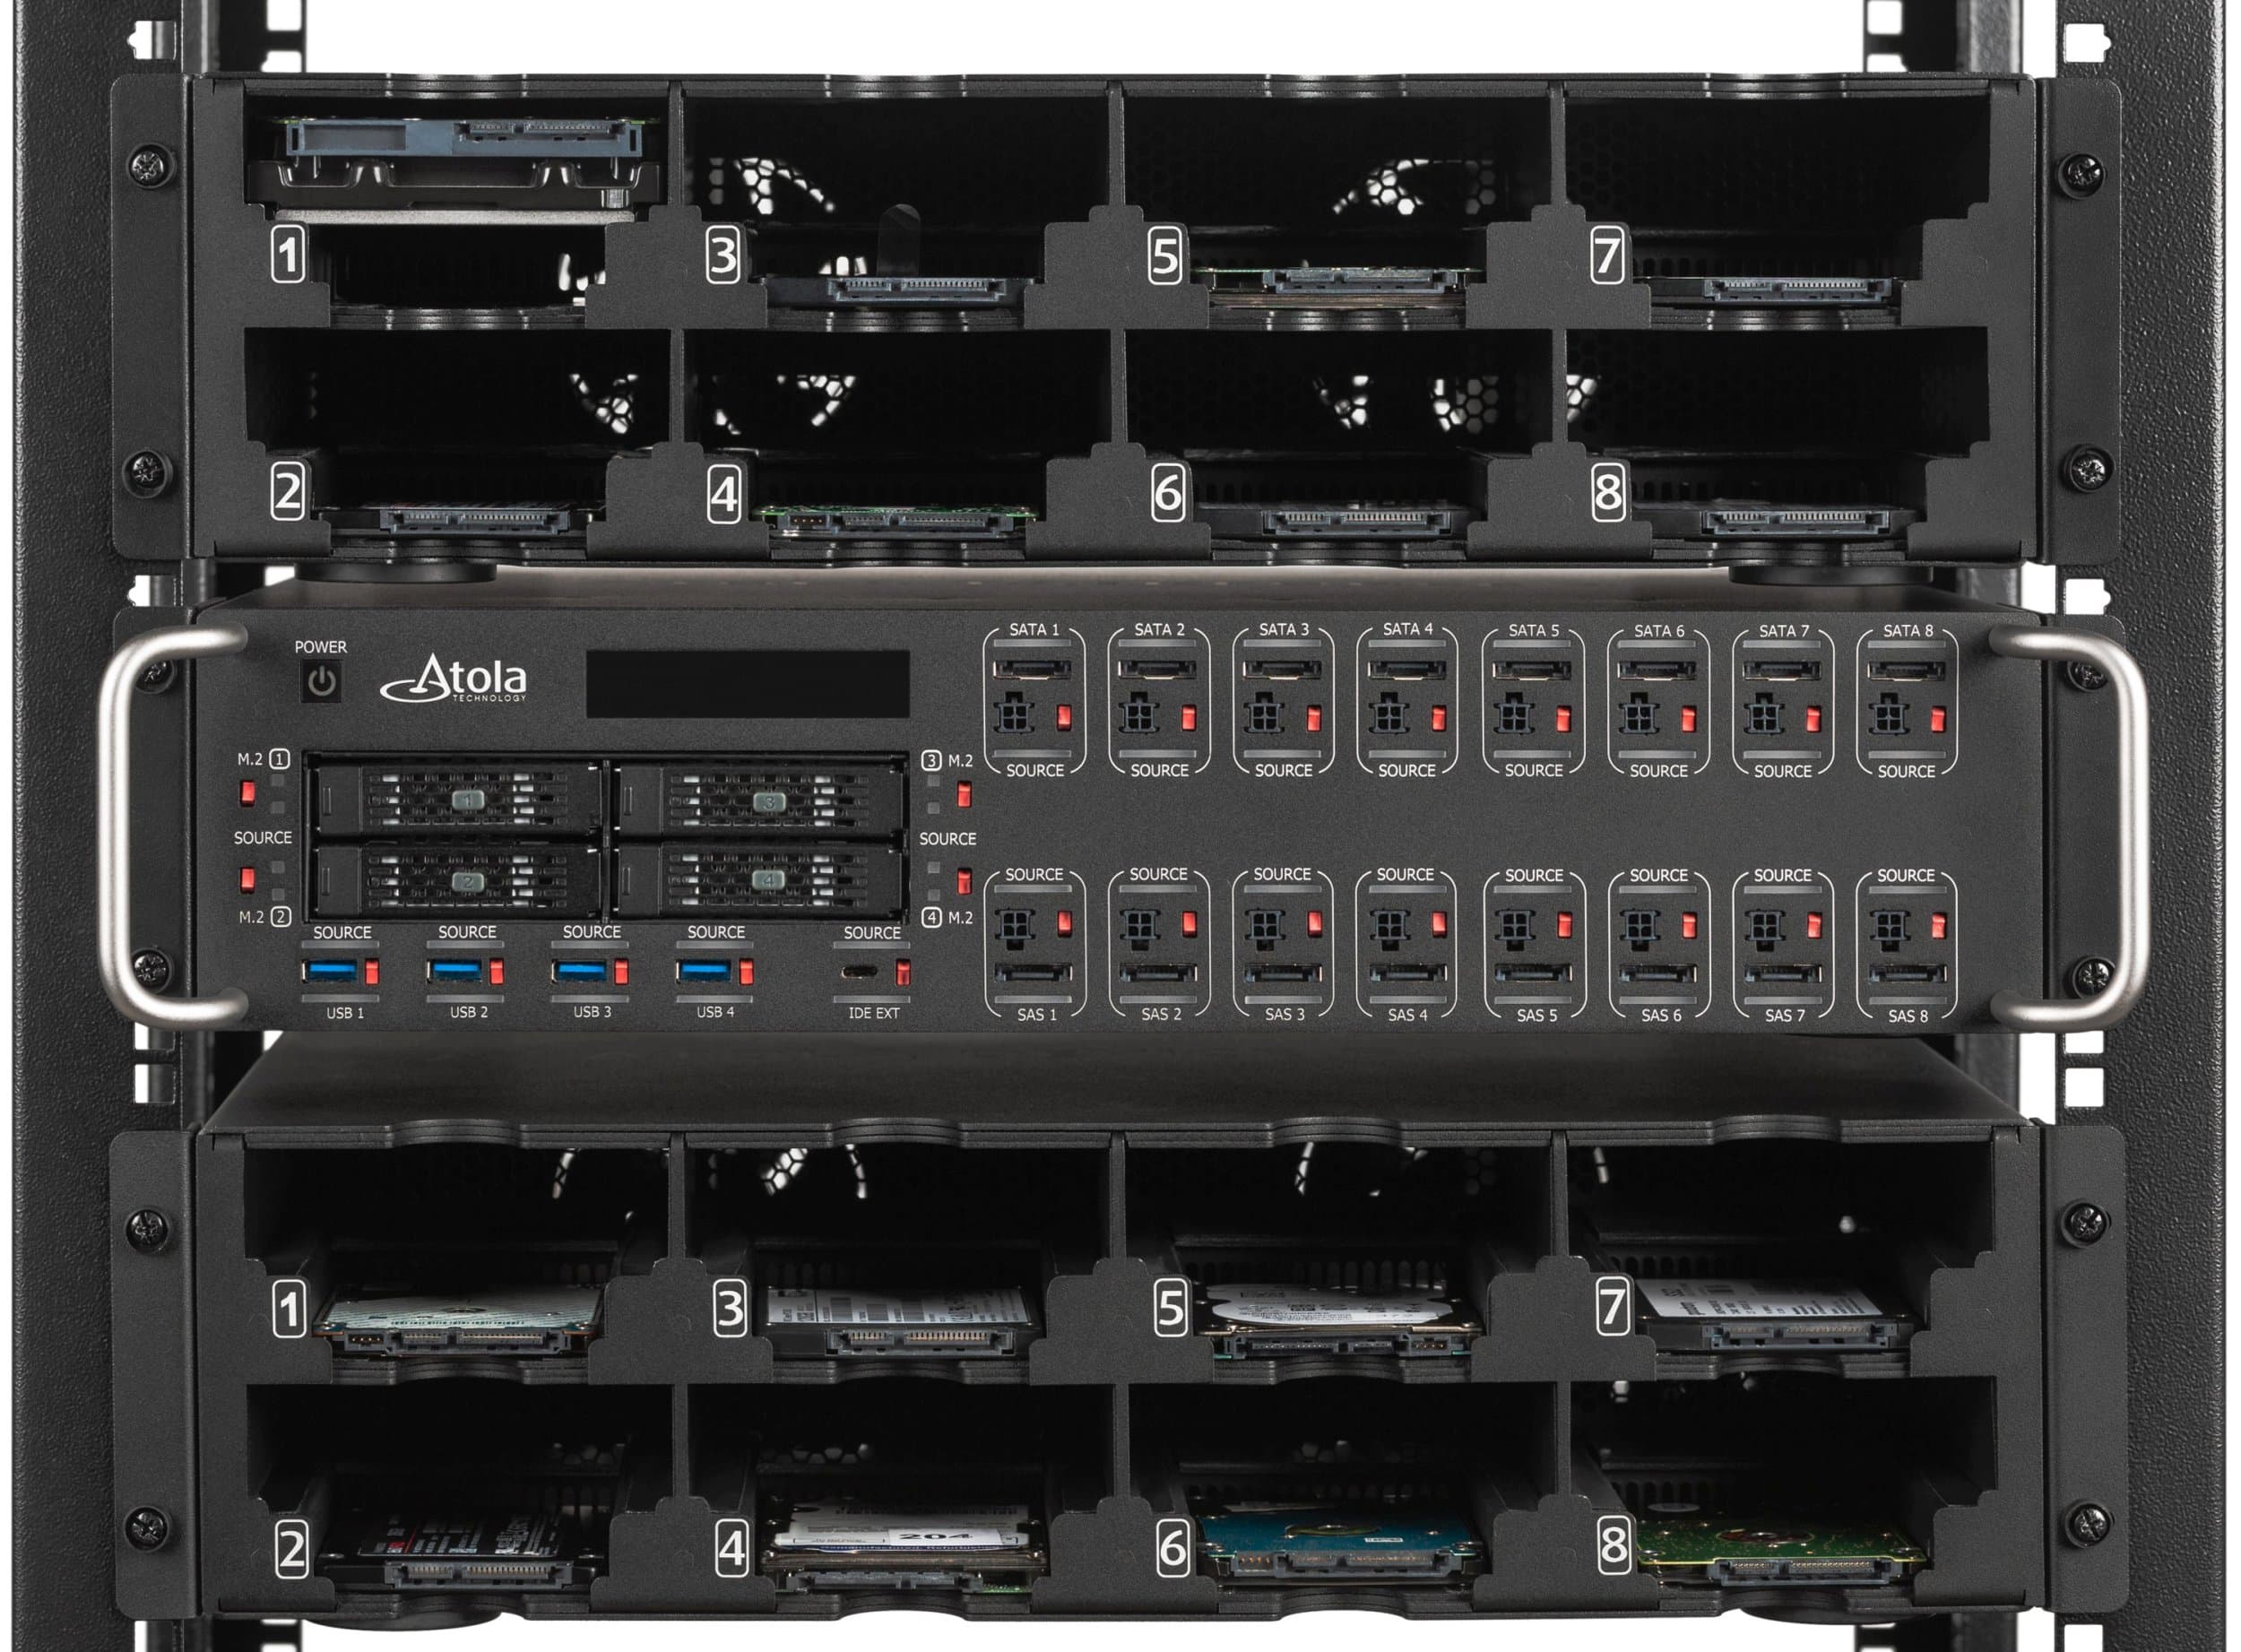
- Neatly organize 8 evidence drives with Atola Device Rack.
- Place it on top of your TaskForce 2 or mount them both on a server rack.
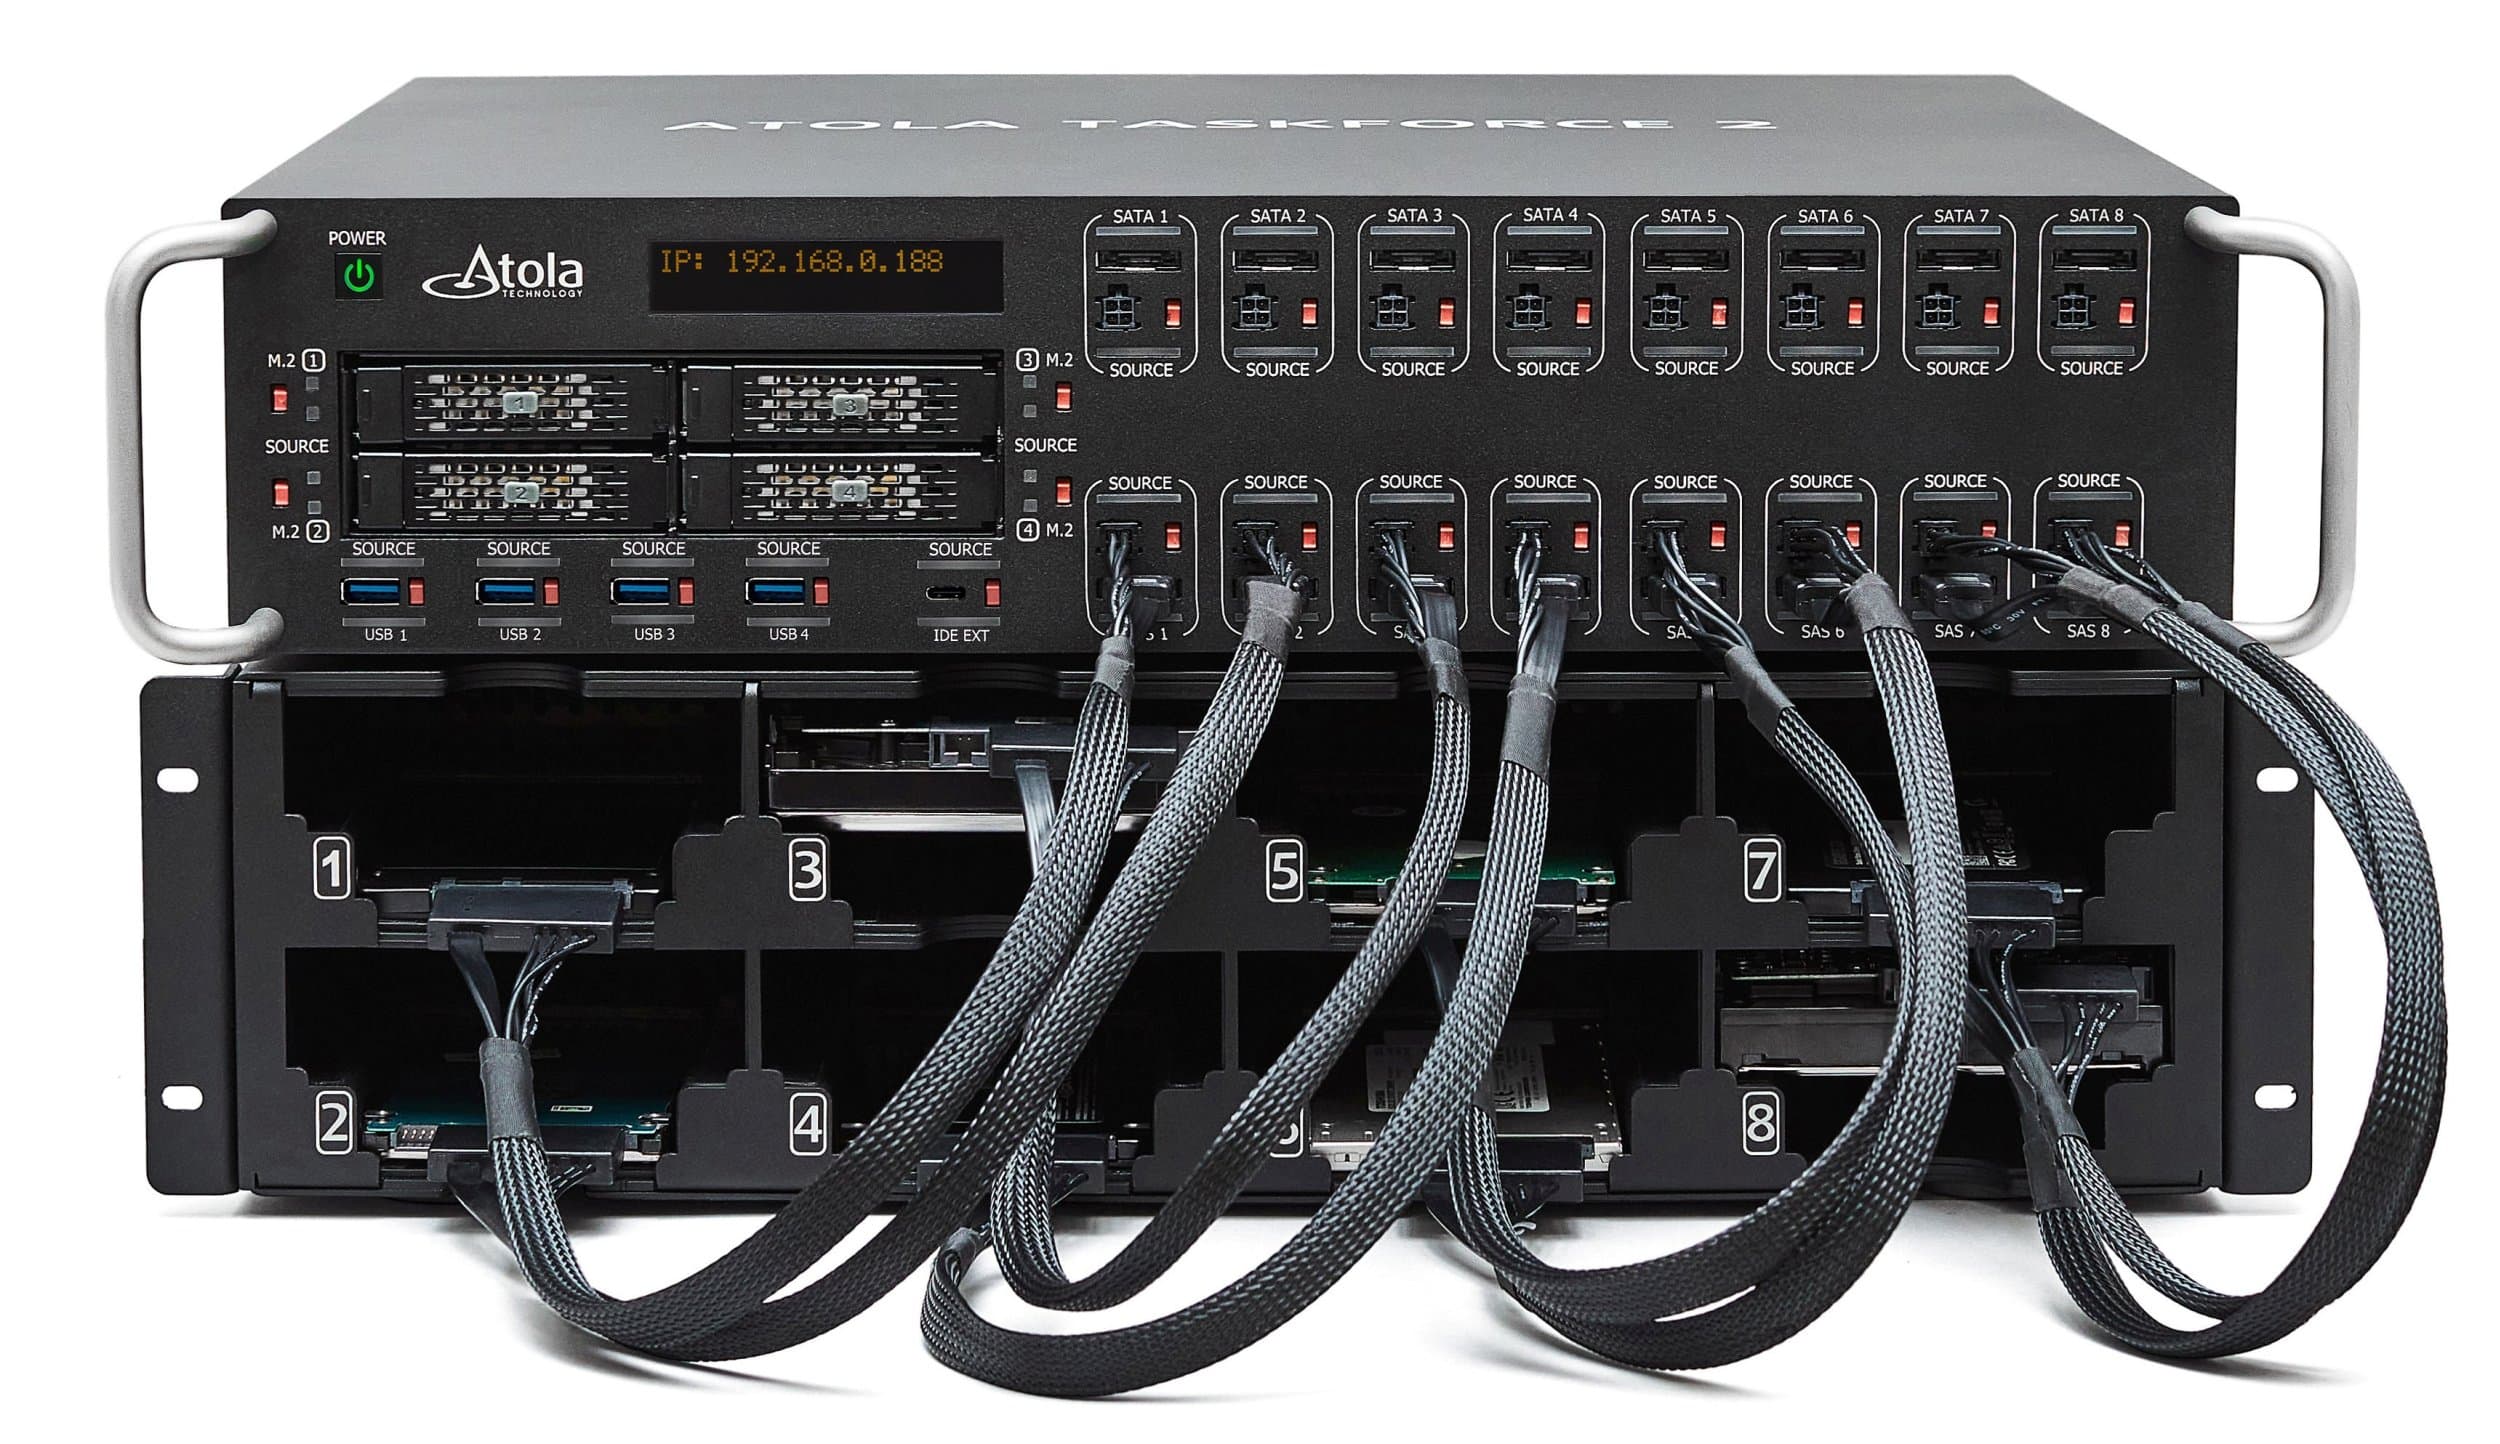
8 numbered sections for 3.5-inch and 2.5-inch drives.
Super-quick & reliable drive swapping.
Two fans on the rear with speed control.
Exclusive option for TaskForce 2 only.
Two are better than one

Server rack compatibility
Mount TaskForce 2 into a standard server rack,
along with one or two Atola Device Racks.

Lifetime warranty
Your forensic imager hardware is covered by our Lifetime warranty, for as long as your software update subscription is active.
If you have an active subscription, you can request a free replacement of a device, component, extension module, or cable, as well as free training and technical support.
Contact sales
No question is too small. We're here to guide you in the right direction.