Quickstart
Learn how to image an evidence drive with Atola TaskForce 2.
Step 1. Start TaskForce 2
- Press the Power button on the front panel of the hardware unit.
- The following message shows on the small IP screen on the front panel: “Booting 3 min”. Wait until it disappears.
- Open TaskForce 2 user interface:
- Network mode: If TaskForce 2 is connected to your local network with an Ethernet cable or a Wi-Fi adapter, open a Chrome browser on your PC, tablet or mobile, and enter the IP address displayed on the IP screen in its address bar.
- Kiosk mode: If TaskForce 2 is not connected to the network, plug in a VGA display, mouse & keyboard. The “Kiosk mode” message appears on the IP screen.
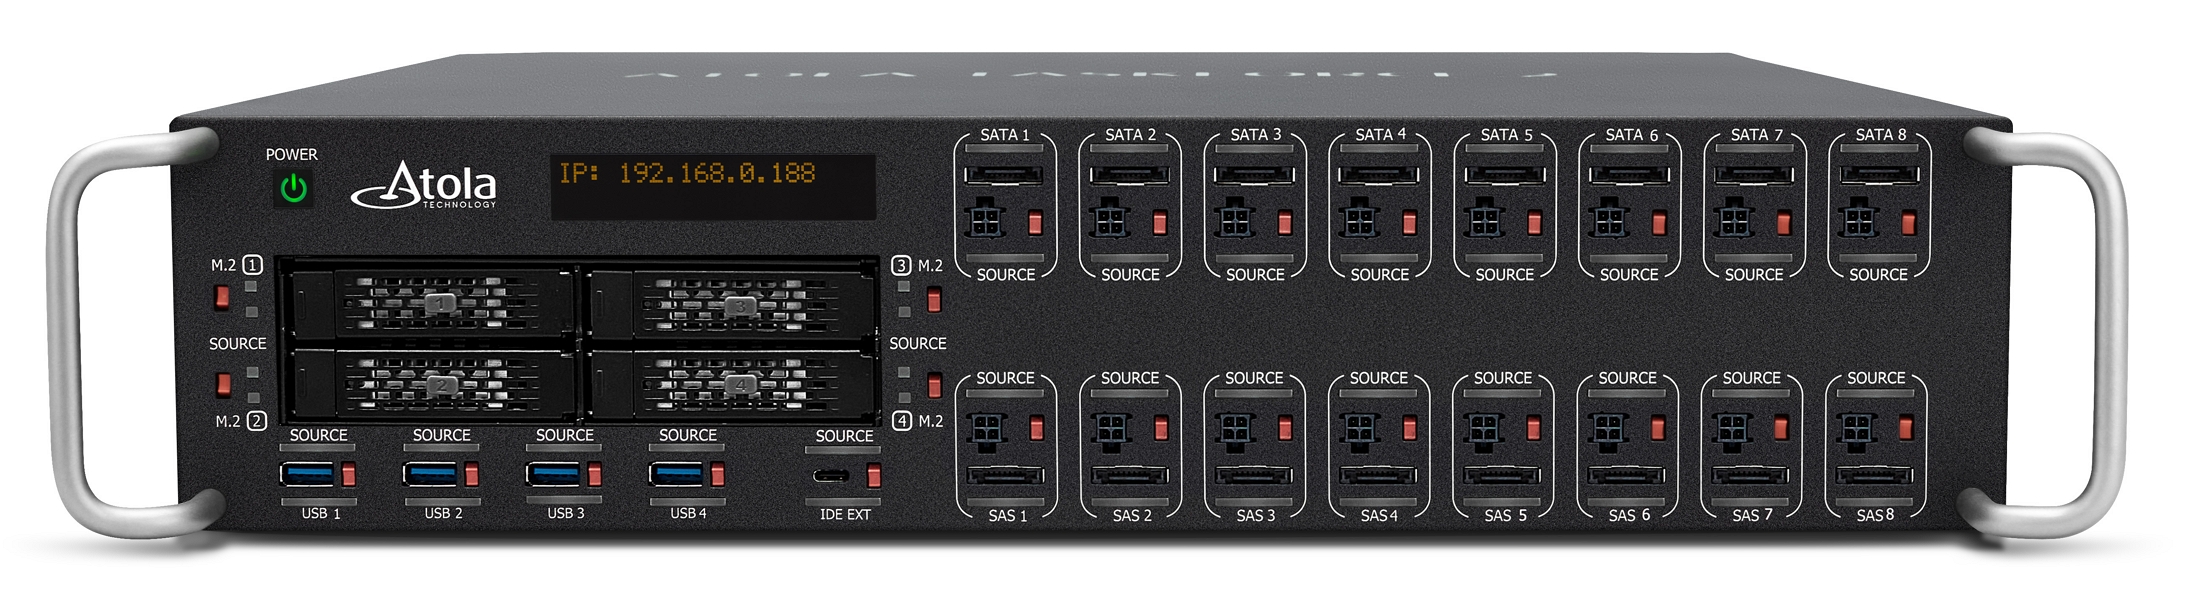
TaskForce 2 shows an IP address required to connect to its user interface.
Step 2. Plug a source drive into TaskForce 2
- To protect an evidence drive from any alterations, switch one of TaskForce’s 26 ports into the Source mode, using the red source/target switch next to this port. The corresponding source indicator lights up signaling that the port is set to the Source mode and is write-protected.
- Connect your evidence drive to the port switched to the Source mode.
Step 3. Diagnose the source drive
- In the TaskForce 2 user interface, click Diagnose.
- On the Select device panel, find the appropriate category (SATA, SAS, USB, File, IDE, or Extension*), expand it and select your source drive.
- Click Start. The Diagnostics process takes a couple of minutes. If diagnostics results show that the drive is in good condition, proceed to imaging.
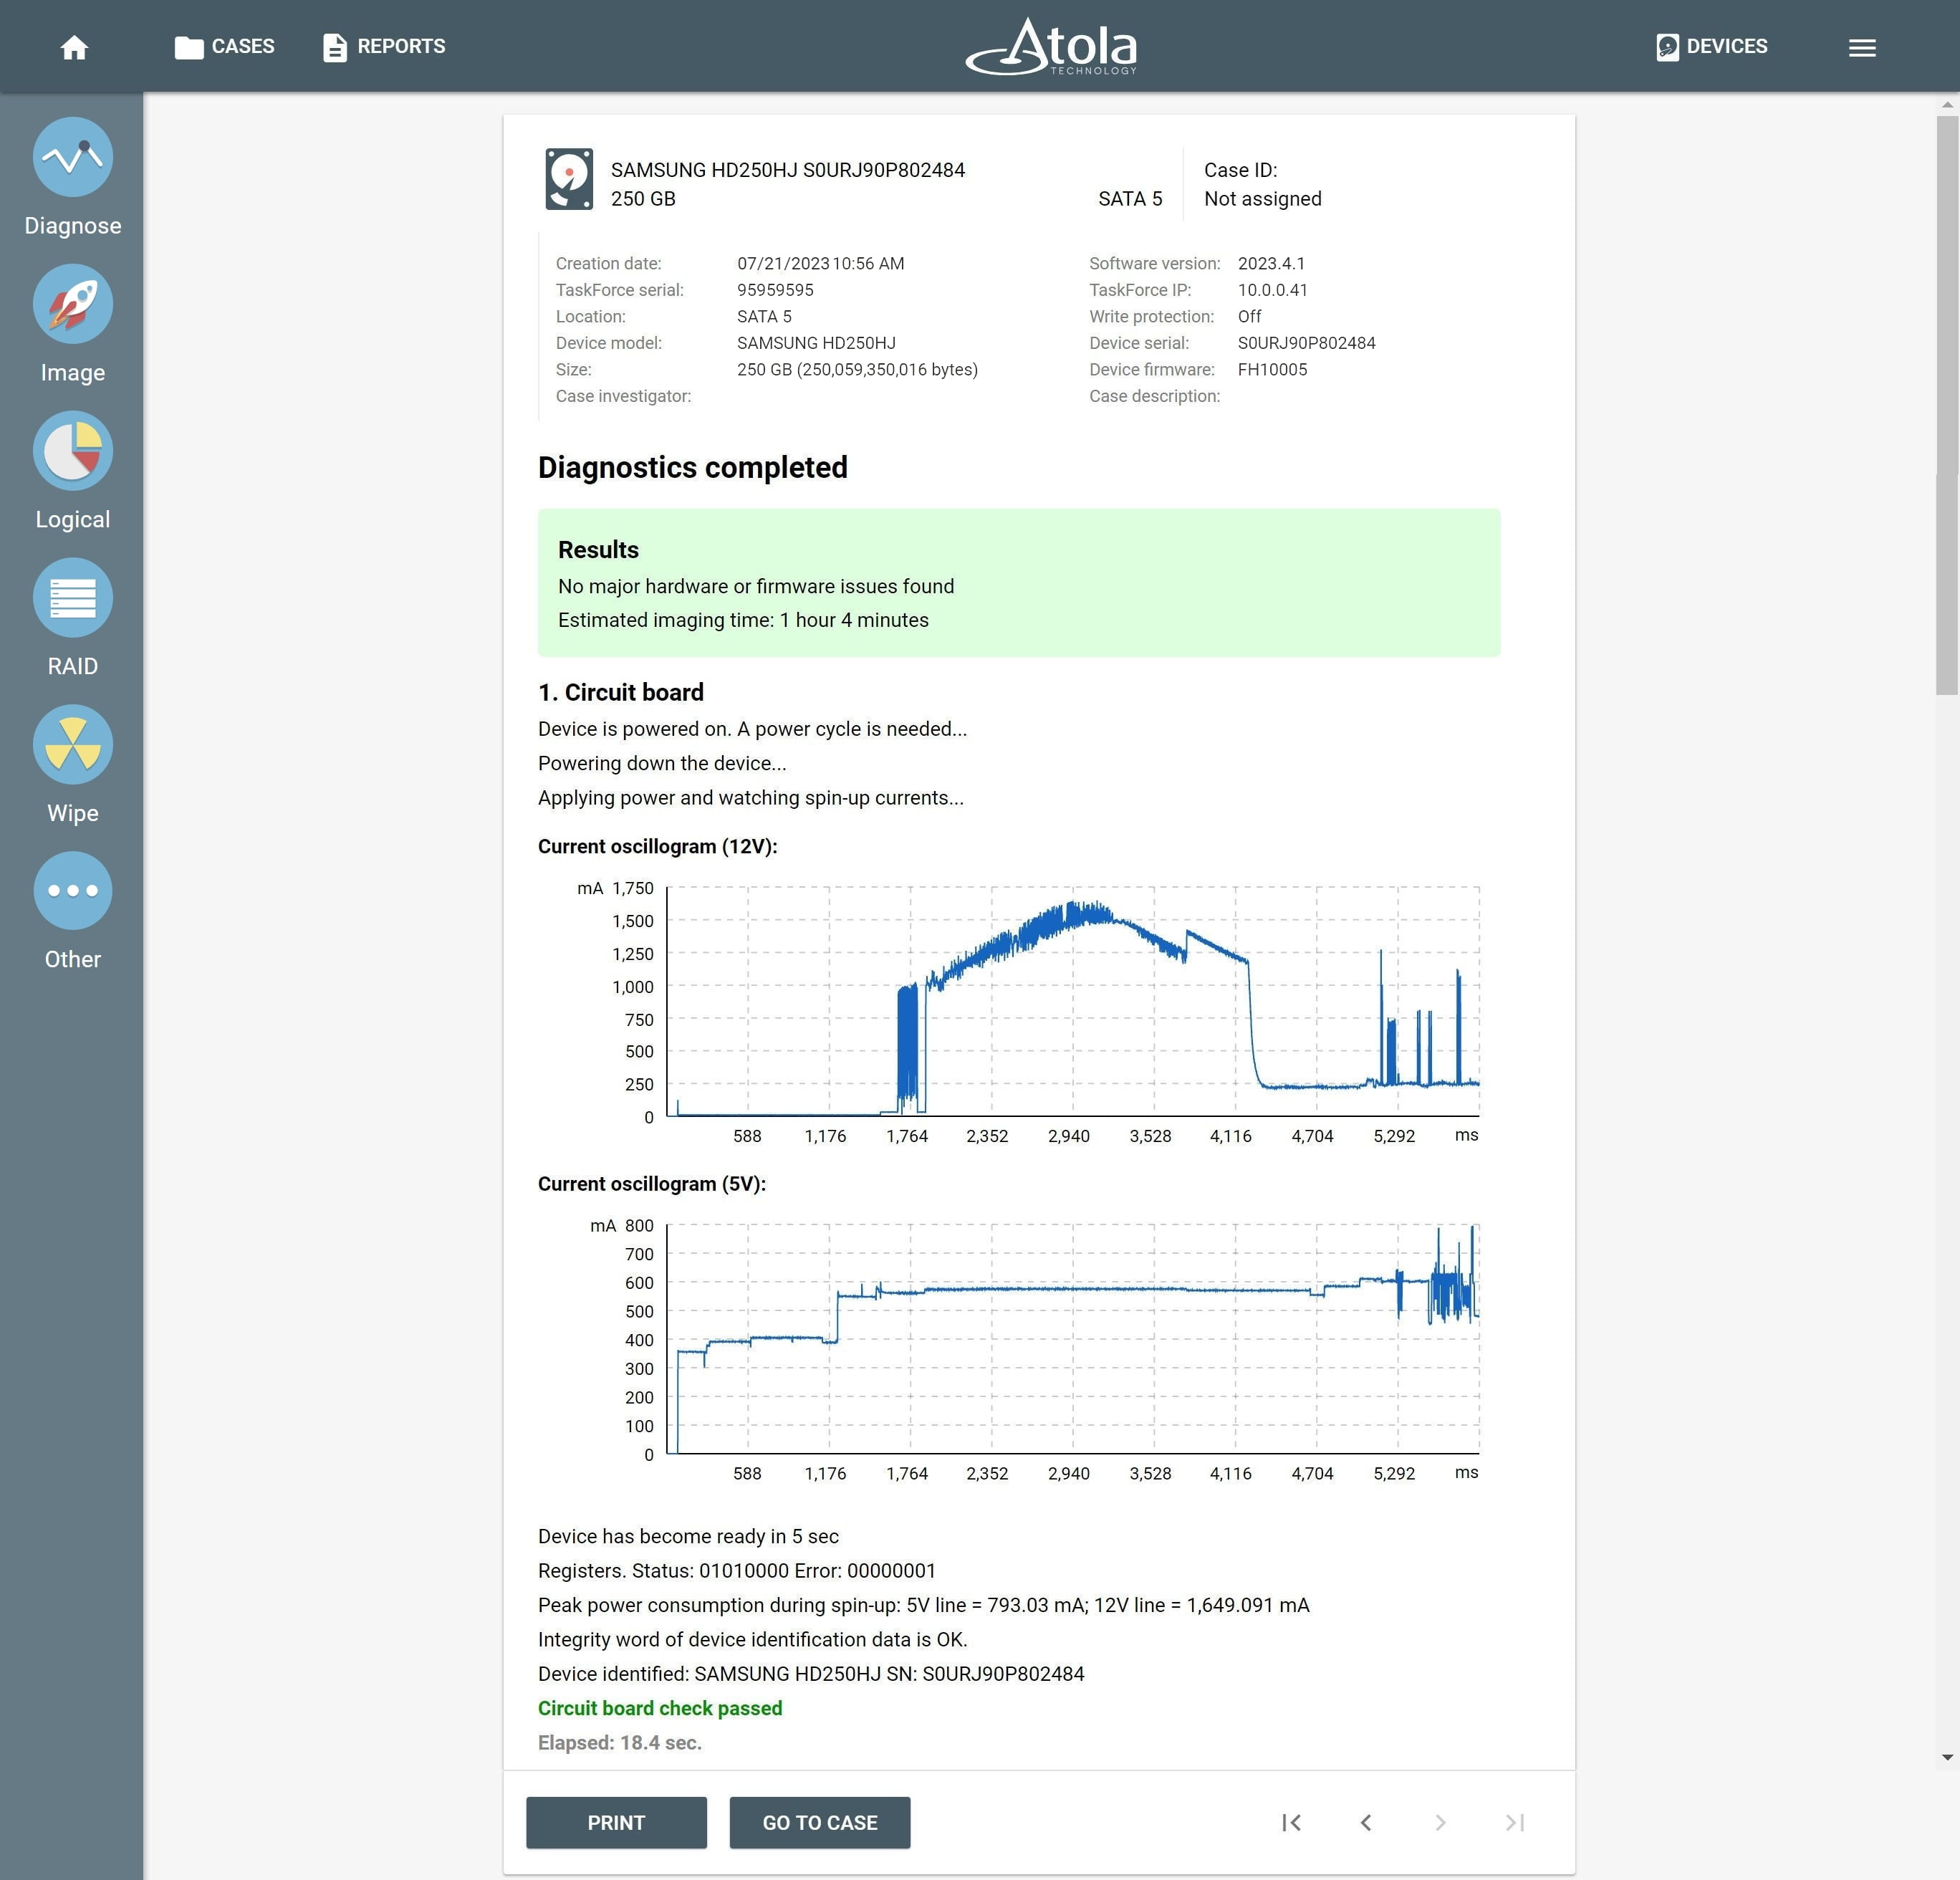
Diagnostics report proves the drive is in good condition.
Step 4. Plug a target drive into the TaskForce 2
- Switch one of the free ports into the Target mode, using the red source/target switch next to it. The corresponding source indicator turns off.
- Connect a target drive to the port switched to the Target mode.
Step 5. Start imaging
- In the TaskForce 2 user interface, click Image.
- On the Select source device panel, find the appropriate category (SATA, SAS, USB, File, IDE, or Extension*), expand it and select your source drive.
- On the Imaging sessions page, click Start new.
- On the Select target devices panel, find the appropriate category (SATA, SAS, USB, File, IDE, or Extension*), expand it and select your target device or devices. Then click Continue.
- Check the imaging settings and adjust them if needed. The Settings page shows:
- the source drive and the case ID
- the default settings applied to this imaging session
- the list of Targets to be involved in this session
- Click Start.

Image acqusition in progress.